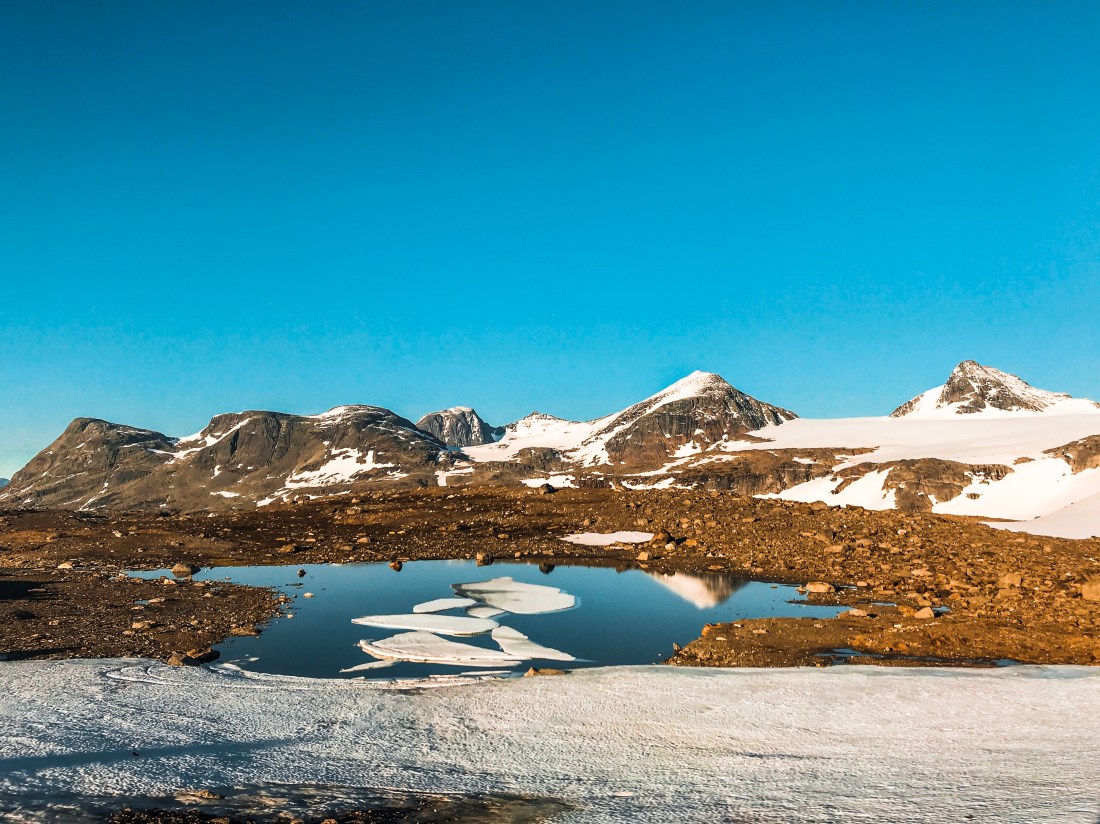
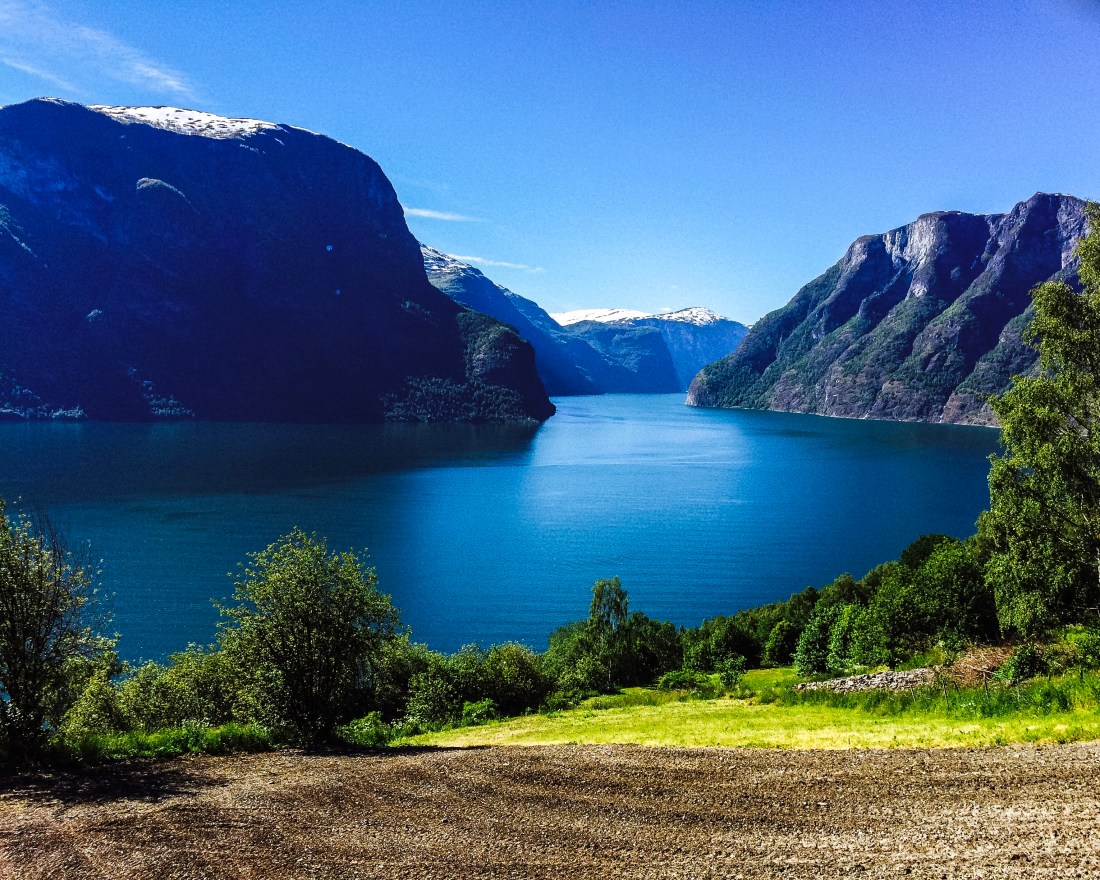
In light of the raising fame of the archipelago of Lofoten, and its toll on the nature, I have been in doubt as to whether I wanted to add to that by inspiring you to go to this incredibly beautiful part of Norway. However, I can’t not share some of the beauty Lofoten has to offer to those of you who prefer active vacations. What I can do, is to encourage responsible travel, to leave Lofoten the way you found it, because, believe me, you will want to go back! If in doubt as to what this means in practice, read Lofoten Code of Conduct.
For general information on Lofoten, go to lofoten.info. Another site that I found very useful is 68north.com. For Norwegian readers I recommend getting Kristin Folsland Olsen’s book, “Lofoten, 68 flotte turer i verdens vakreste øyrike”.

HIGHLIGHTS
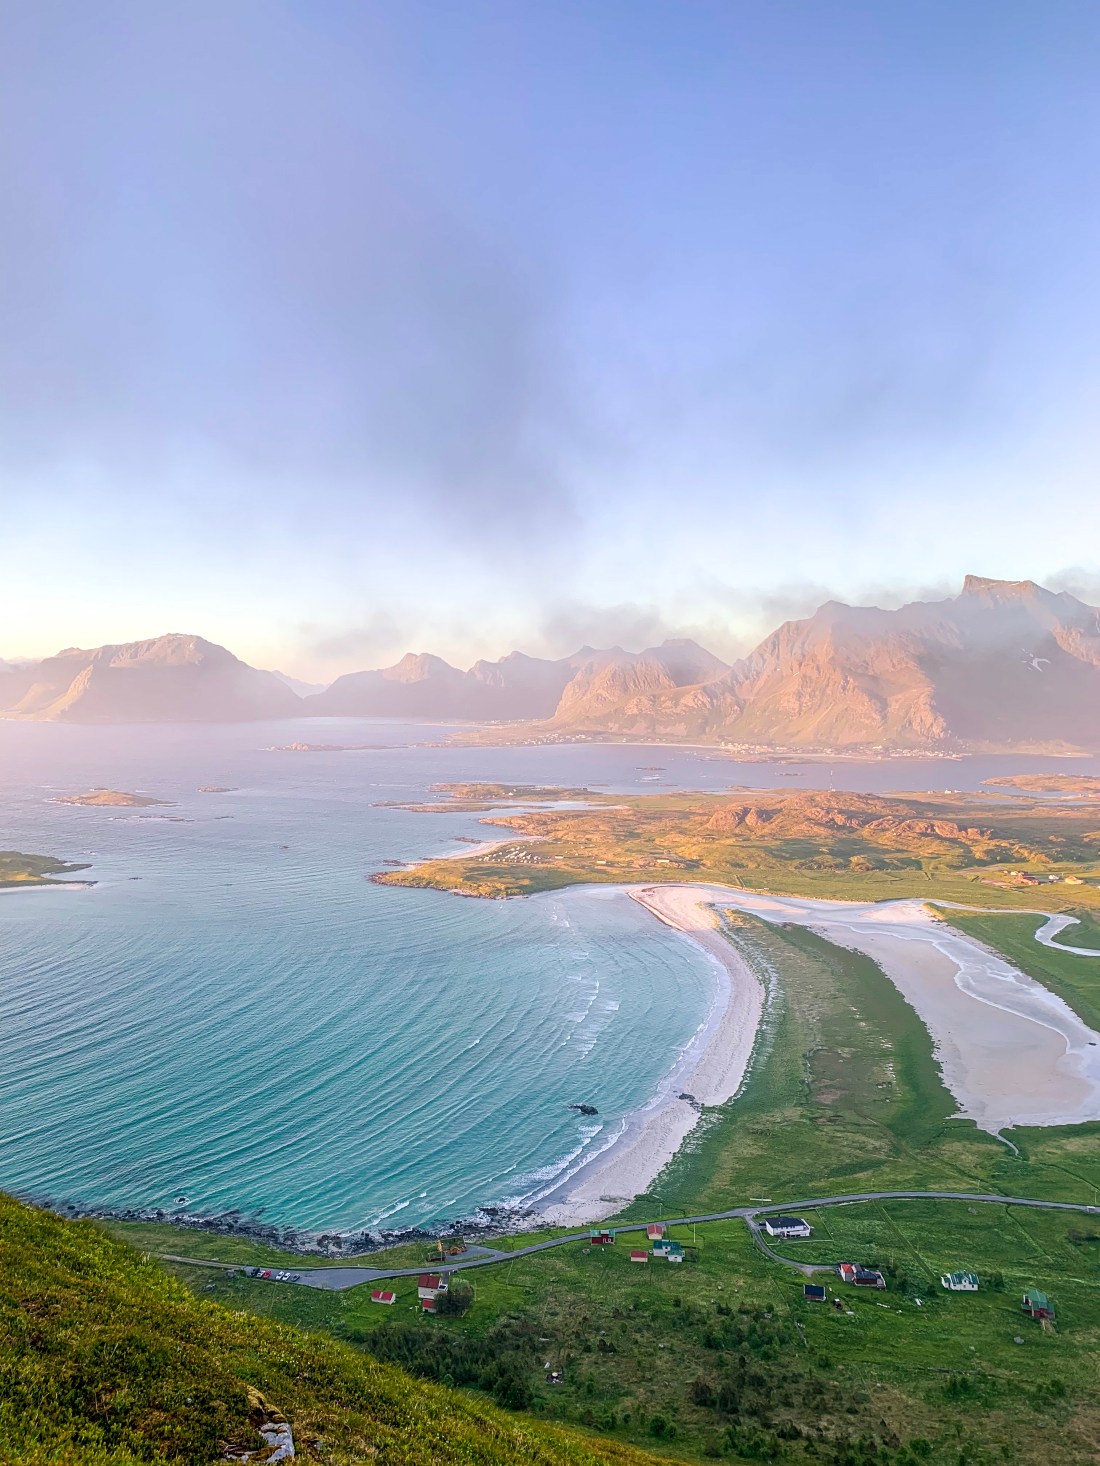
- Enjoying the midnight sun from Røren
- The hippie vibe at Haukland beach
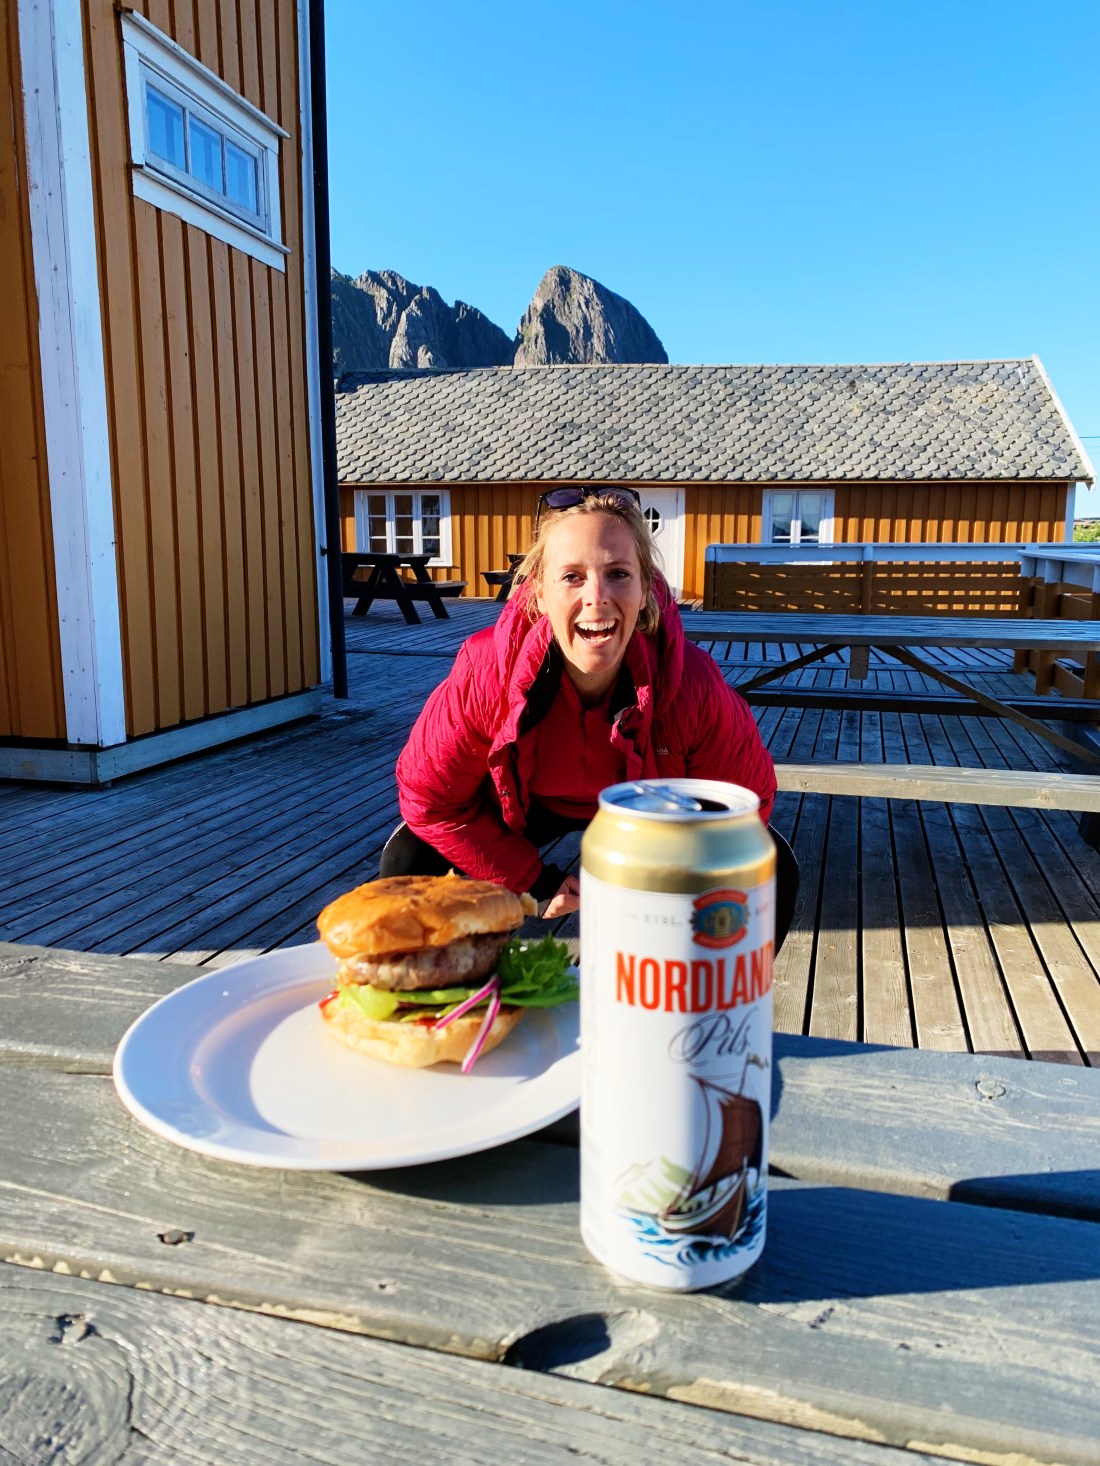
- Evening chill outdoors at the “rorbu”
- Sunbathing at the Helvetestinden summit
- Chilling at Kvalvika beach after running up to Ryten
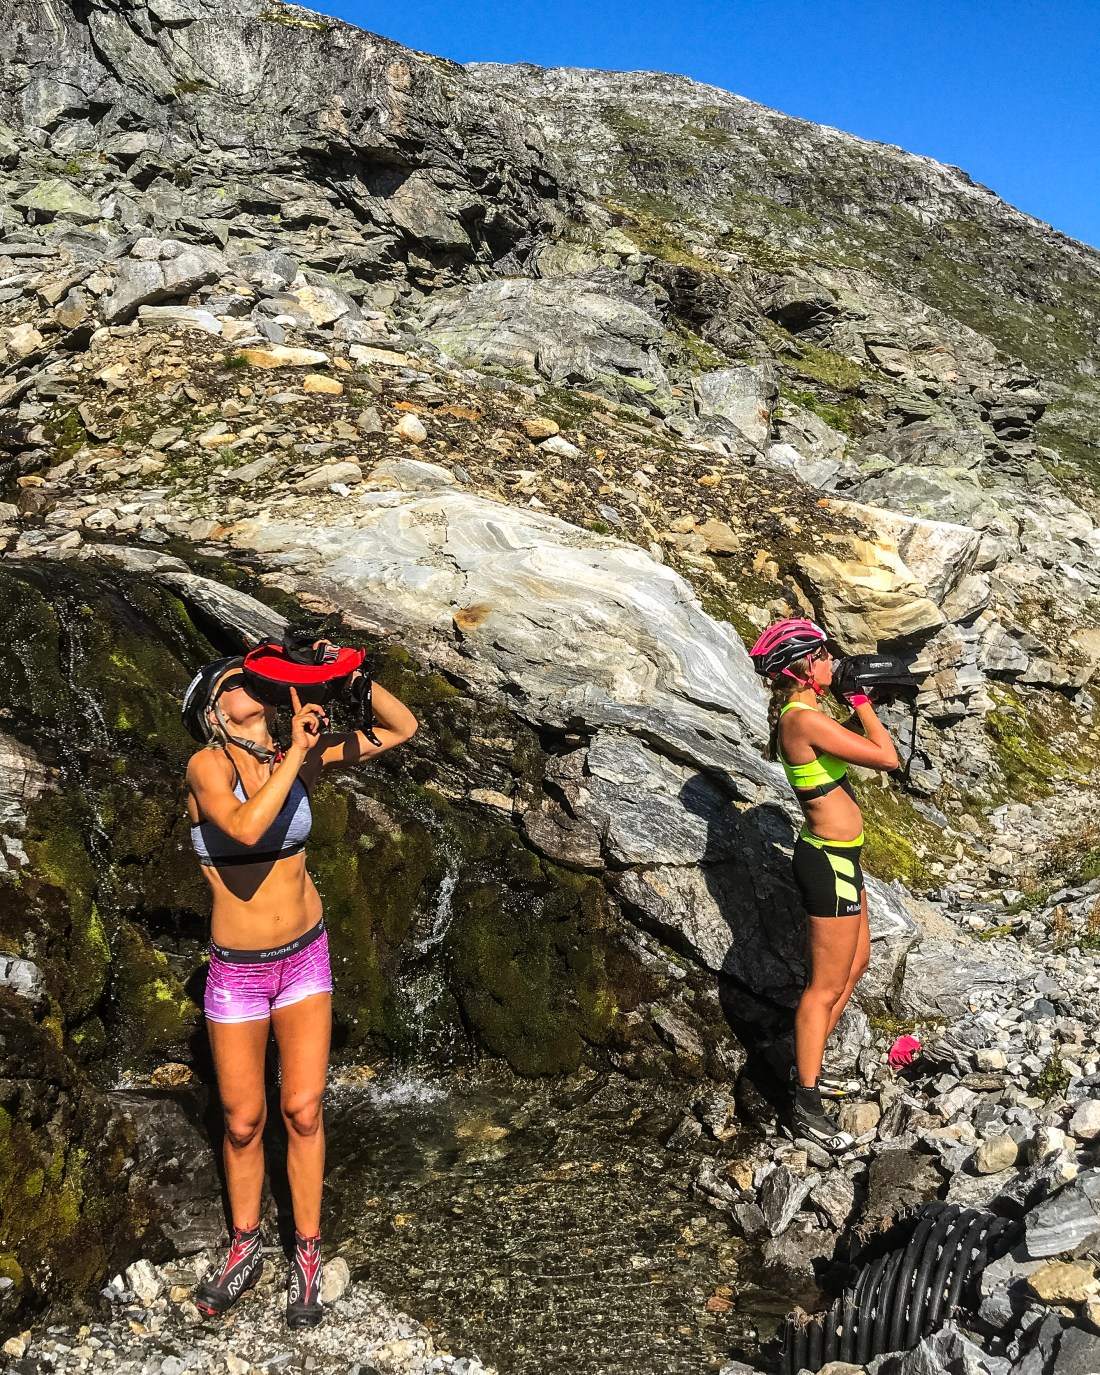
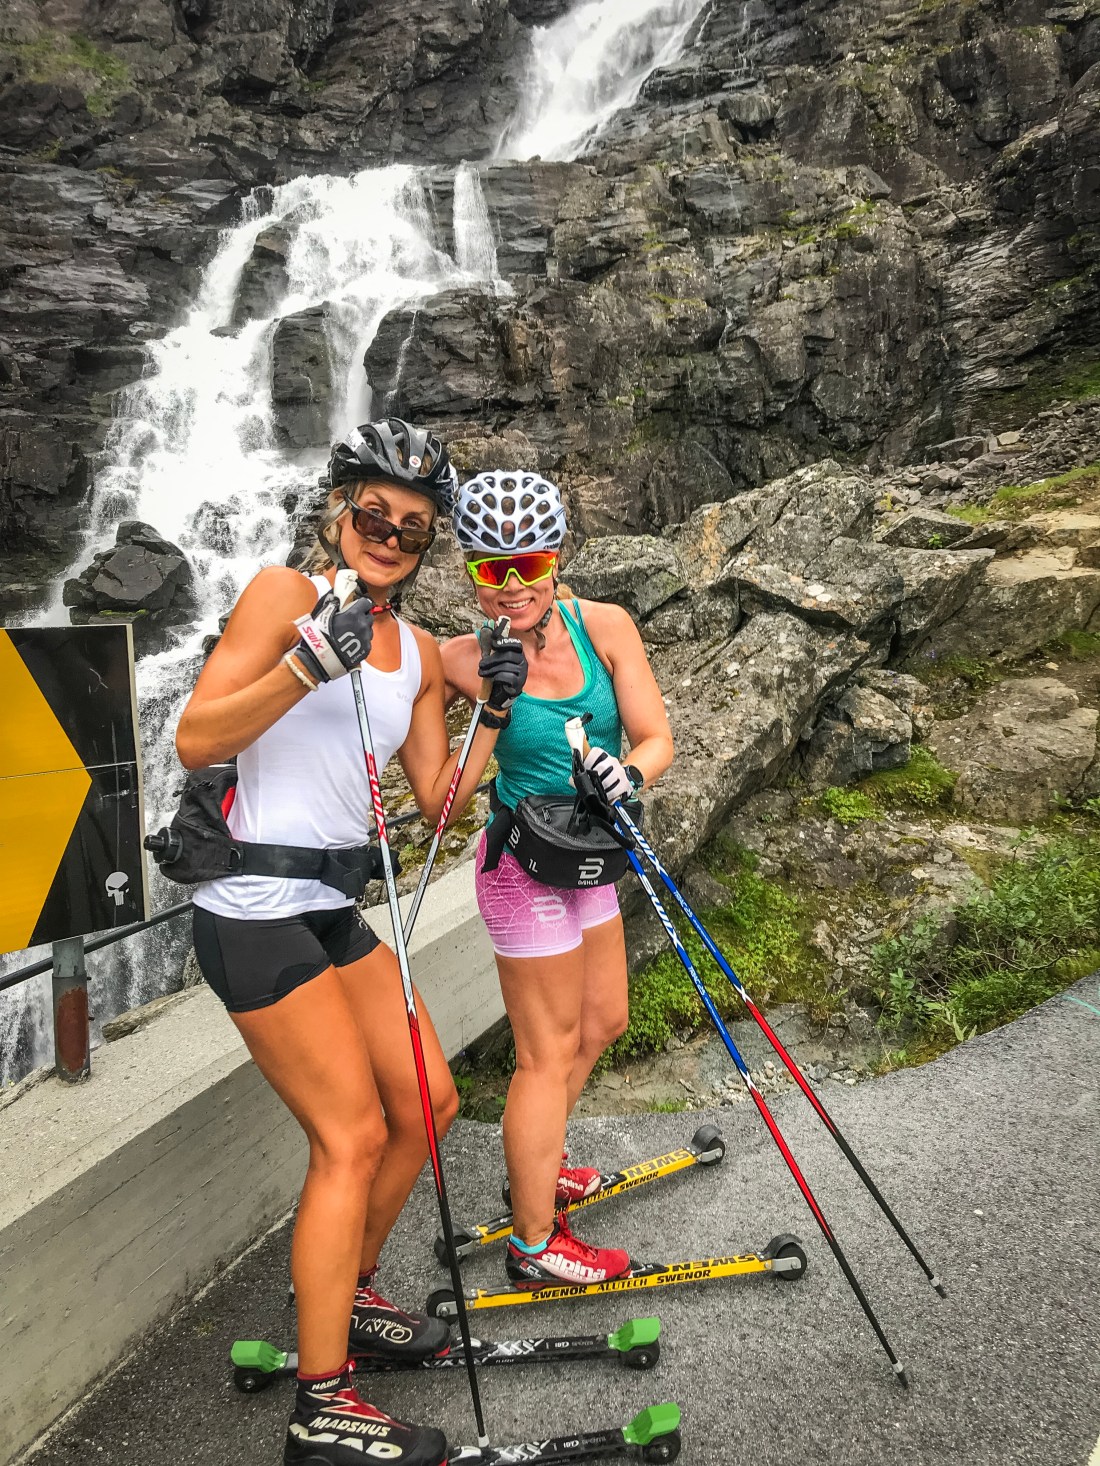
Trailrunning/hiking
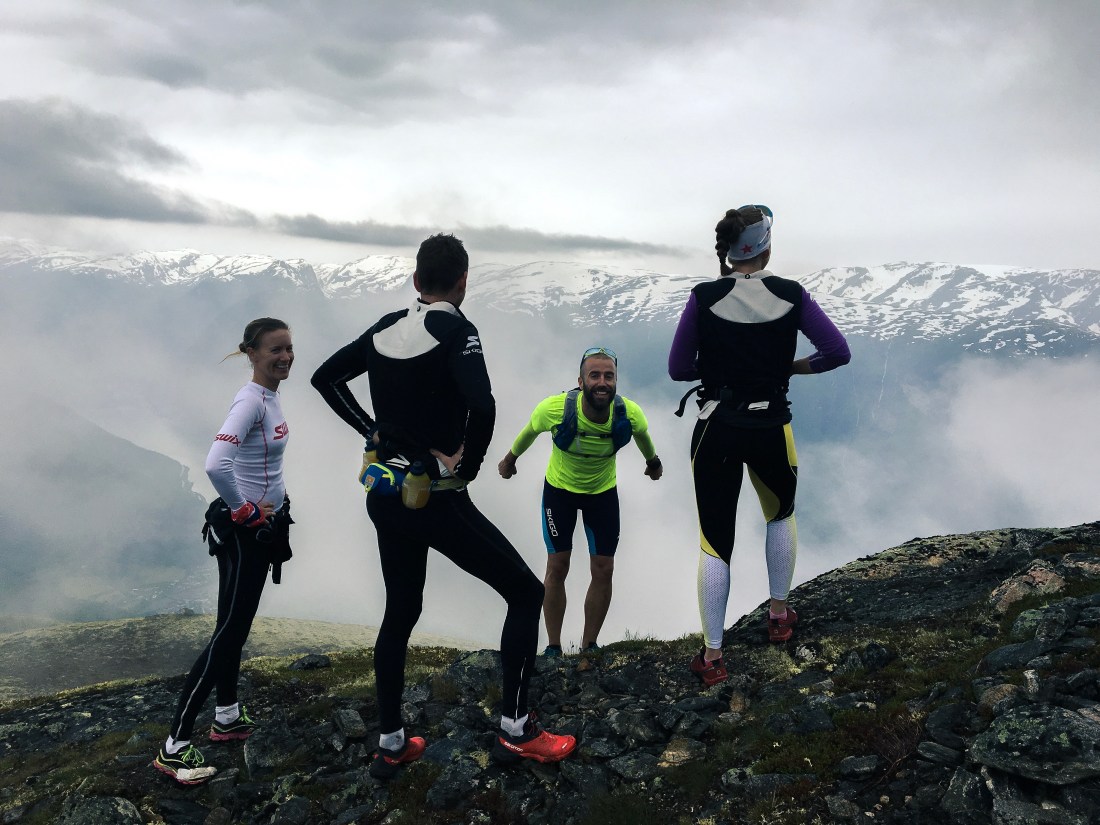
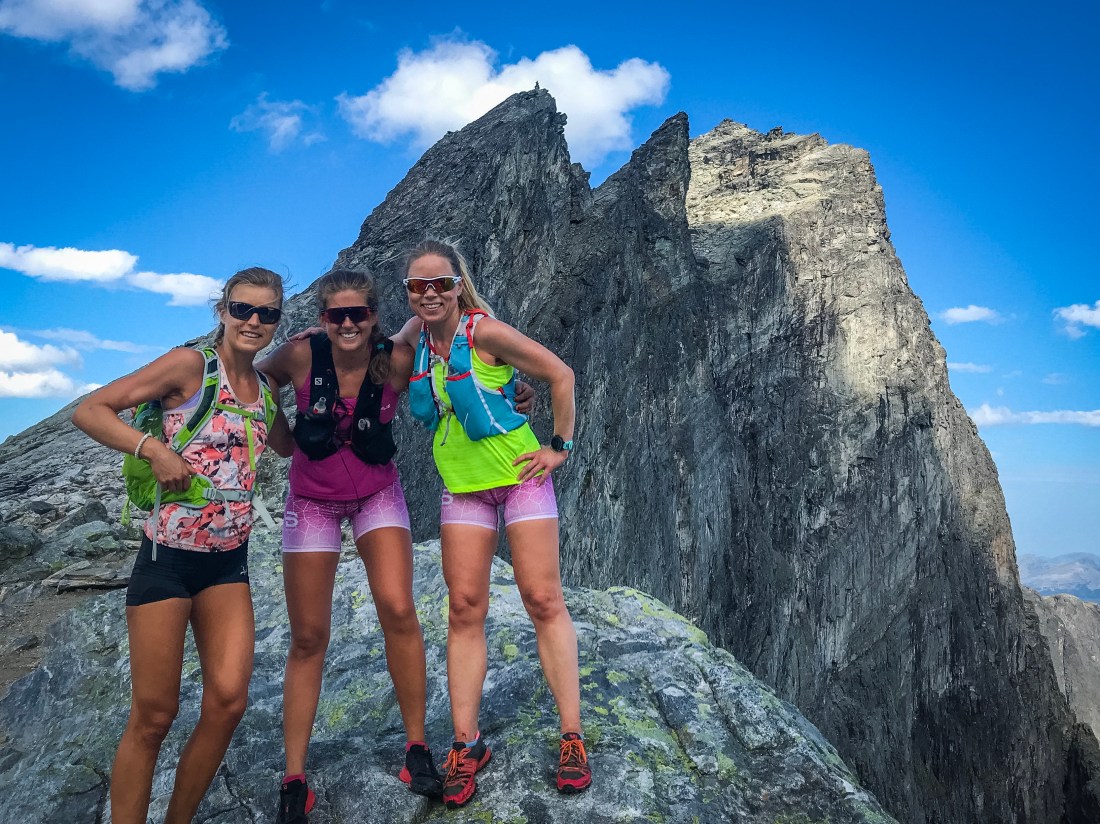
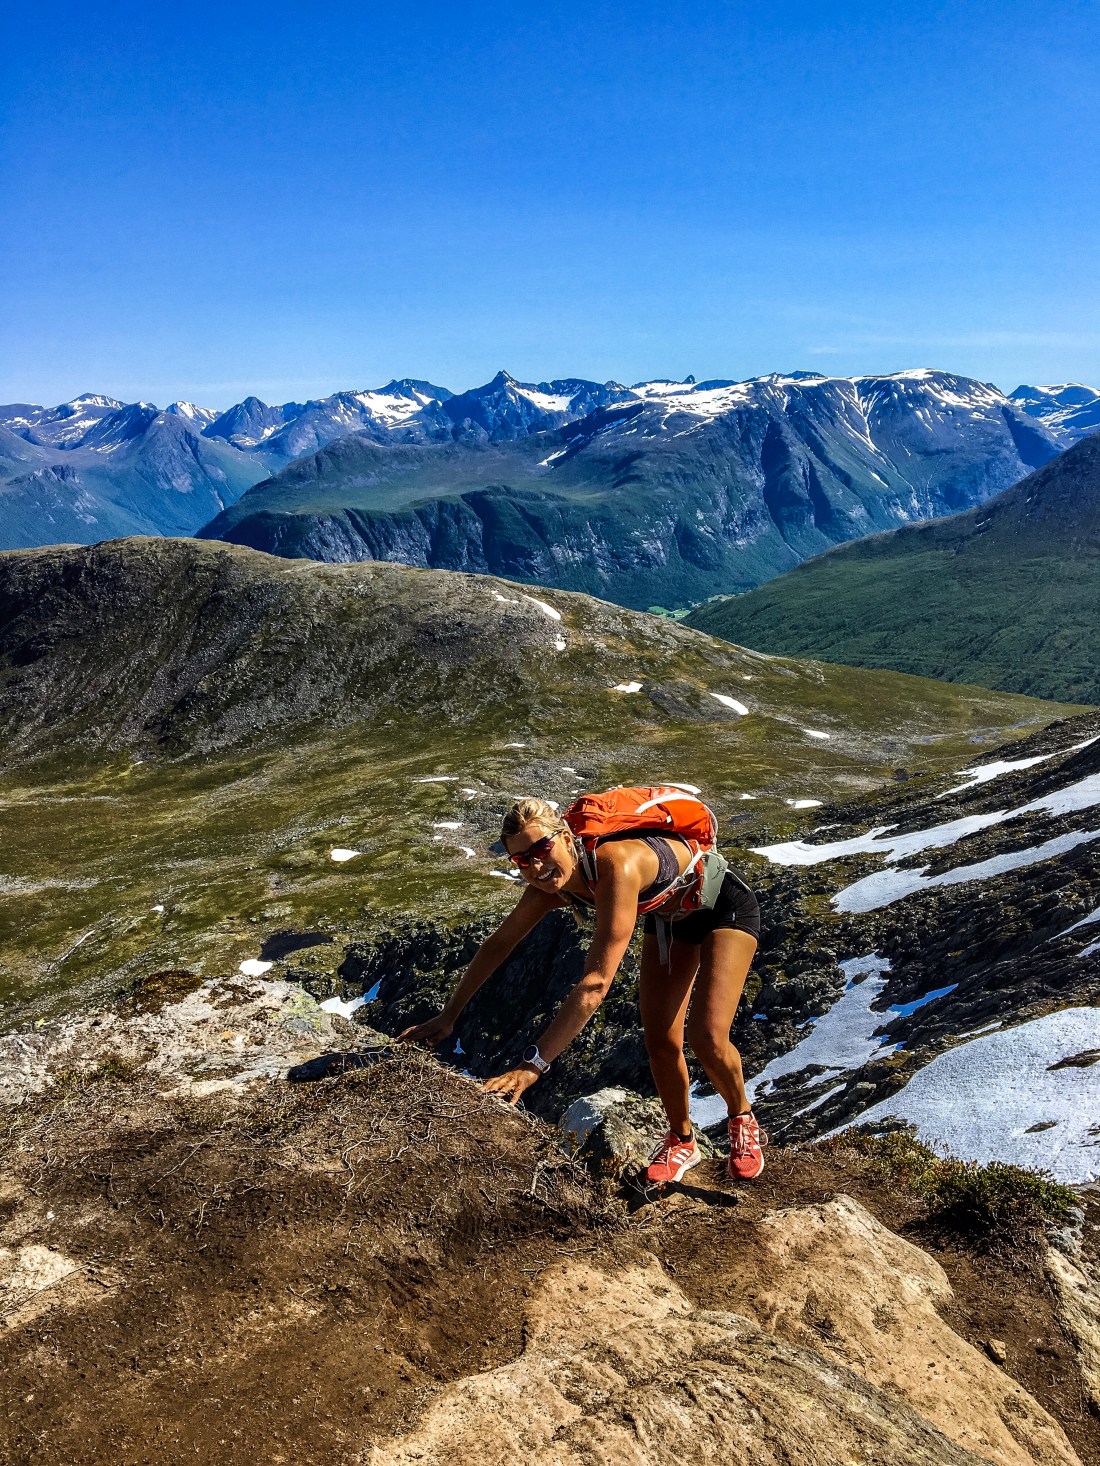
My travel buddy, Kaja, and I both prepared well in advance and made individual lists of summits we wanted to include in our itinerary. Luckily, we had made the same picks. In addition to the runs we were able to tick off, we had Værøy and Reinebringen on our list. Værøy we had to leave out due to logistics and the limited time we had available. Reinebringen was closed for trail construction (to reopen during July 2019).
None of the summits below will let you down, however, no hike/run in Lofoten probably will.
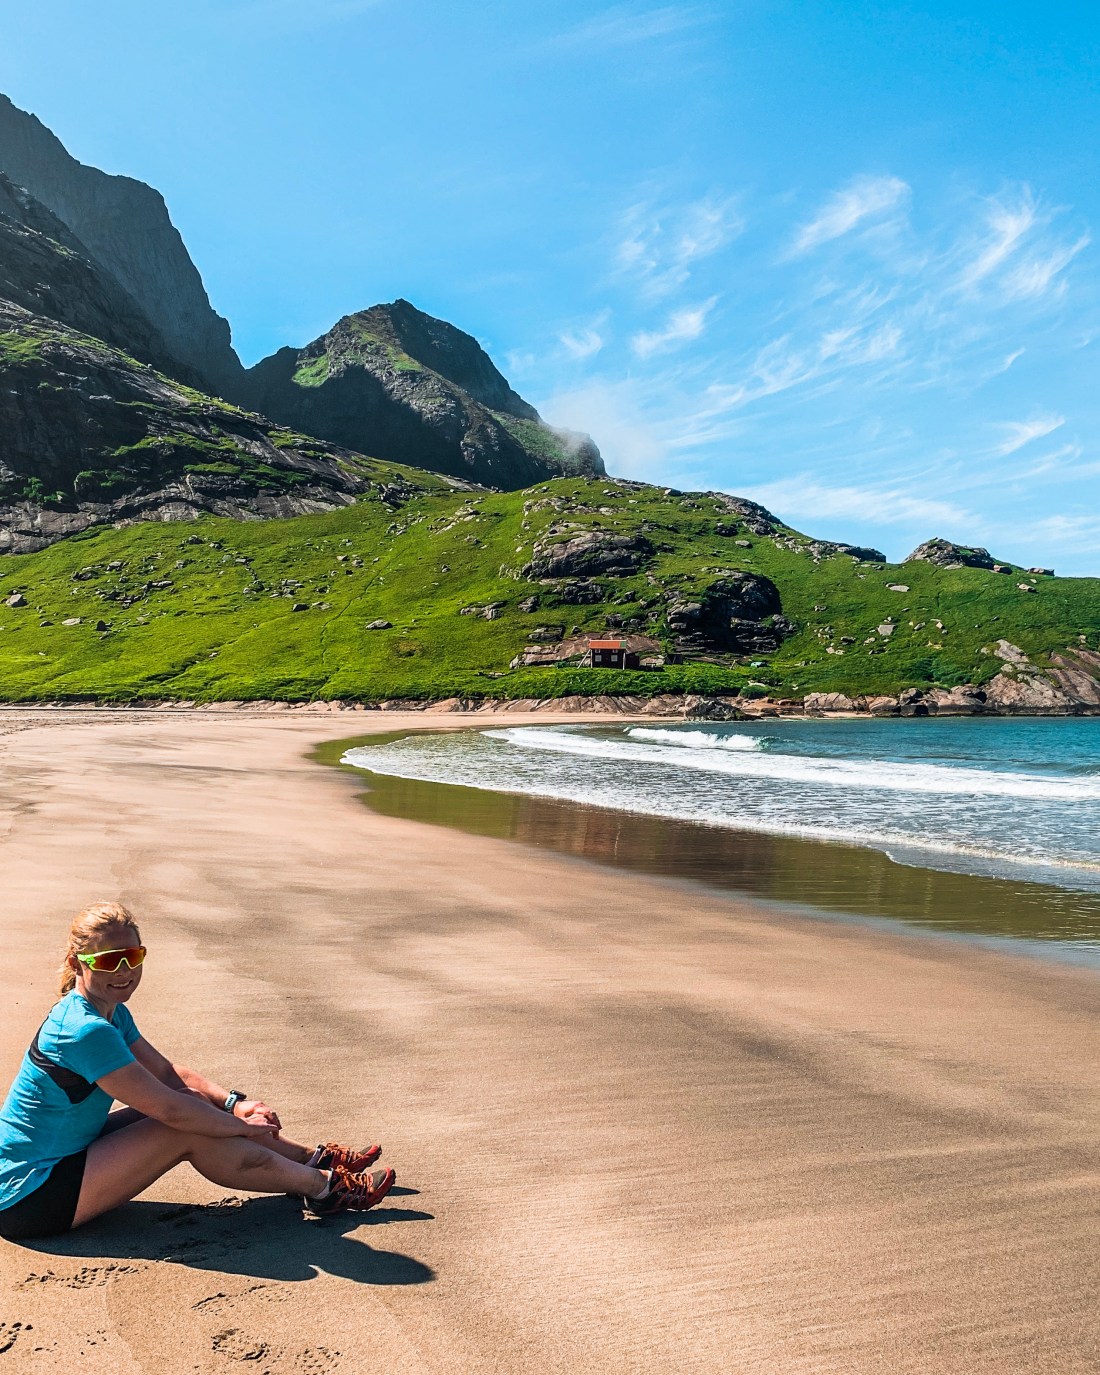
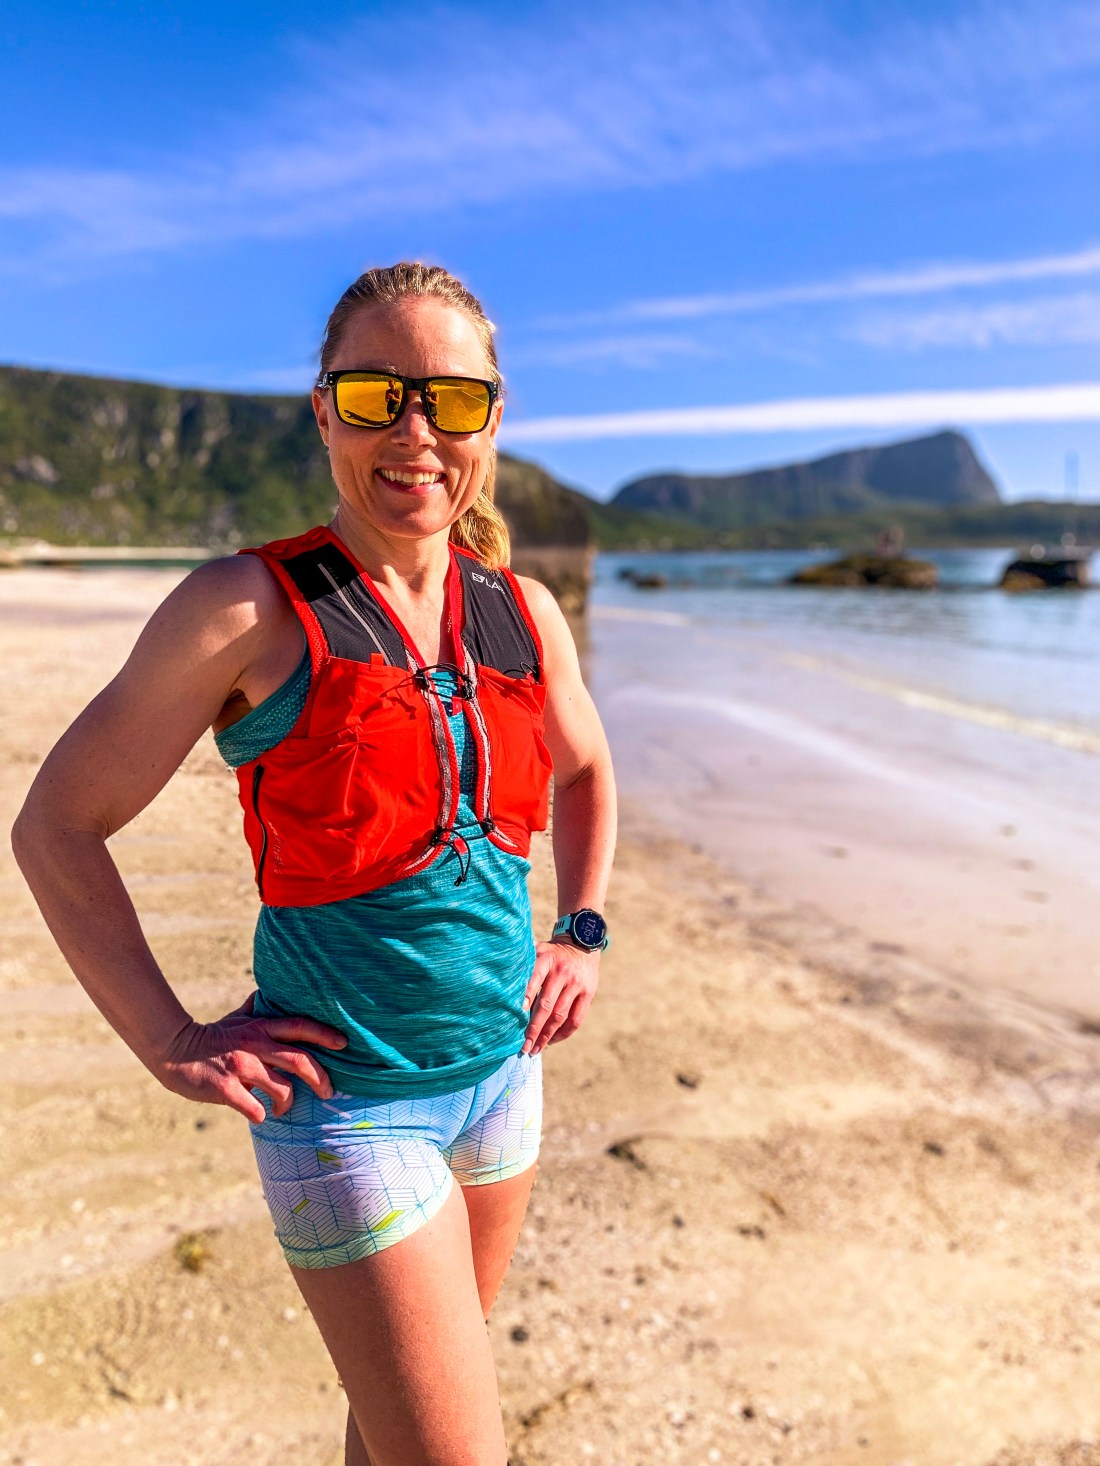
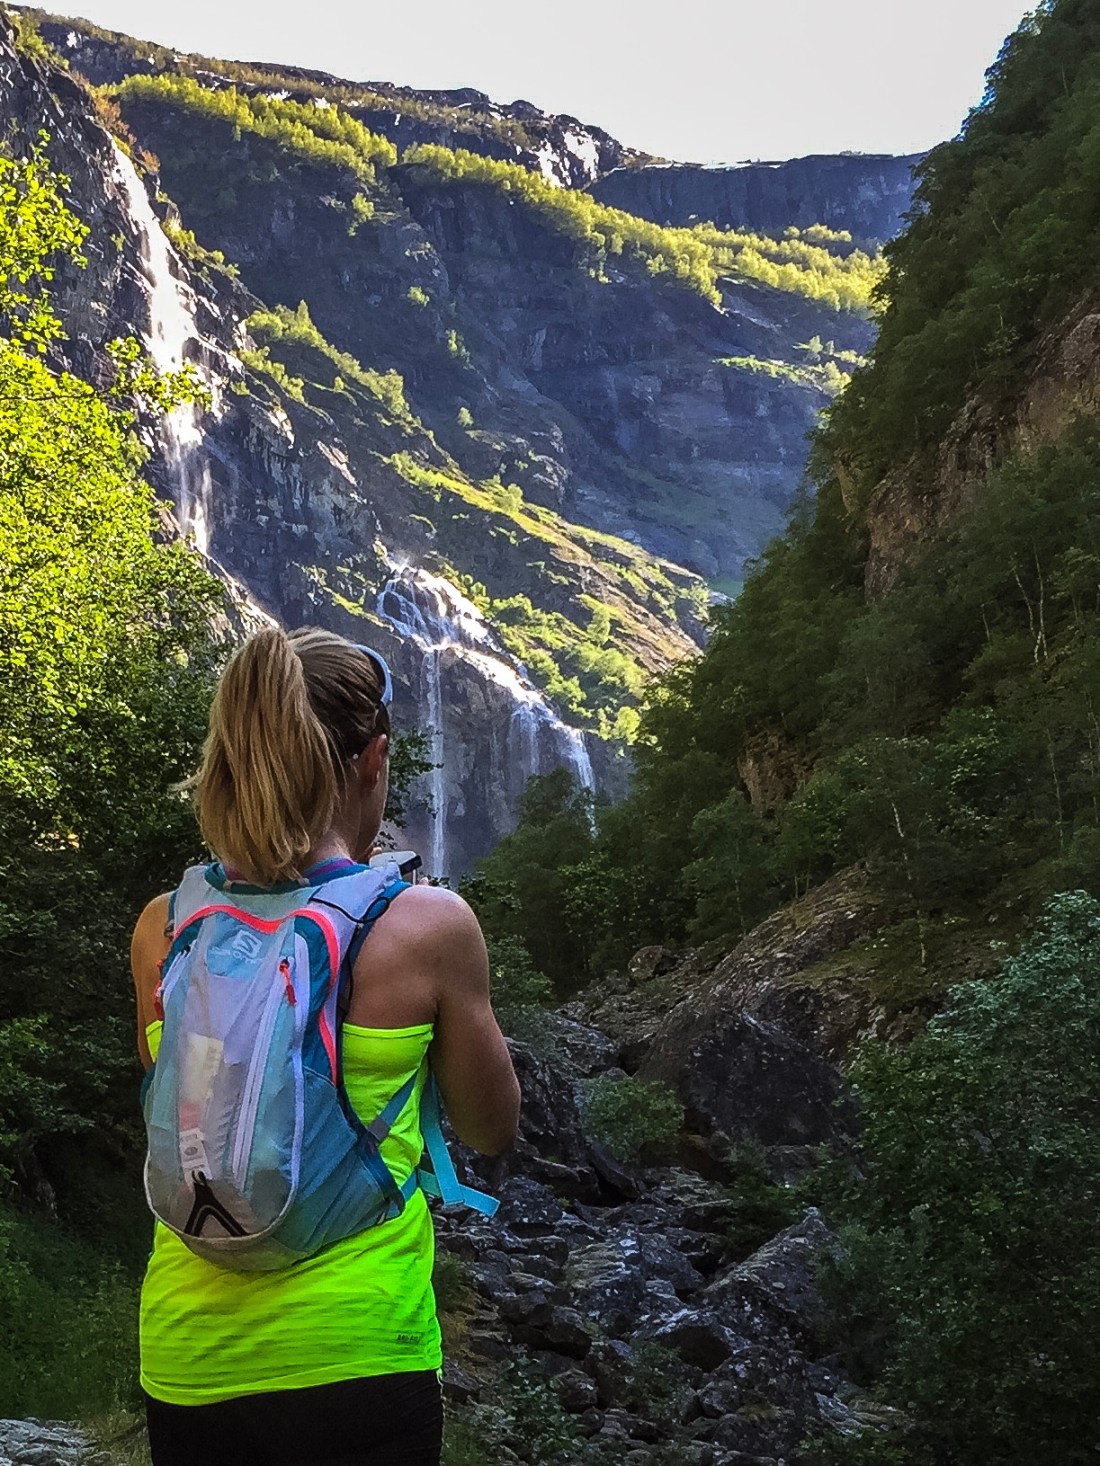
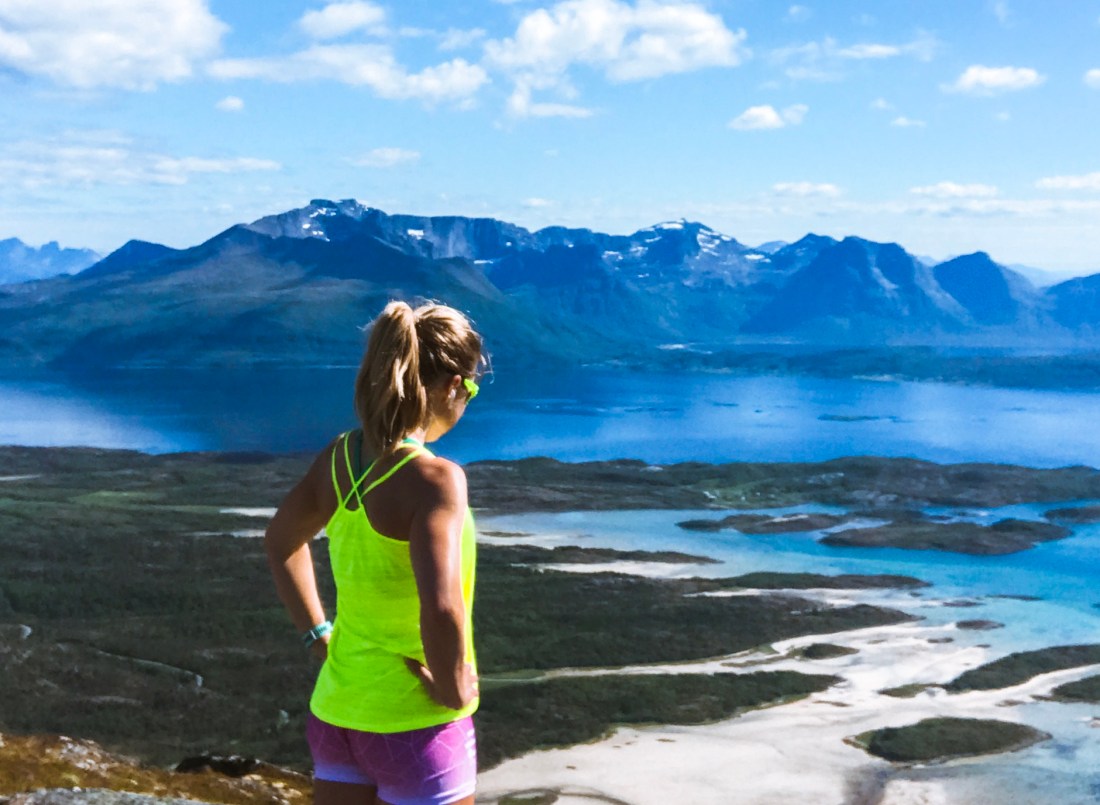
Himmeltinden and Haukland beach
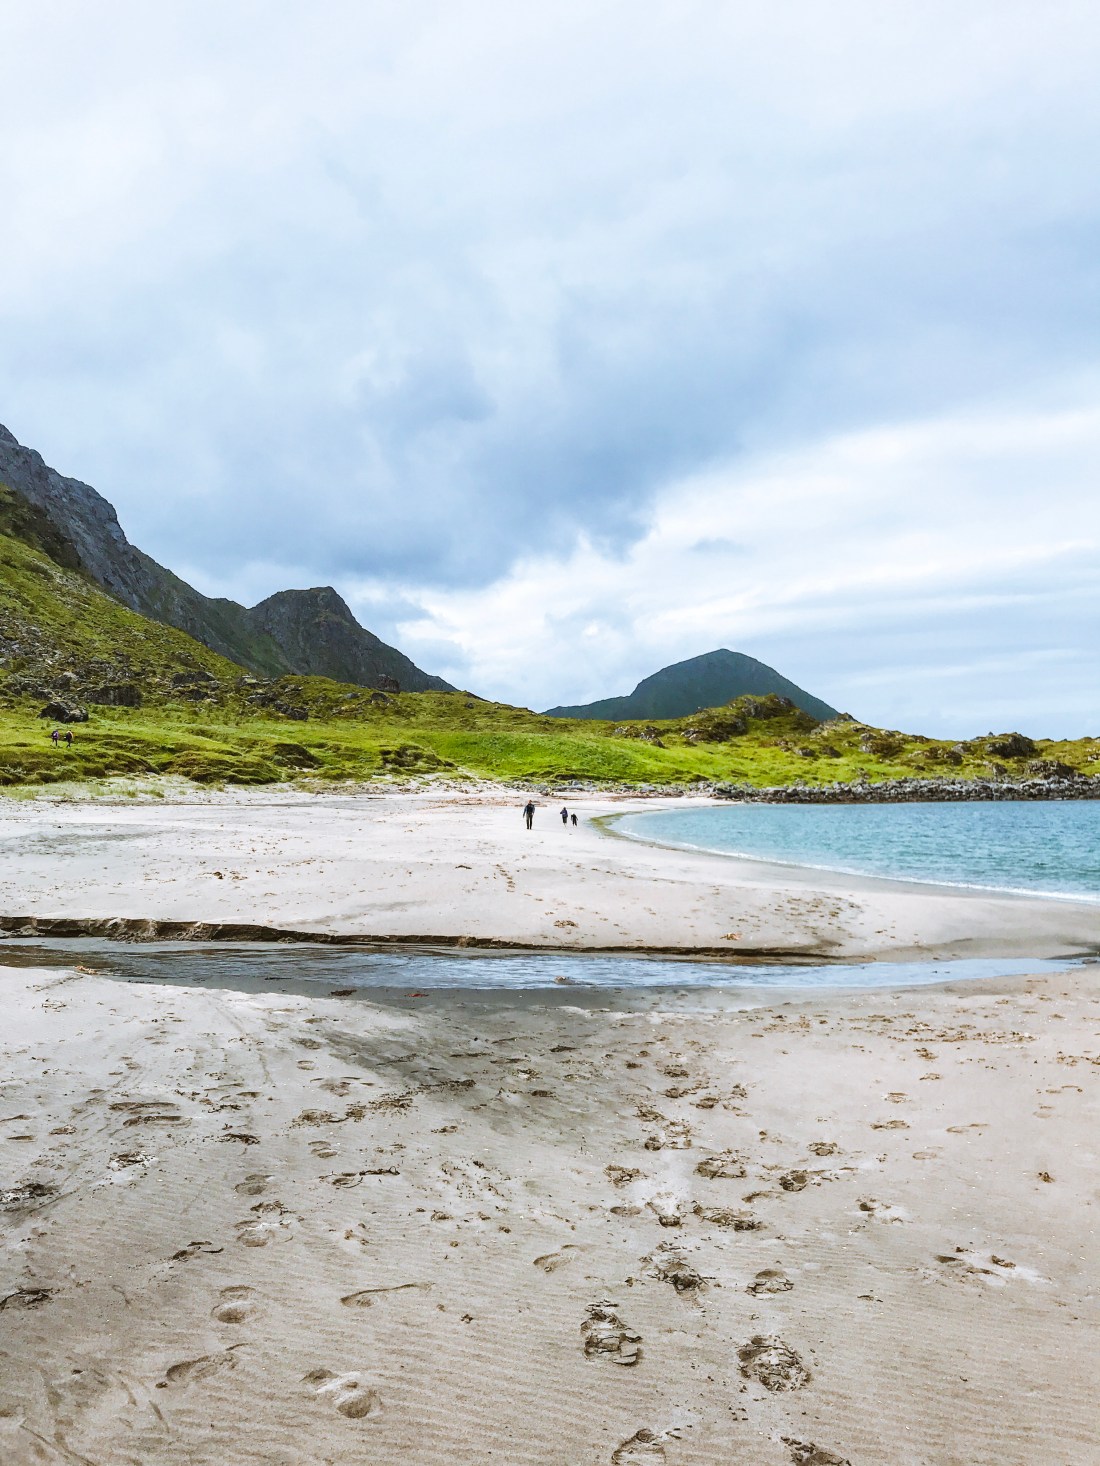
Arriving at Haukland beach, your first thought may be to skip the summit and stay at the beach. I promise you, chilling at the beach after your run, will feel even better.
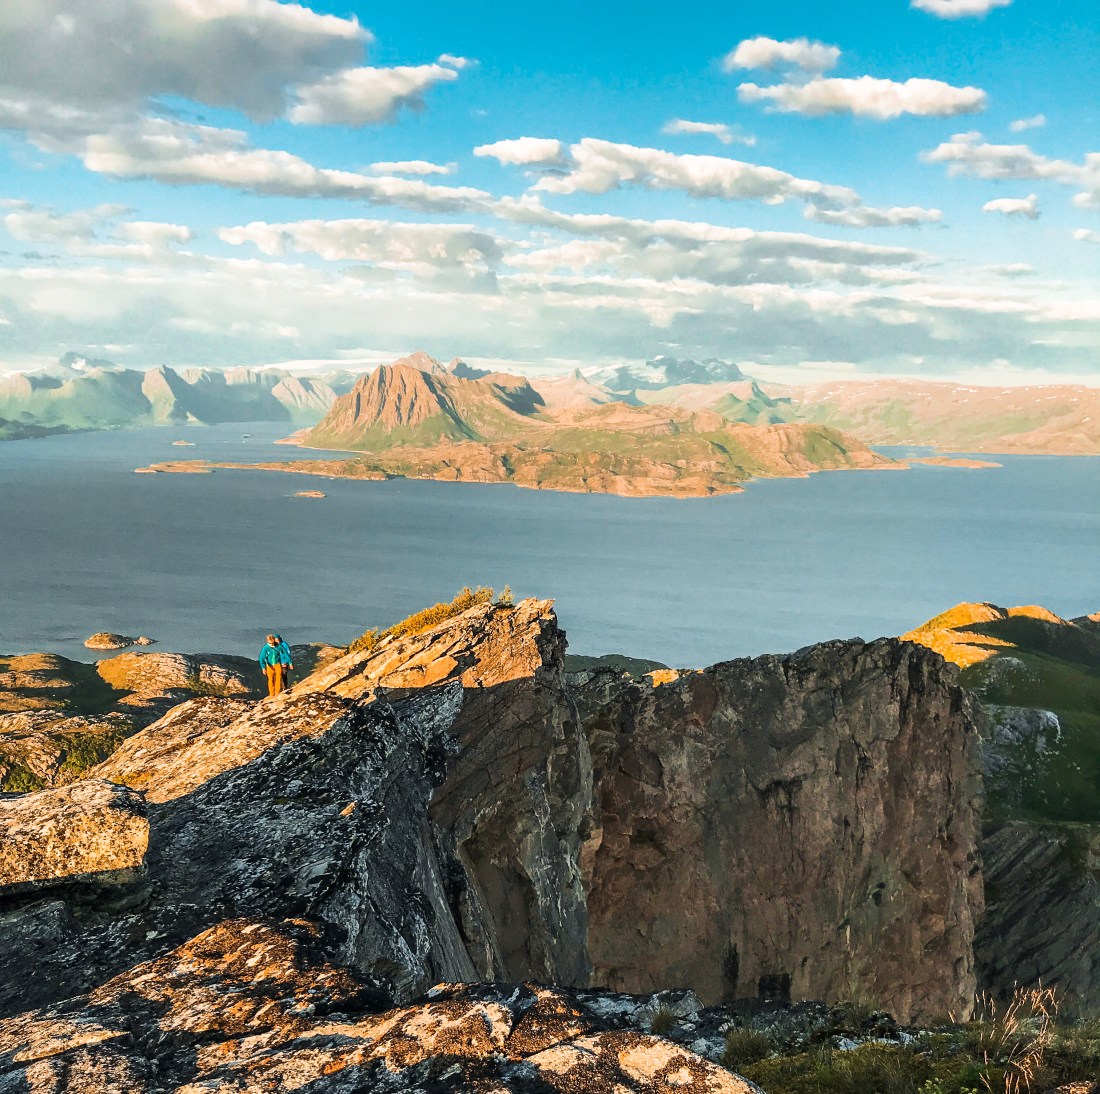
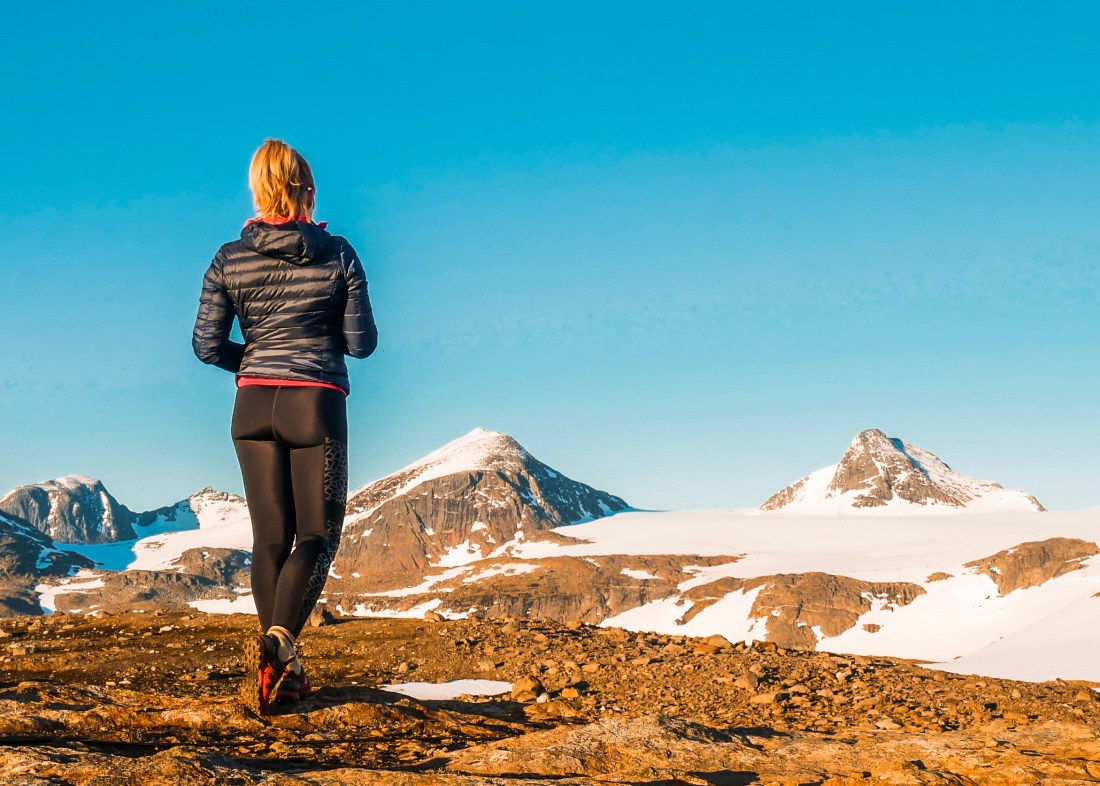
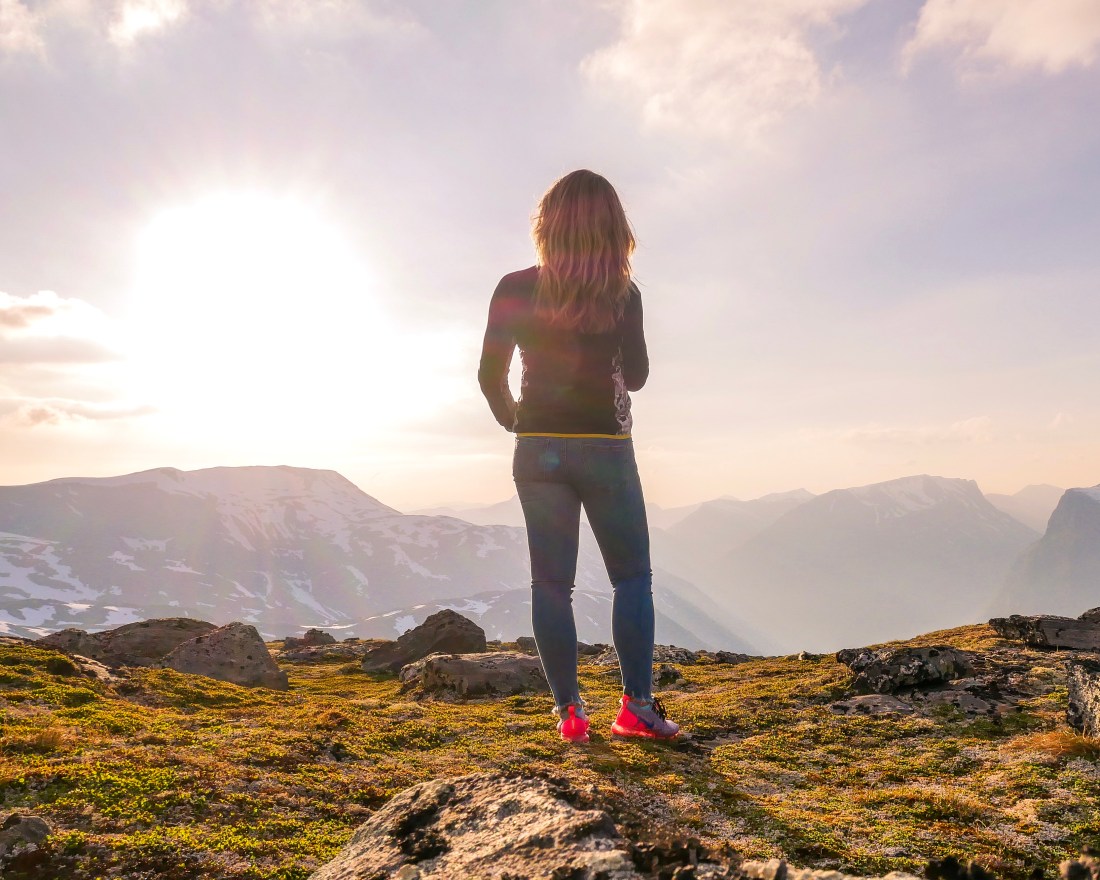
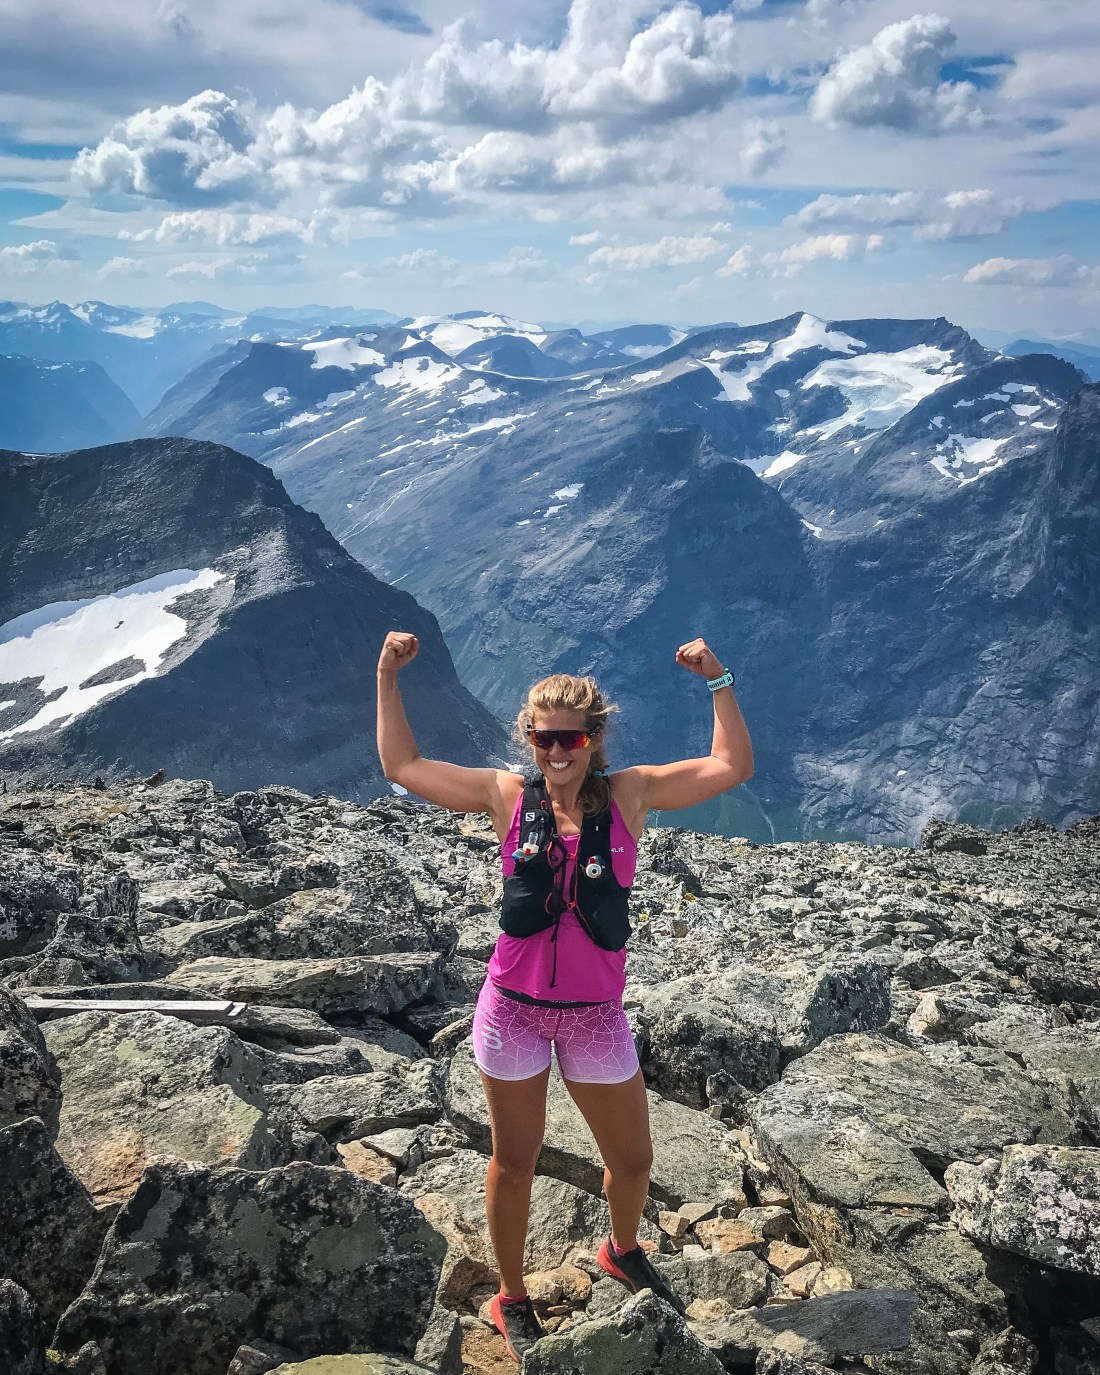
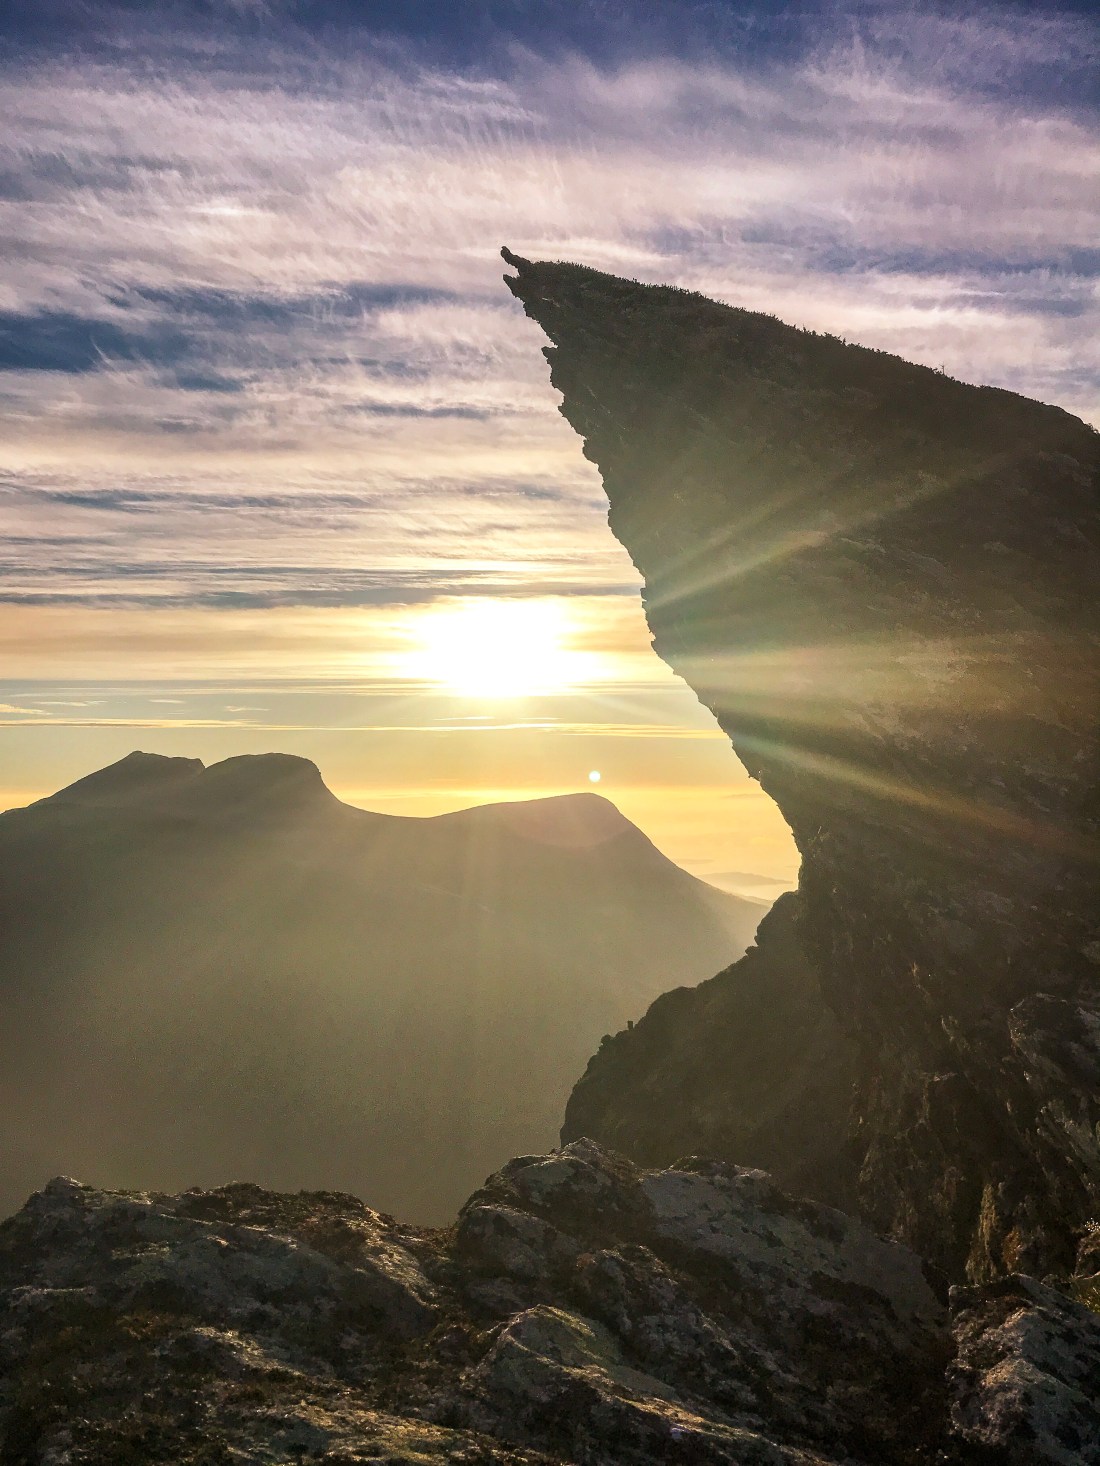
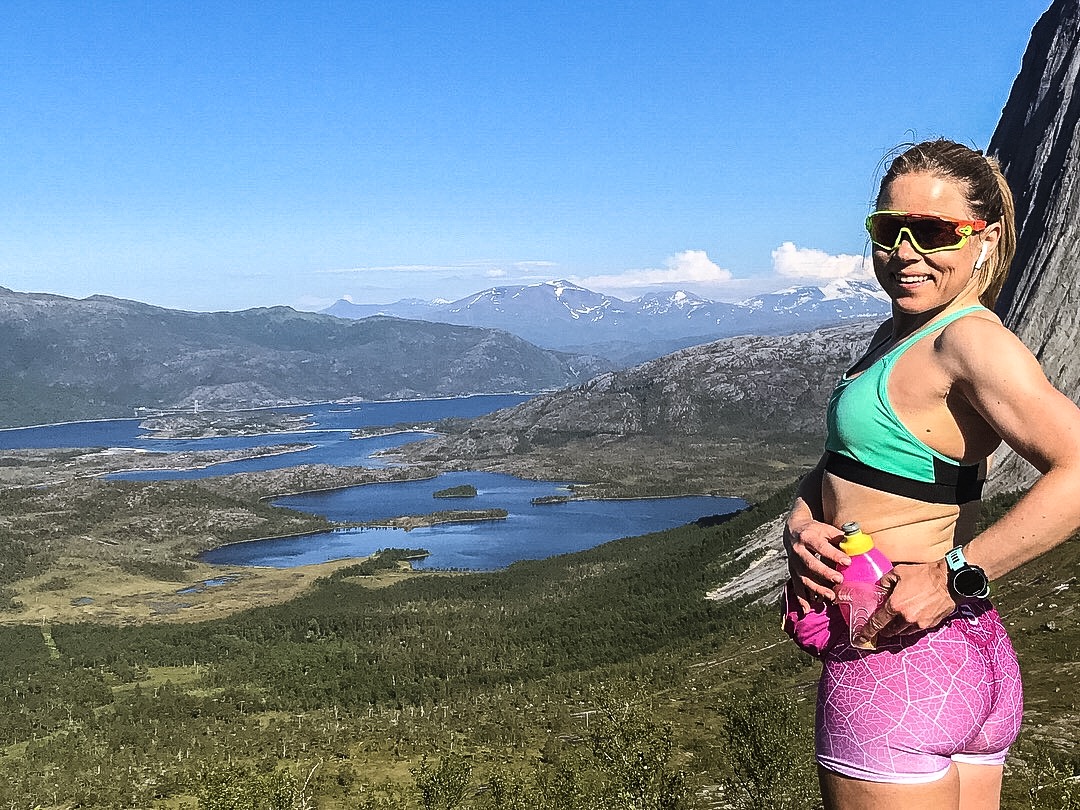
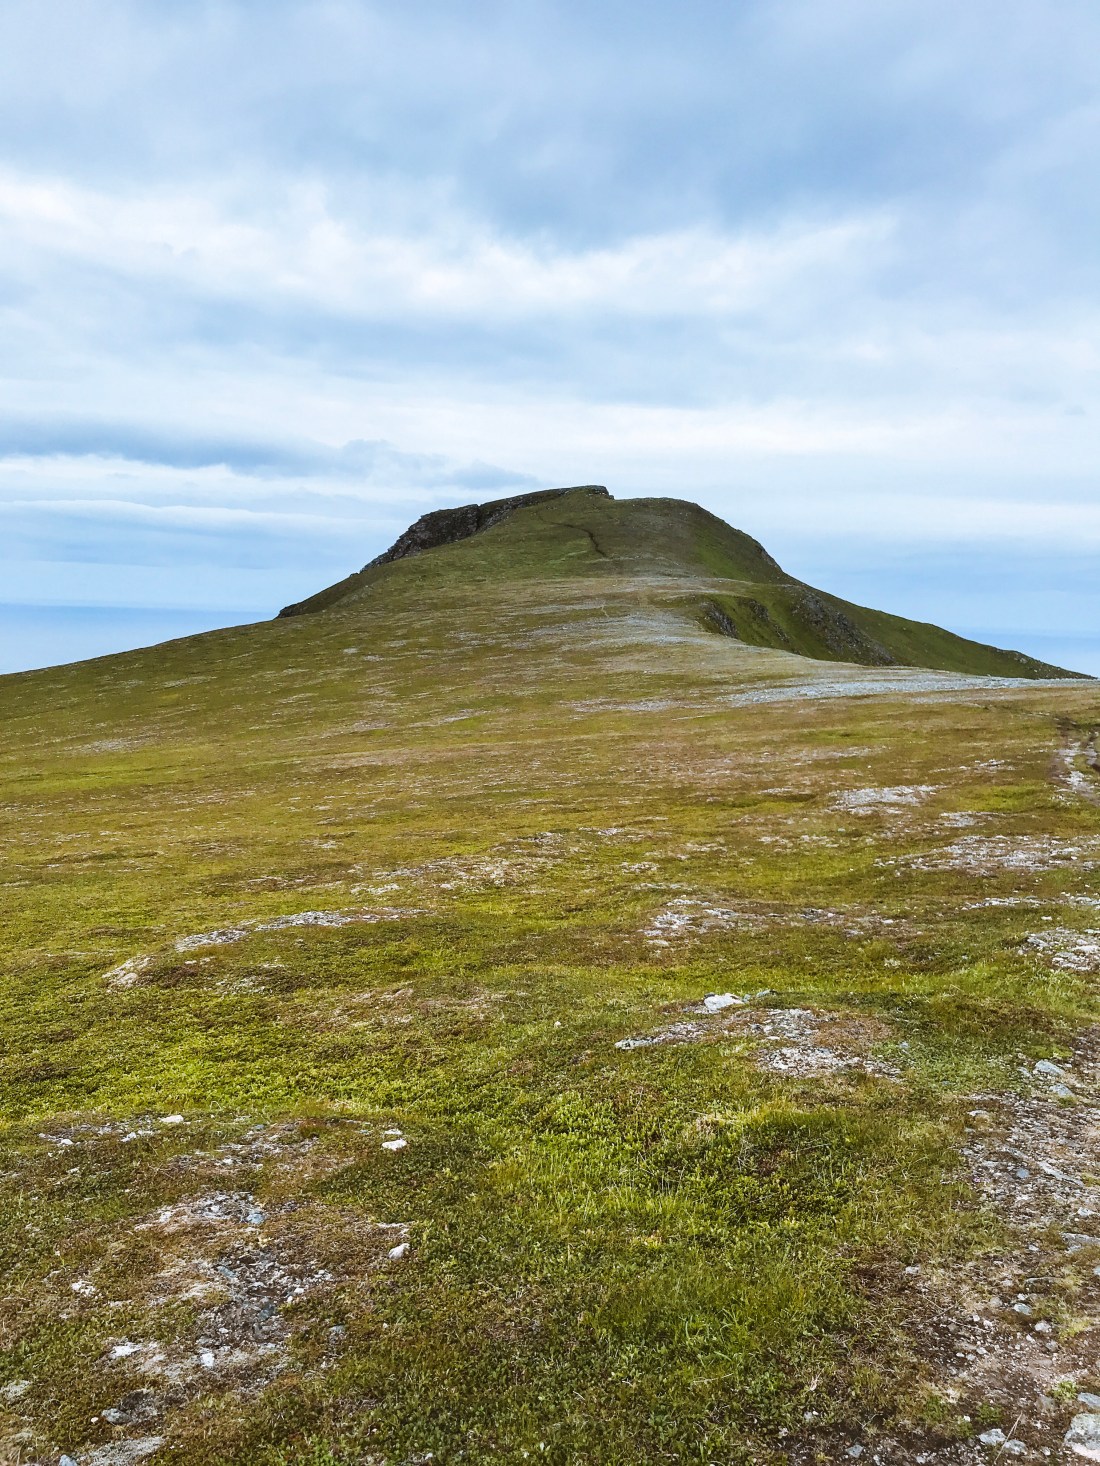
Himmeltinden was the highest summit of our Lofoten trip with its 964 m.a.s. The trailhead is across the Haukland beach parking, just before driving into the Uttakleiv tunnel. The four kilometer trail to the summit has runable sections as well as steeper parts and amazing views already from the beginning. Enjoy the exceptional views at around 700 m.a.s. before taking on the last part of the climb. Bring a dry shirt and some warm clothes to make yourself comfortable at the summit. And, if you can, go for the sunset/midnight sun experience!
Gravel in some of the steeper parts may cause you to slip, so take it easy downhill. And don’t forget bringing a towel for a dip in the ocean after the run!
Strava for details: Himmeltinden
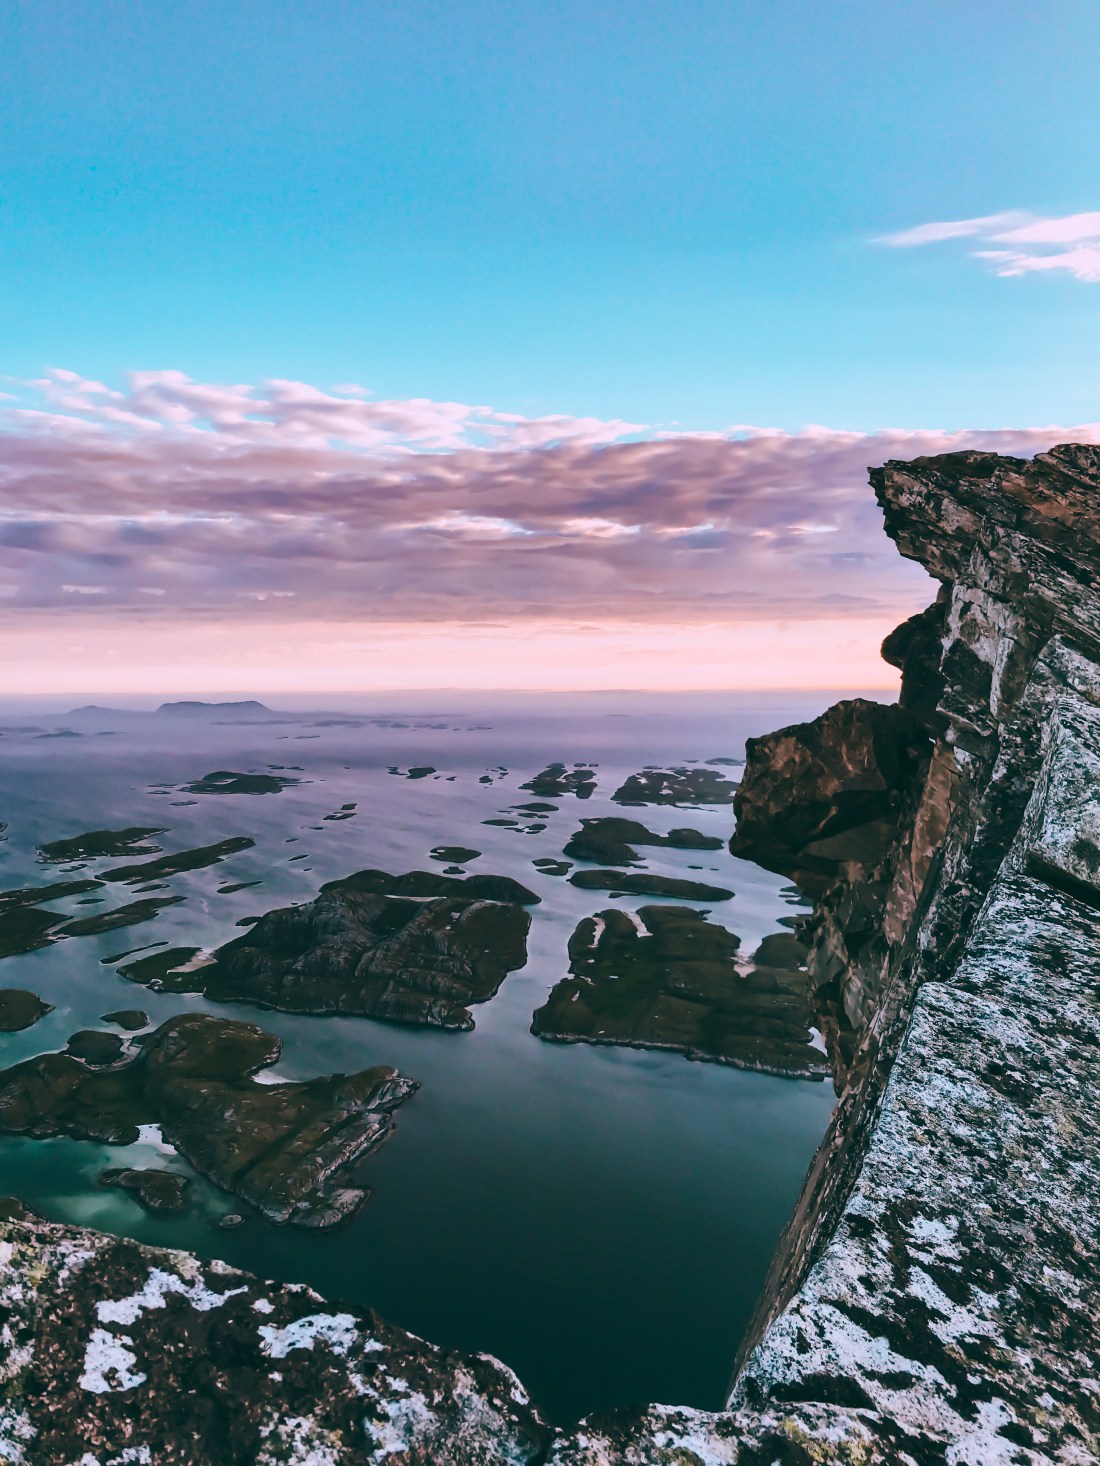
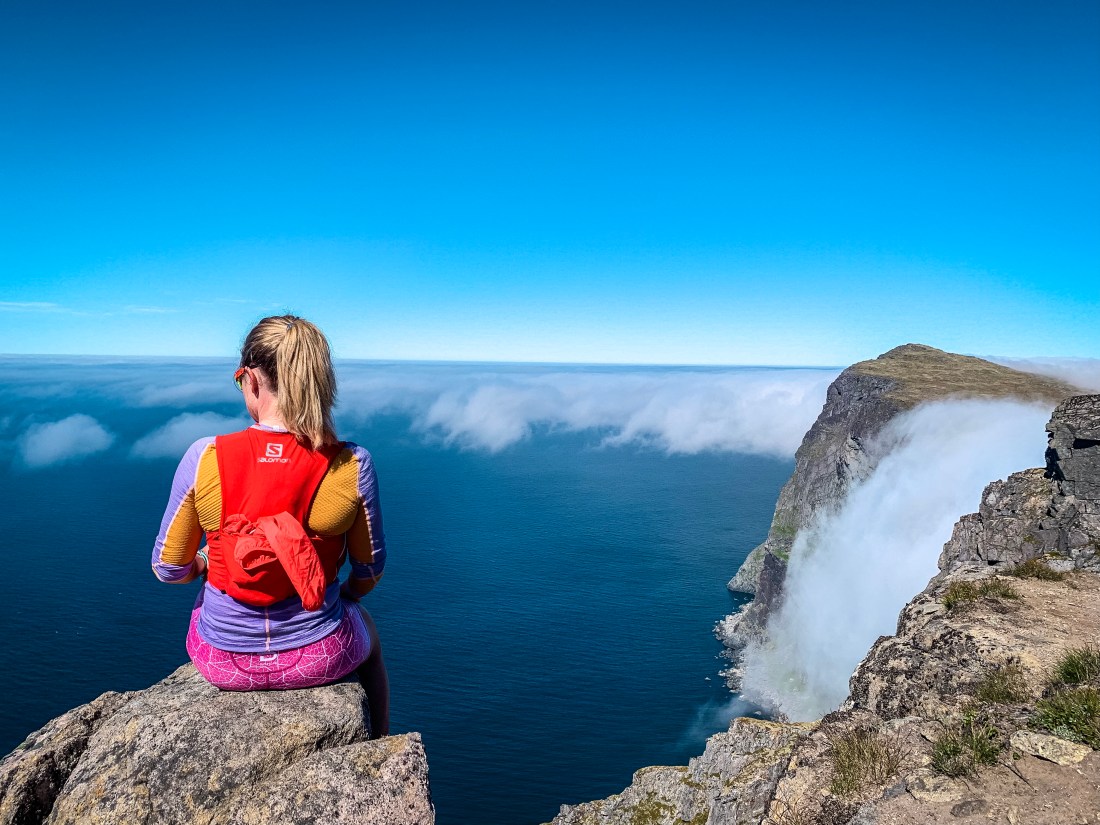
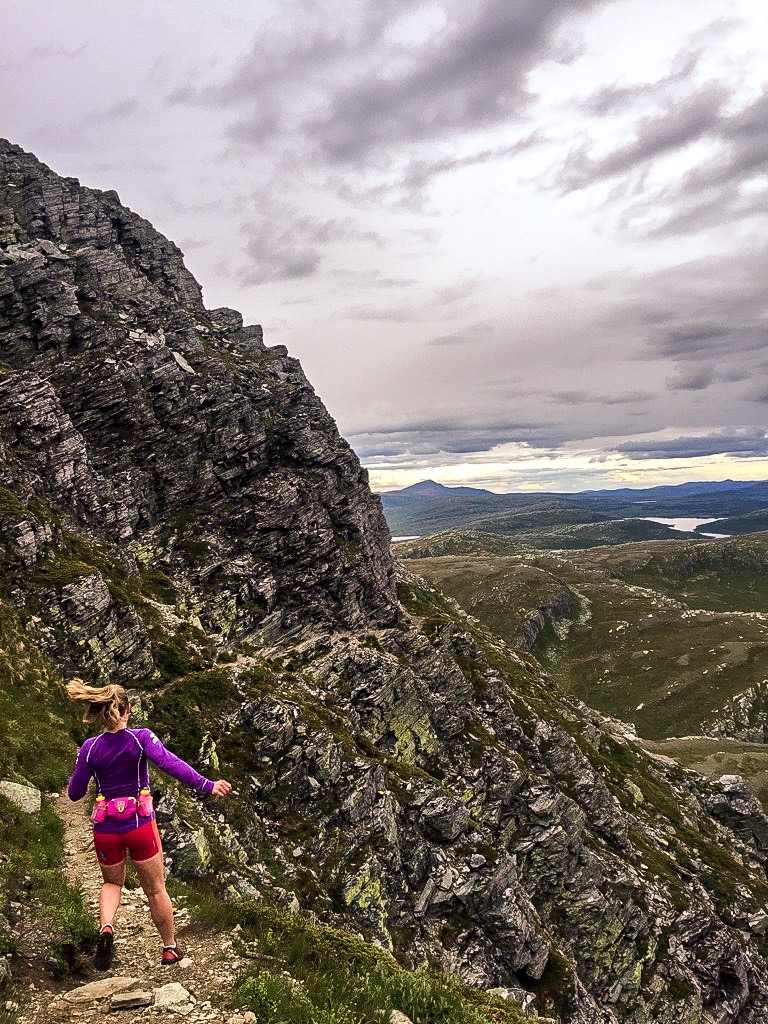
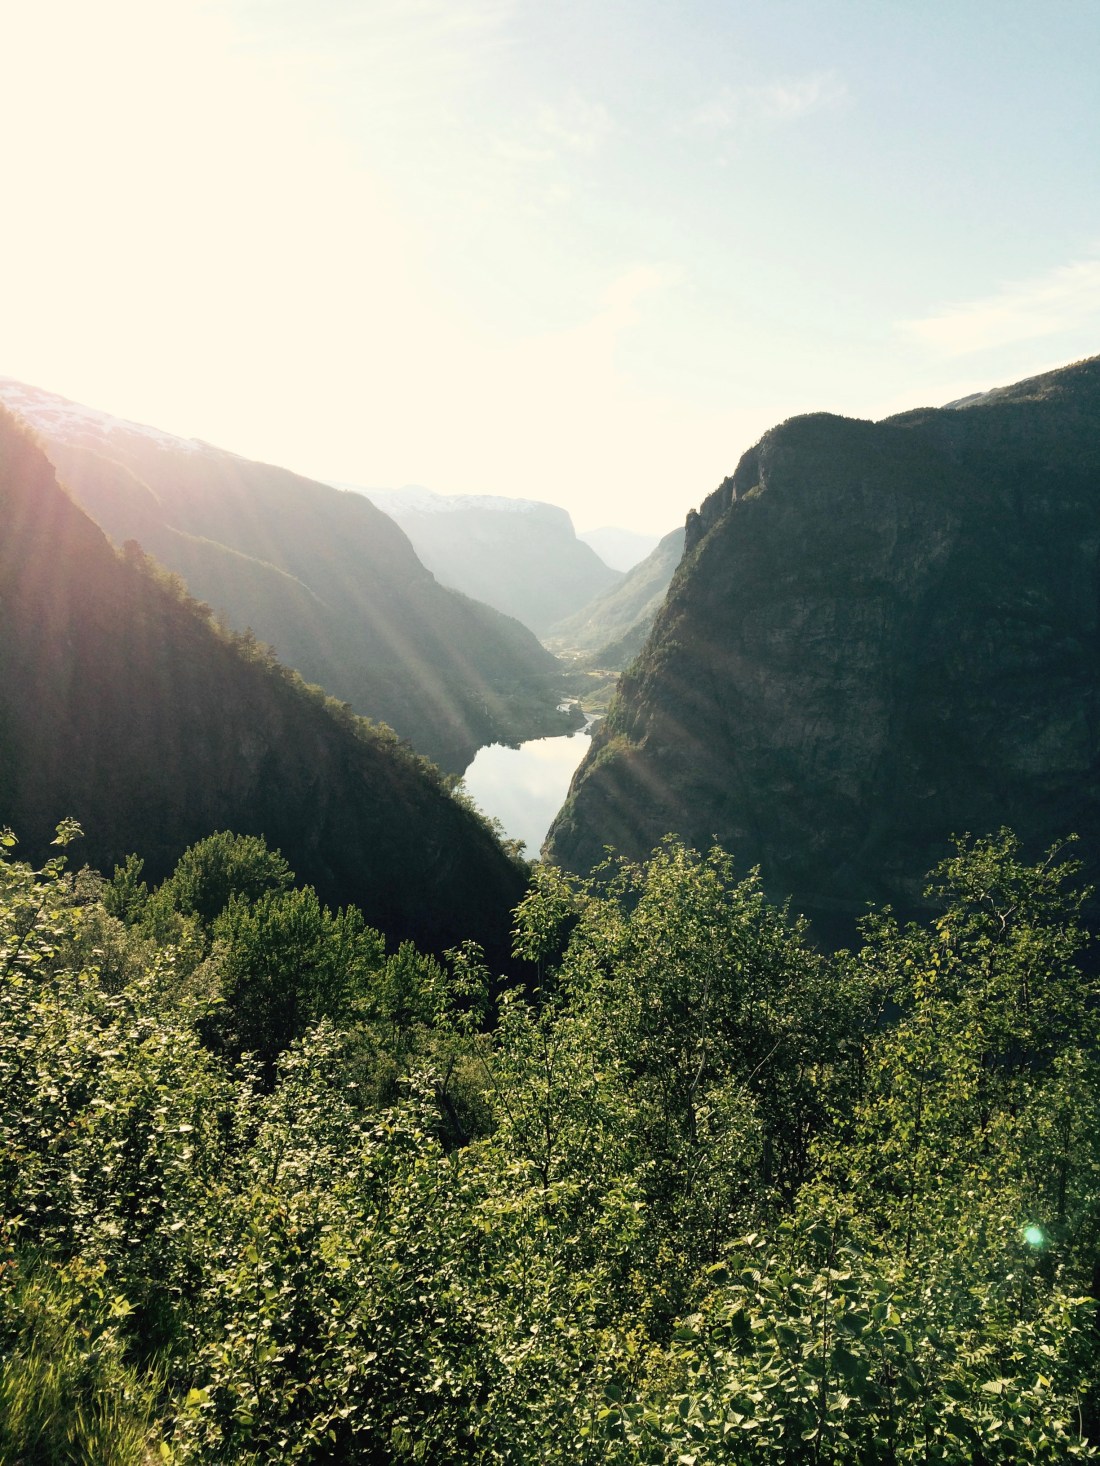
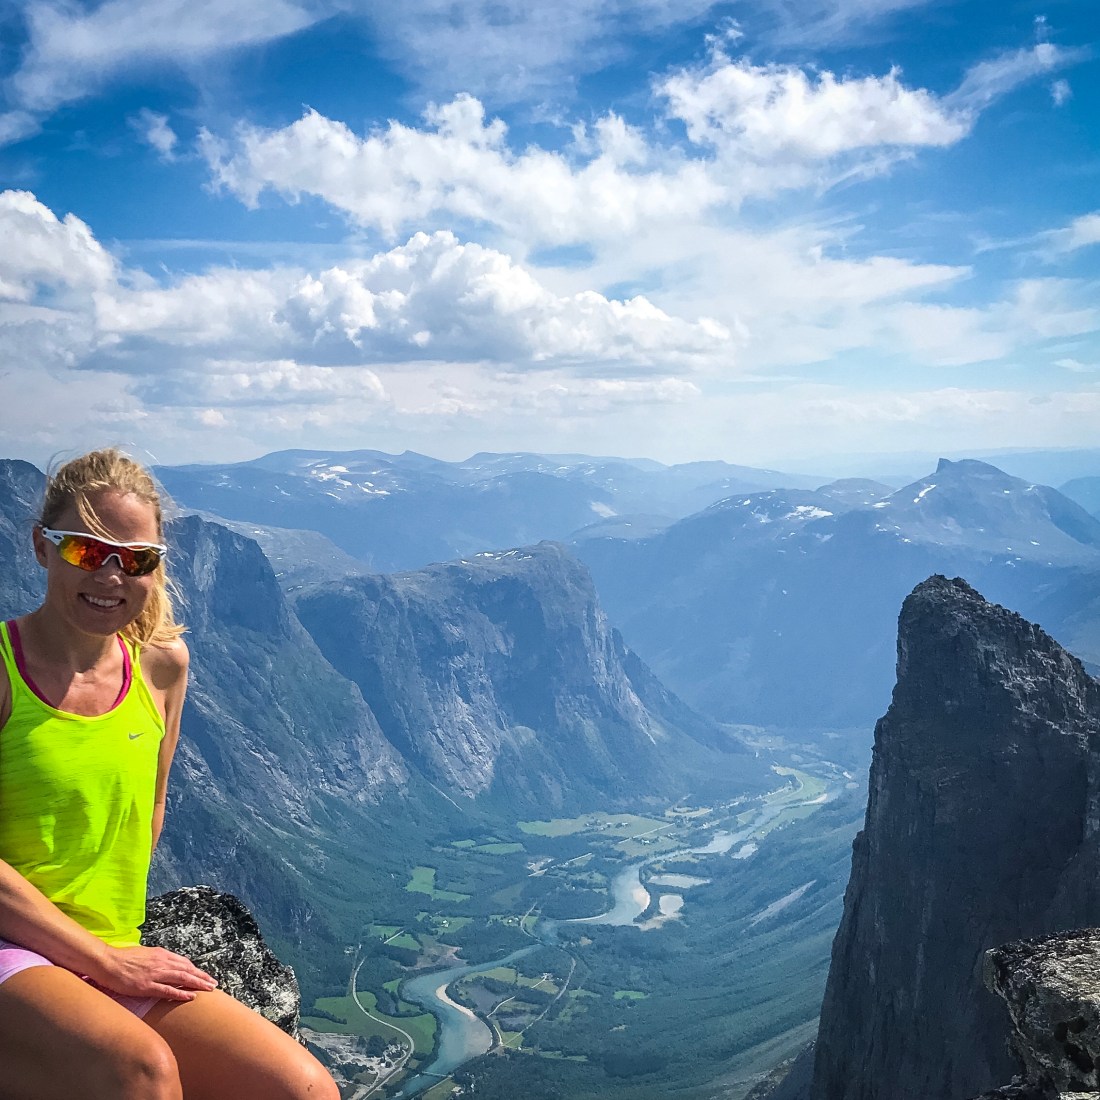
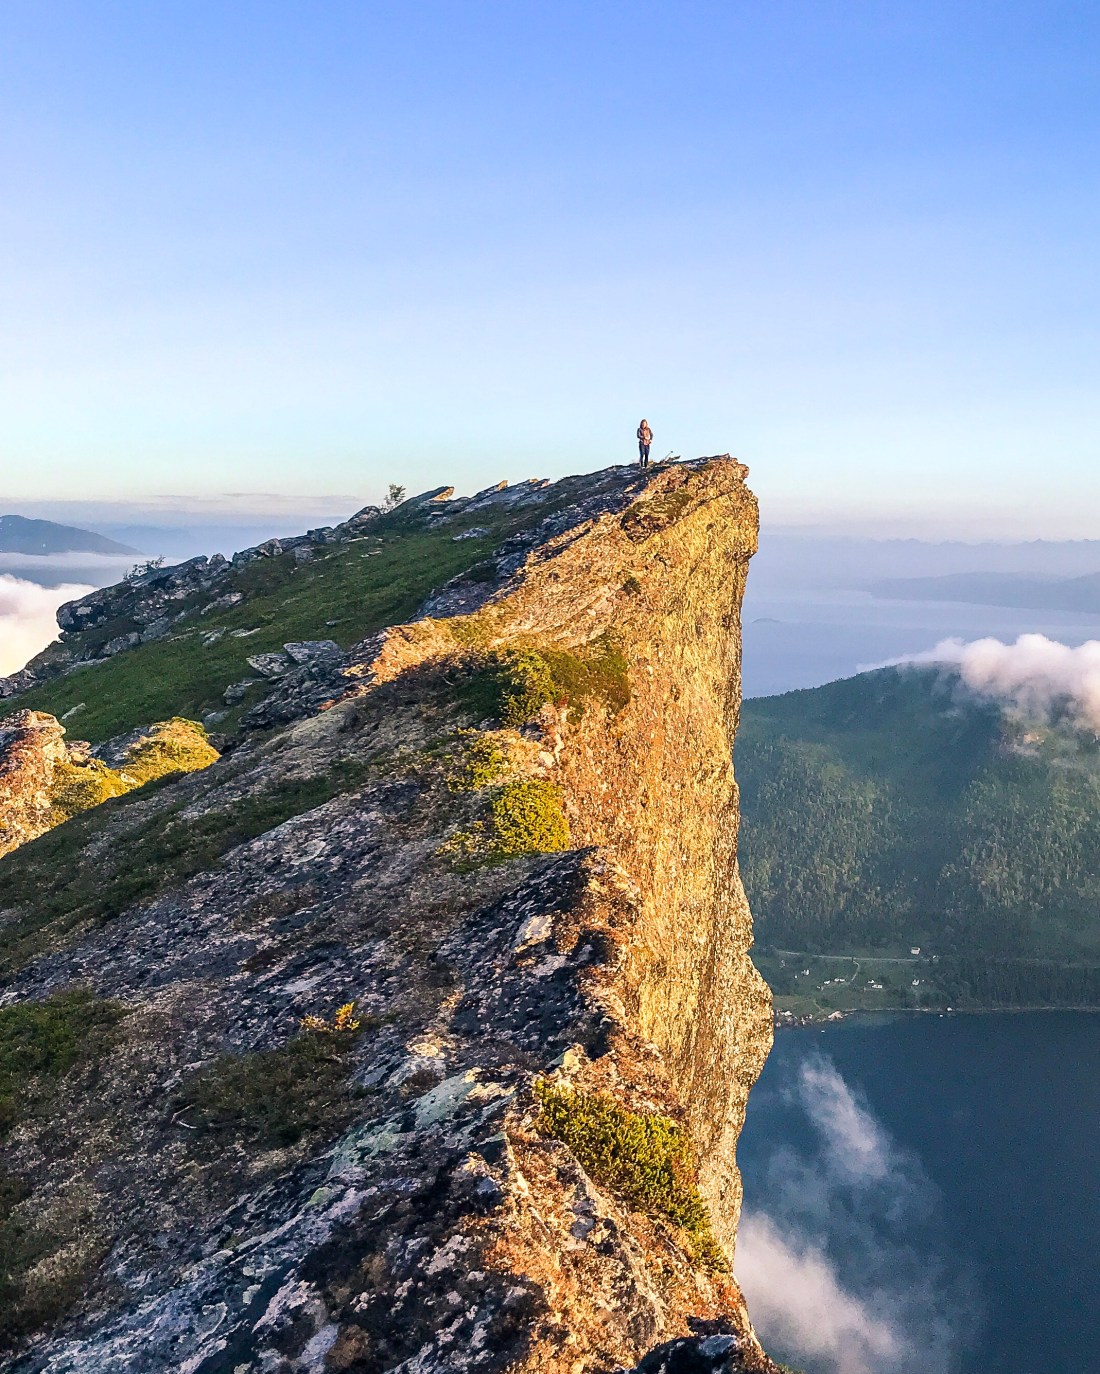
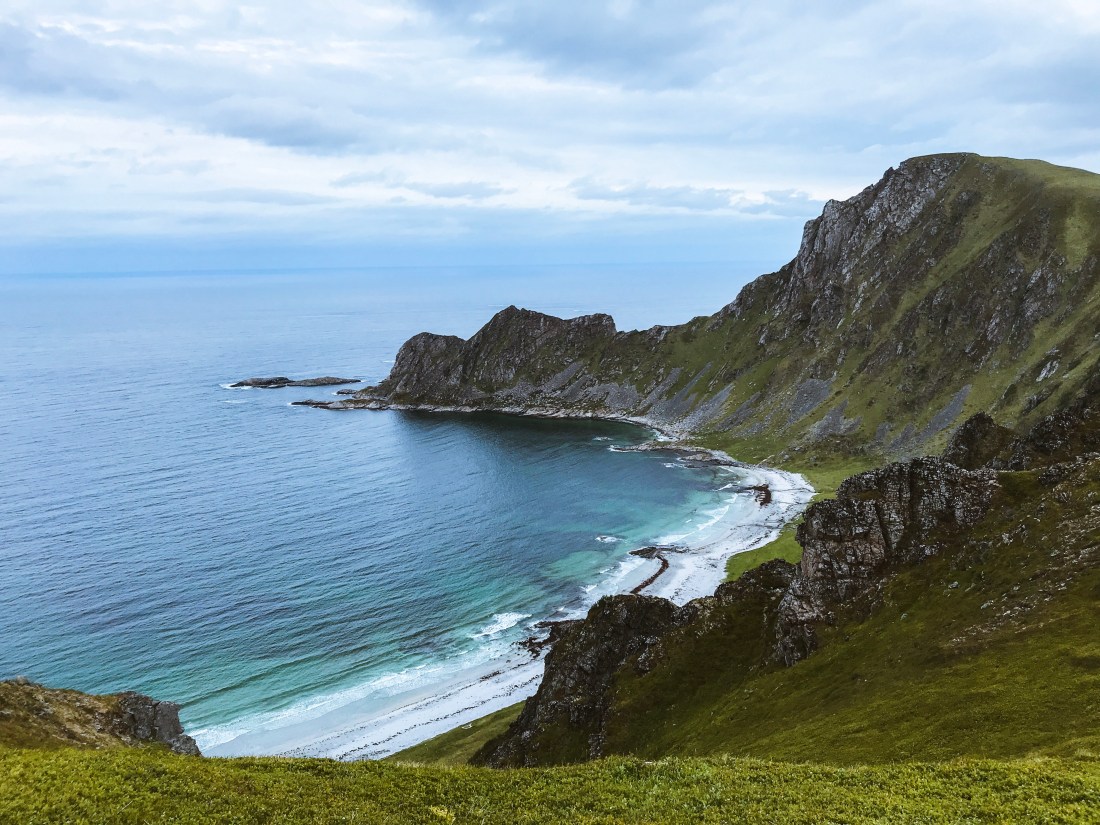
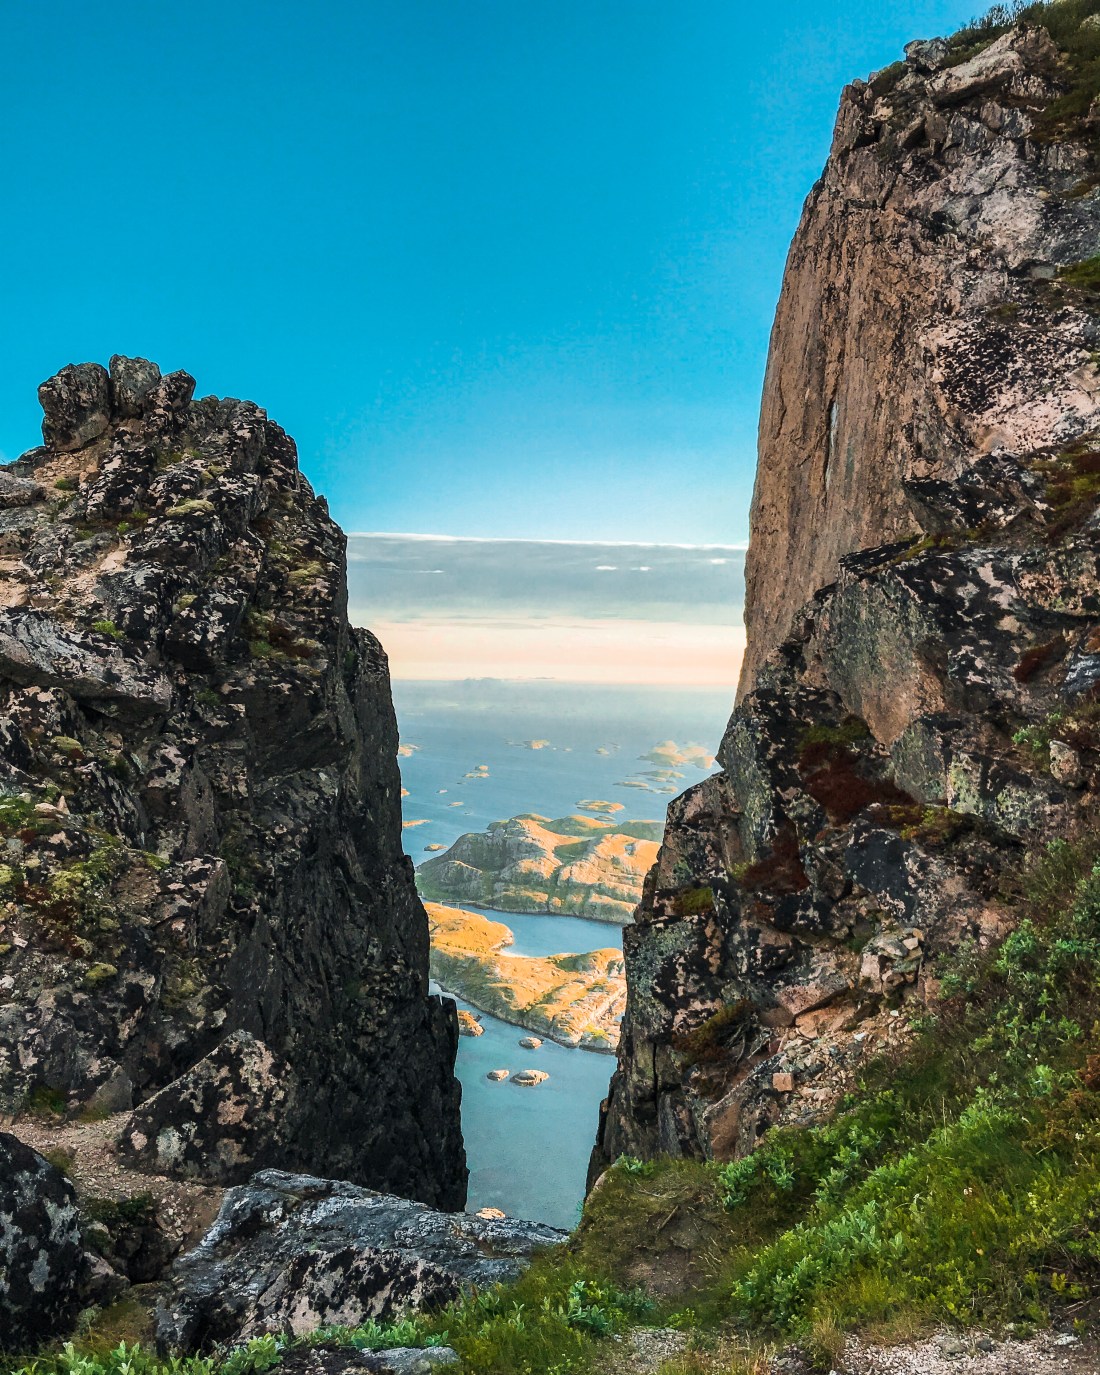
Helvetestinden and Bunes beach
Another great summit/beach combination is Helvetestinden and Bunes beach. To reach the trailhead, you need to take a 20 minutes boat ride from Reine to Vindstad. Go here for the schedule.
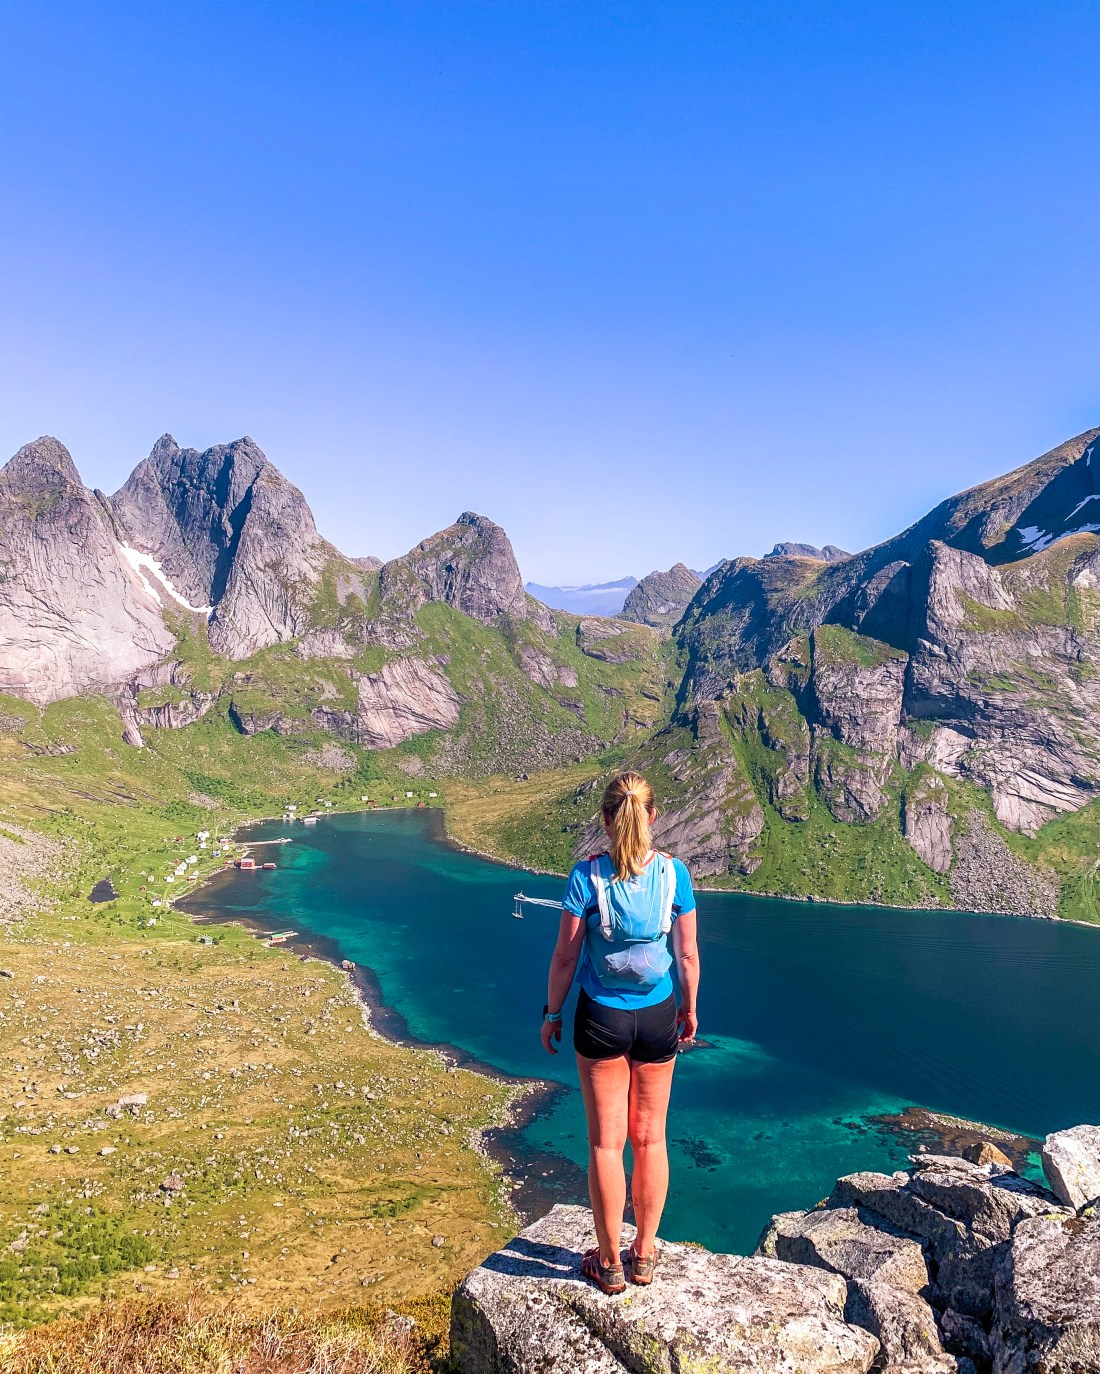
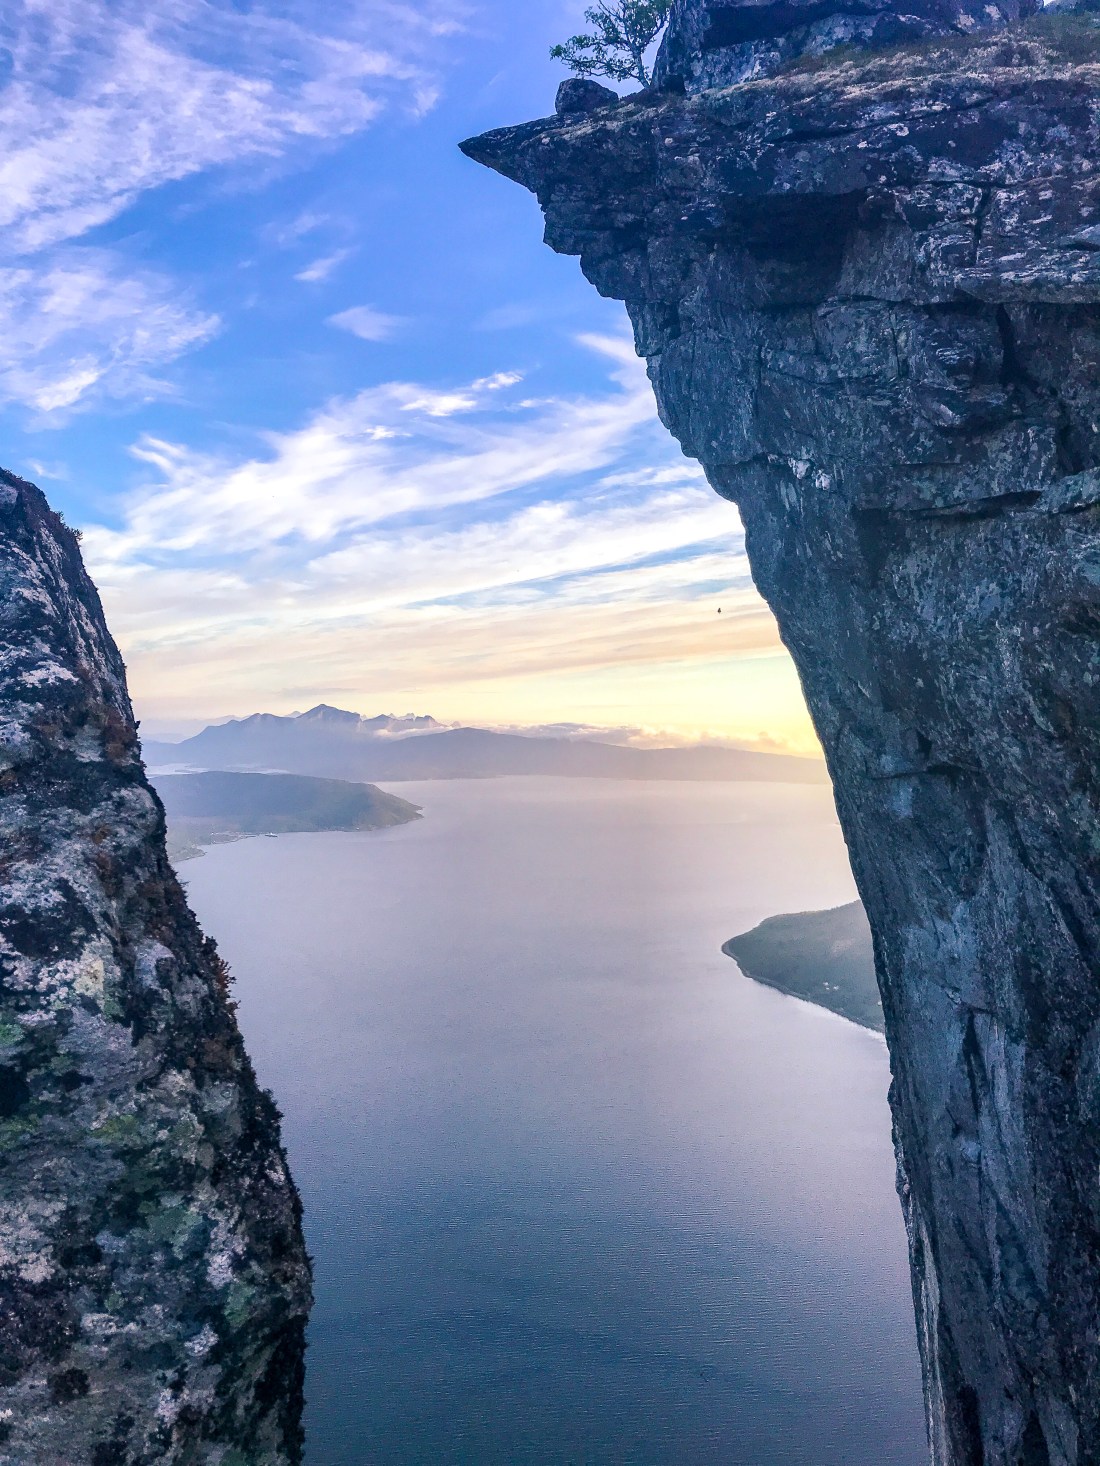
Once you reach Vindstad, the initial two kilometers are practically flat before you have to tackle almost 600 meters of elevation gain divided on the last two kilometers. Don’t miss the gramable spot and a peek into Kjerkfjorden at around 500 m.a.s. before the last climb. Again, bring what you need to stay comfortable at the top of Helvetestinden, 602 m.a.s. and take time to enjoy the beautiful view of Bunes beach. As Himmeltinden, this hike is also great for sunset/midnight sun, provided you have the logistics settled. Also, bring enough water, as the climb does not provide any drinking sources.
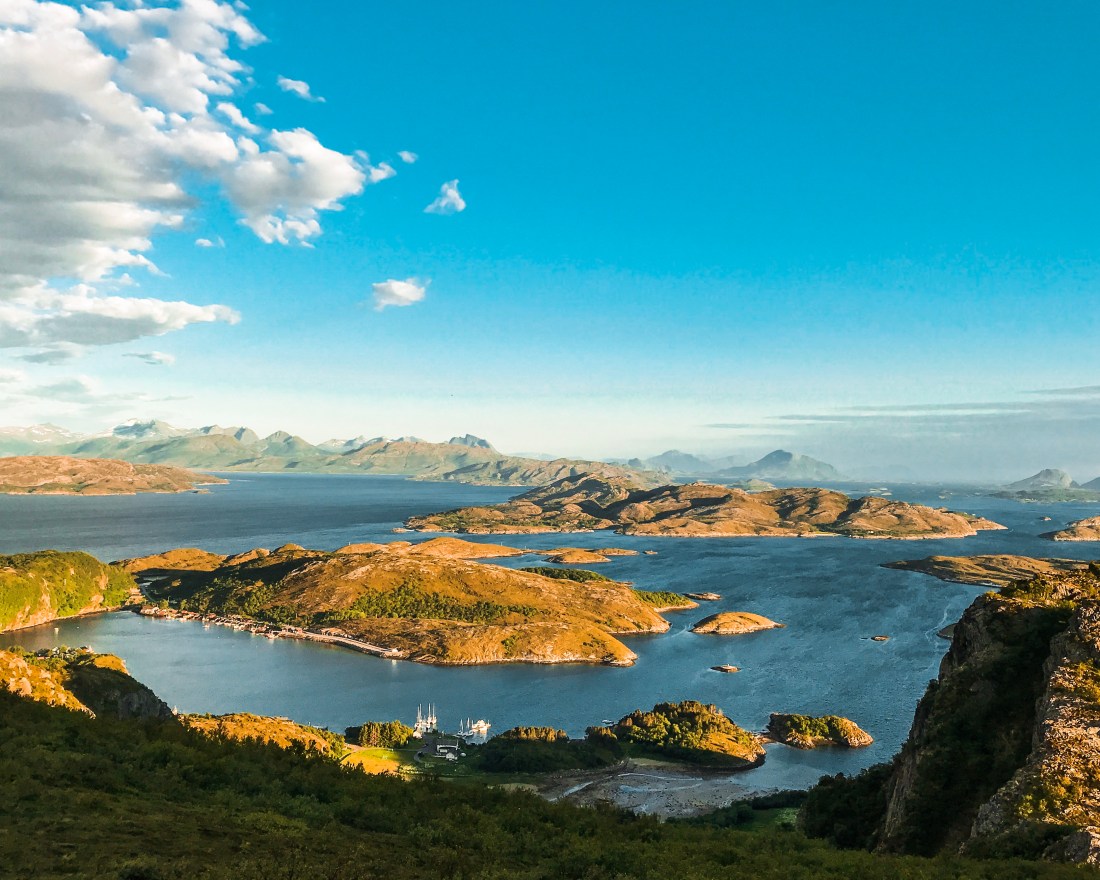
If you have the time before the boat return, don’t miss the Bunes beach, which has some funny gras bumps providing some shelter if the wind is too strong.
Strava for details: Helvetestinden
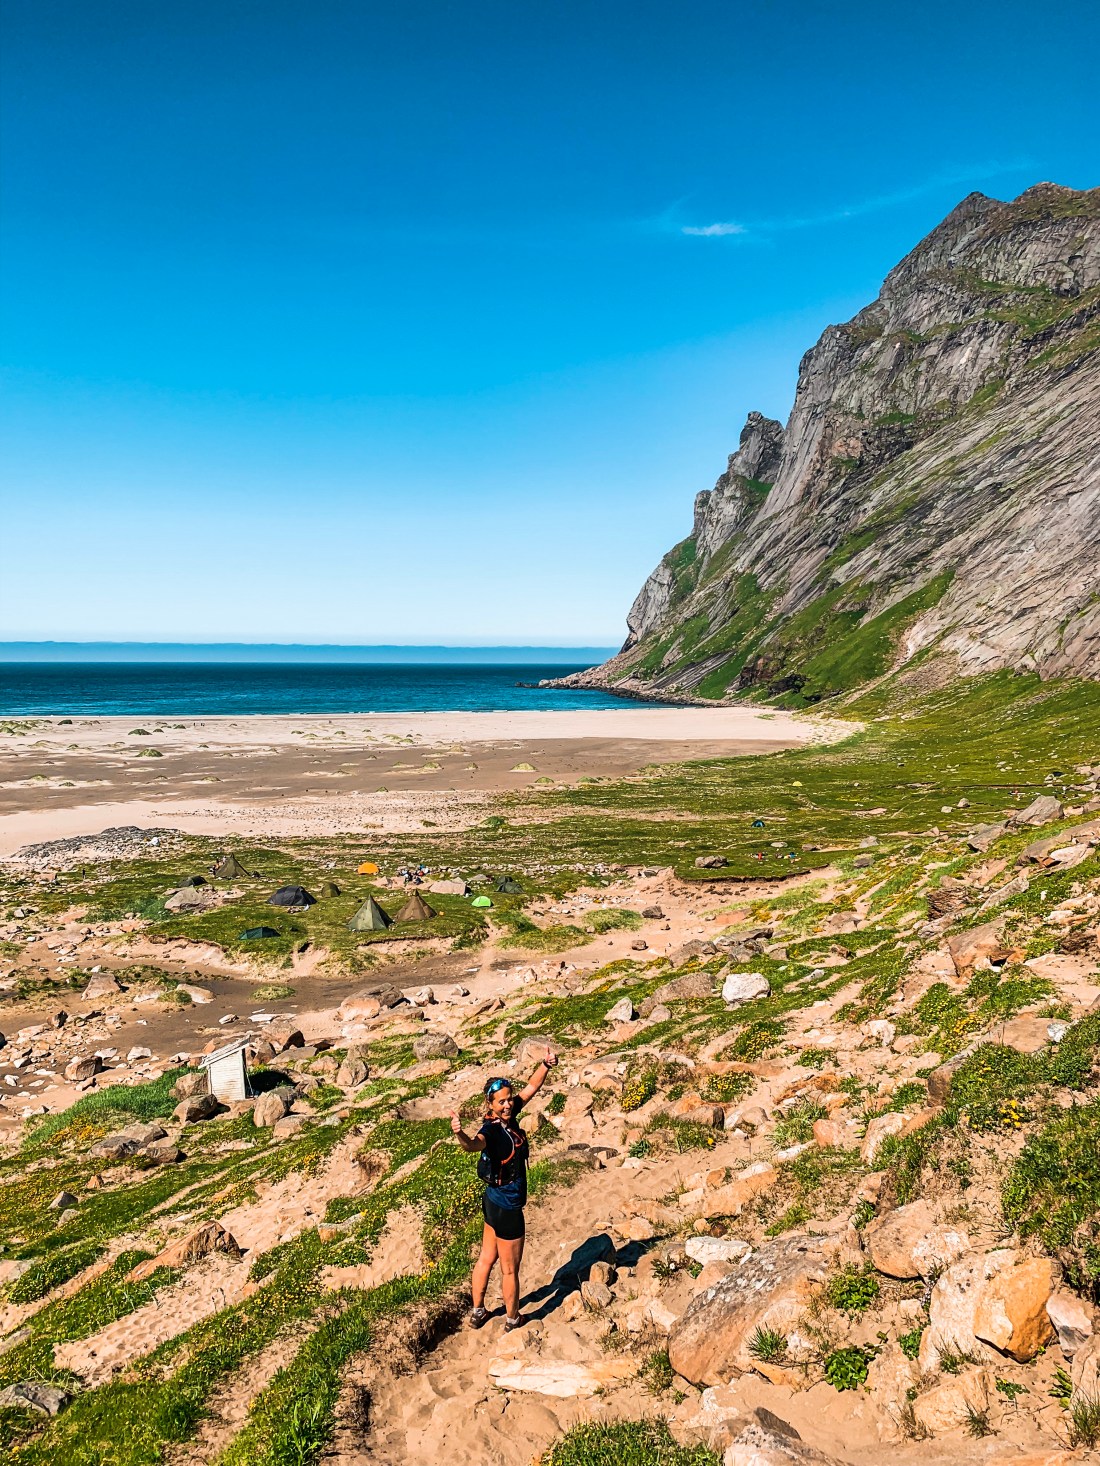
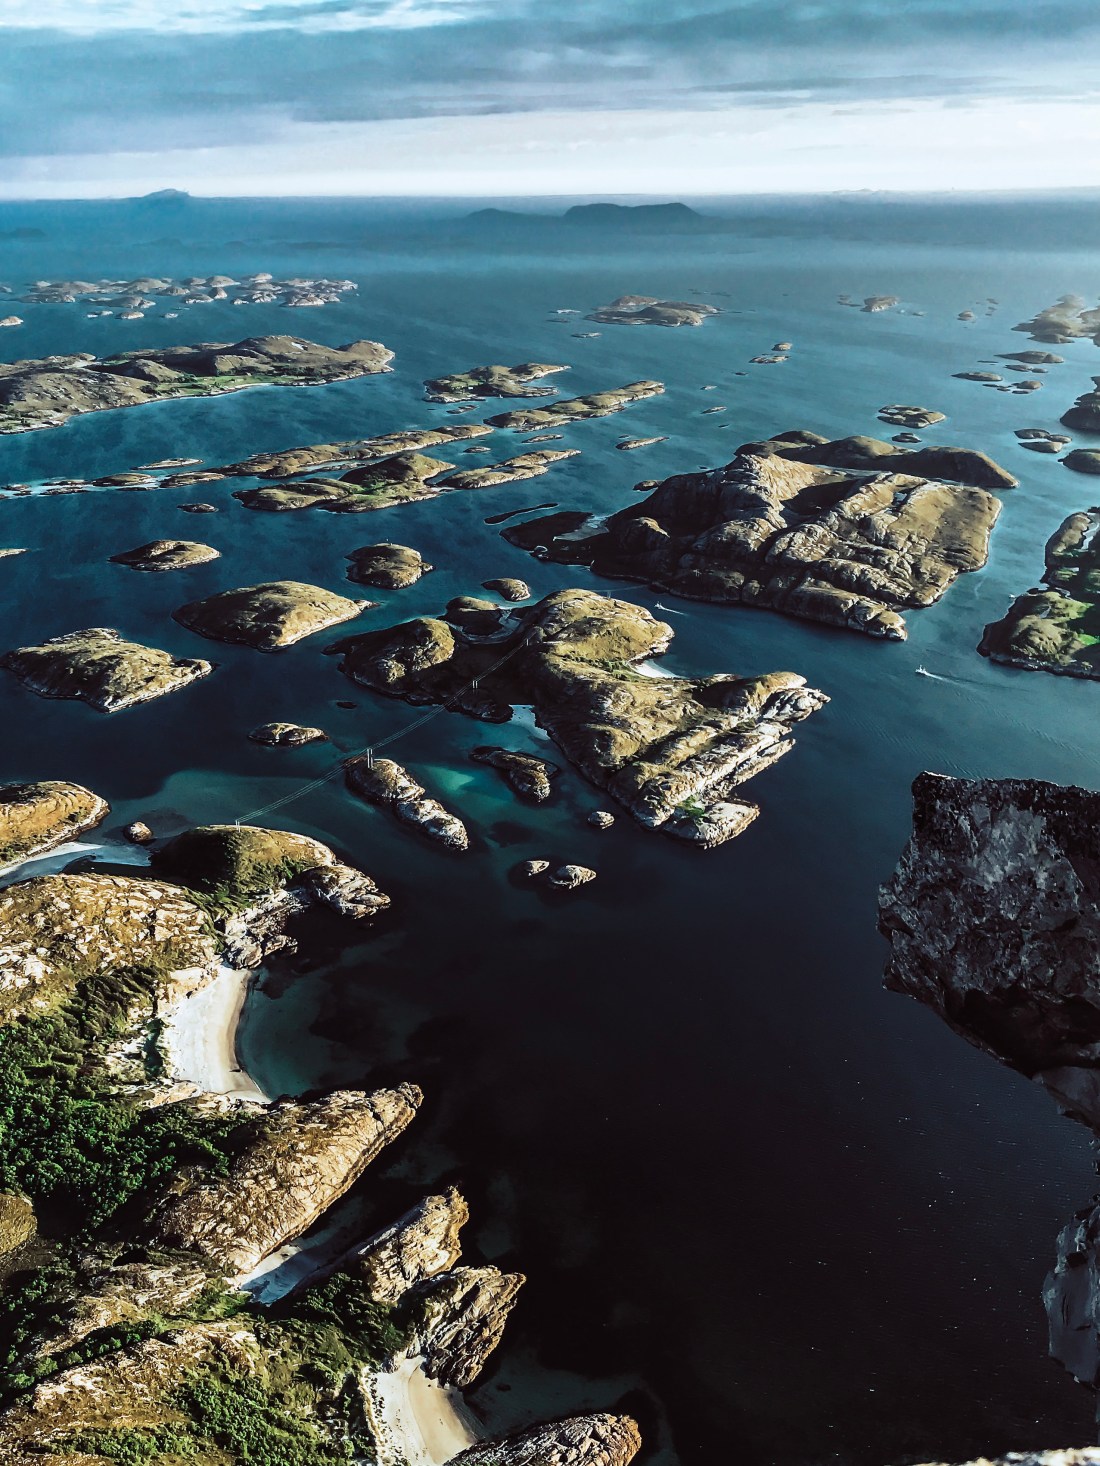
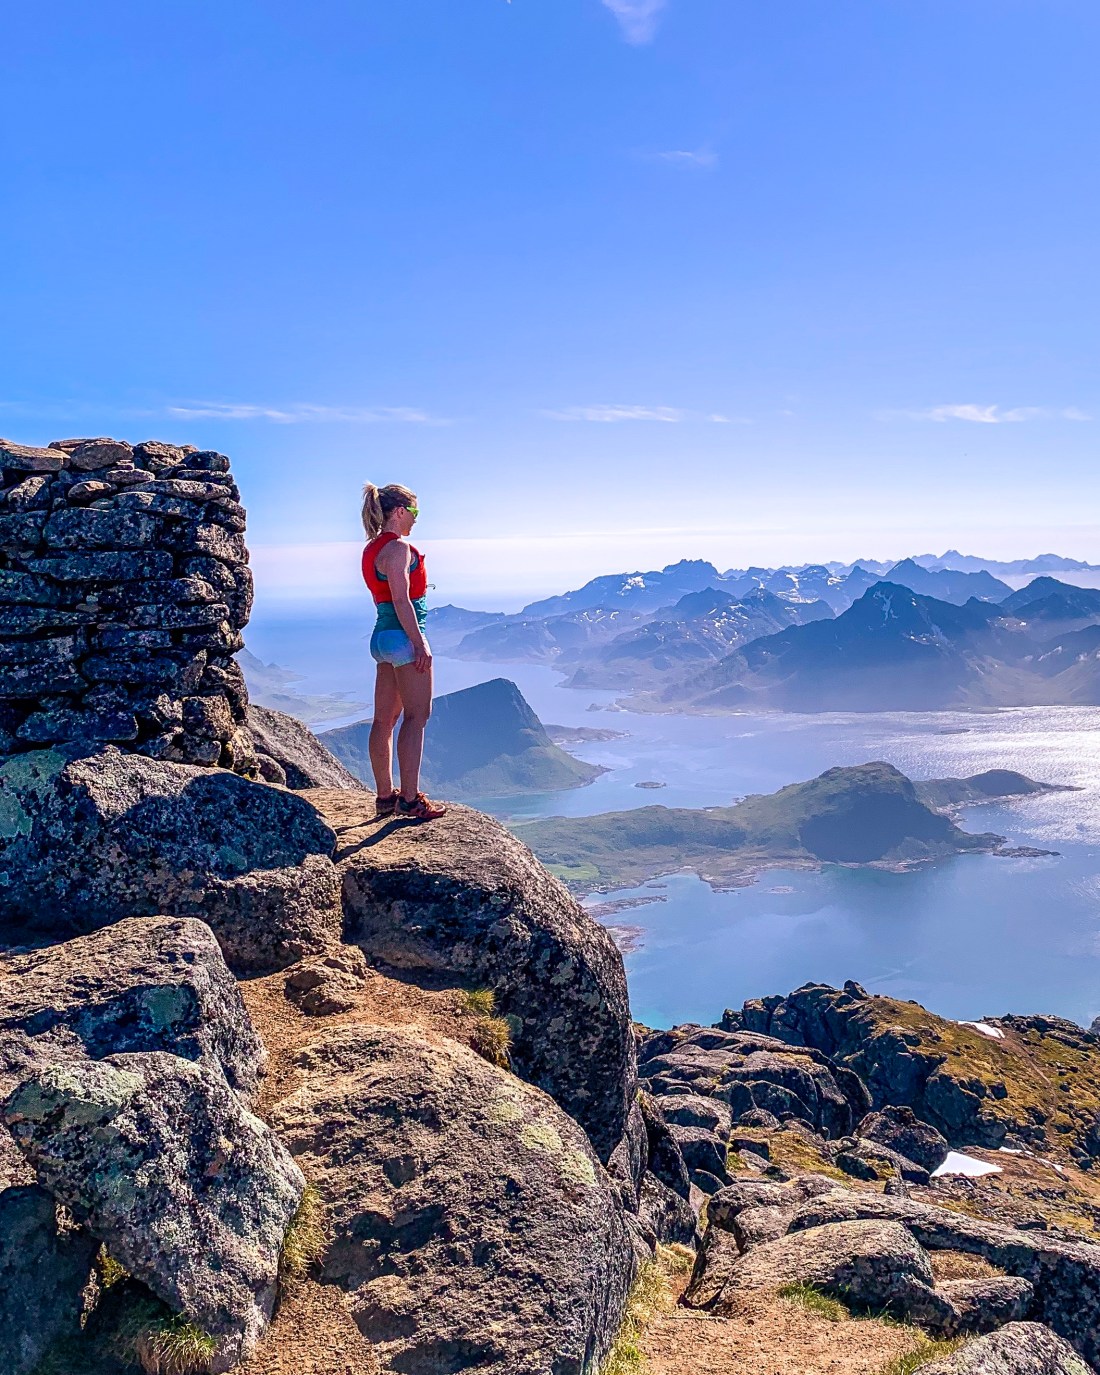
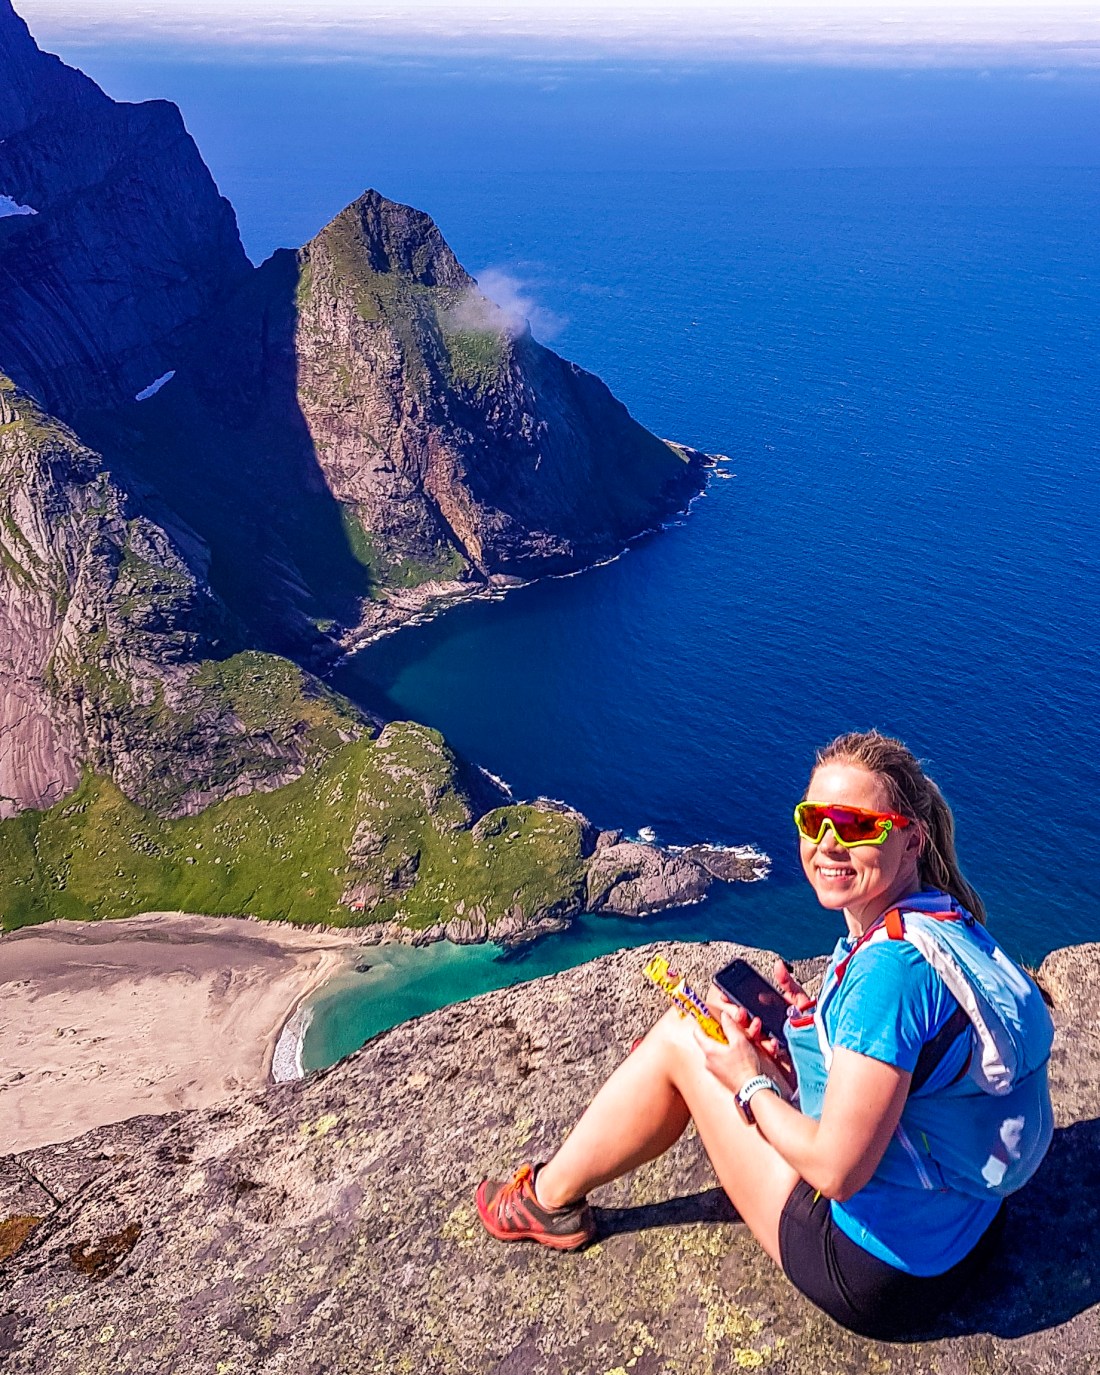
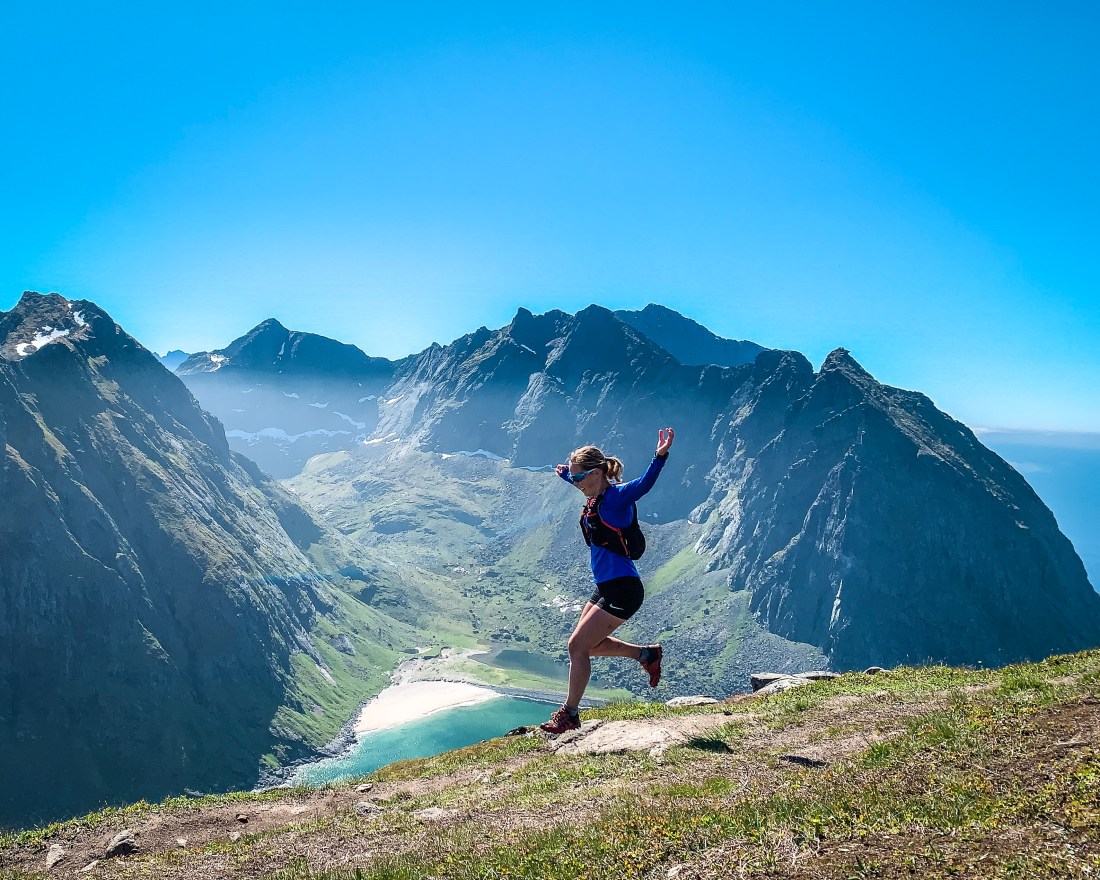
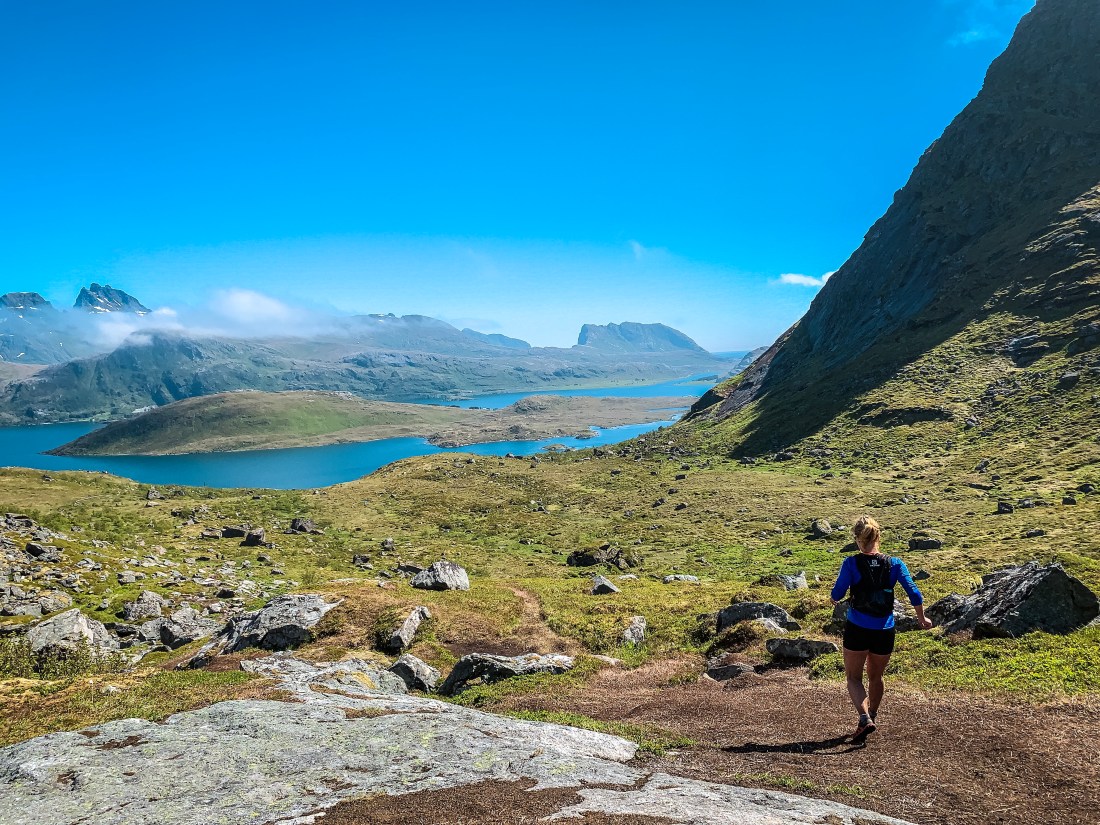
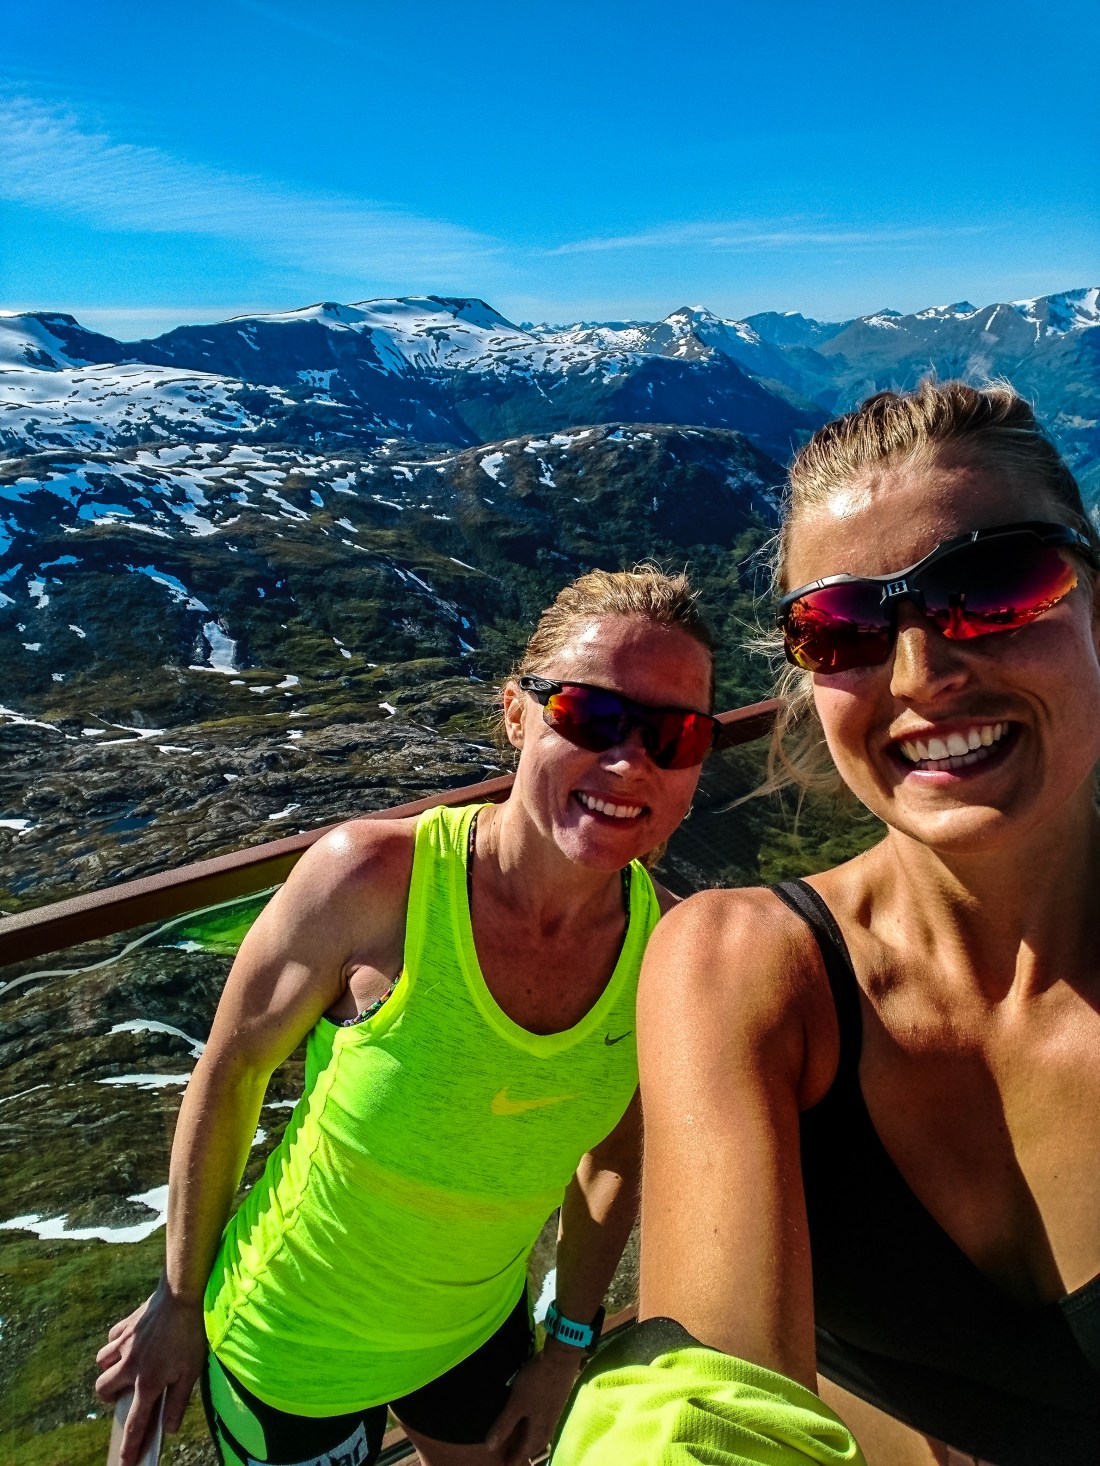
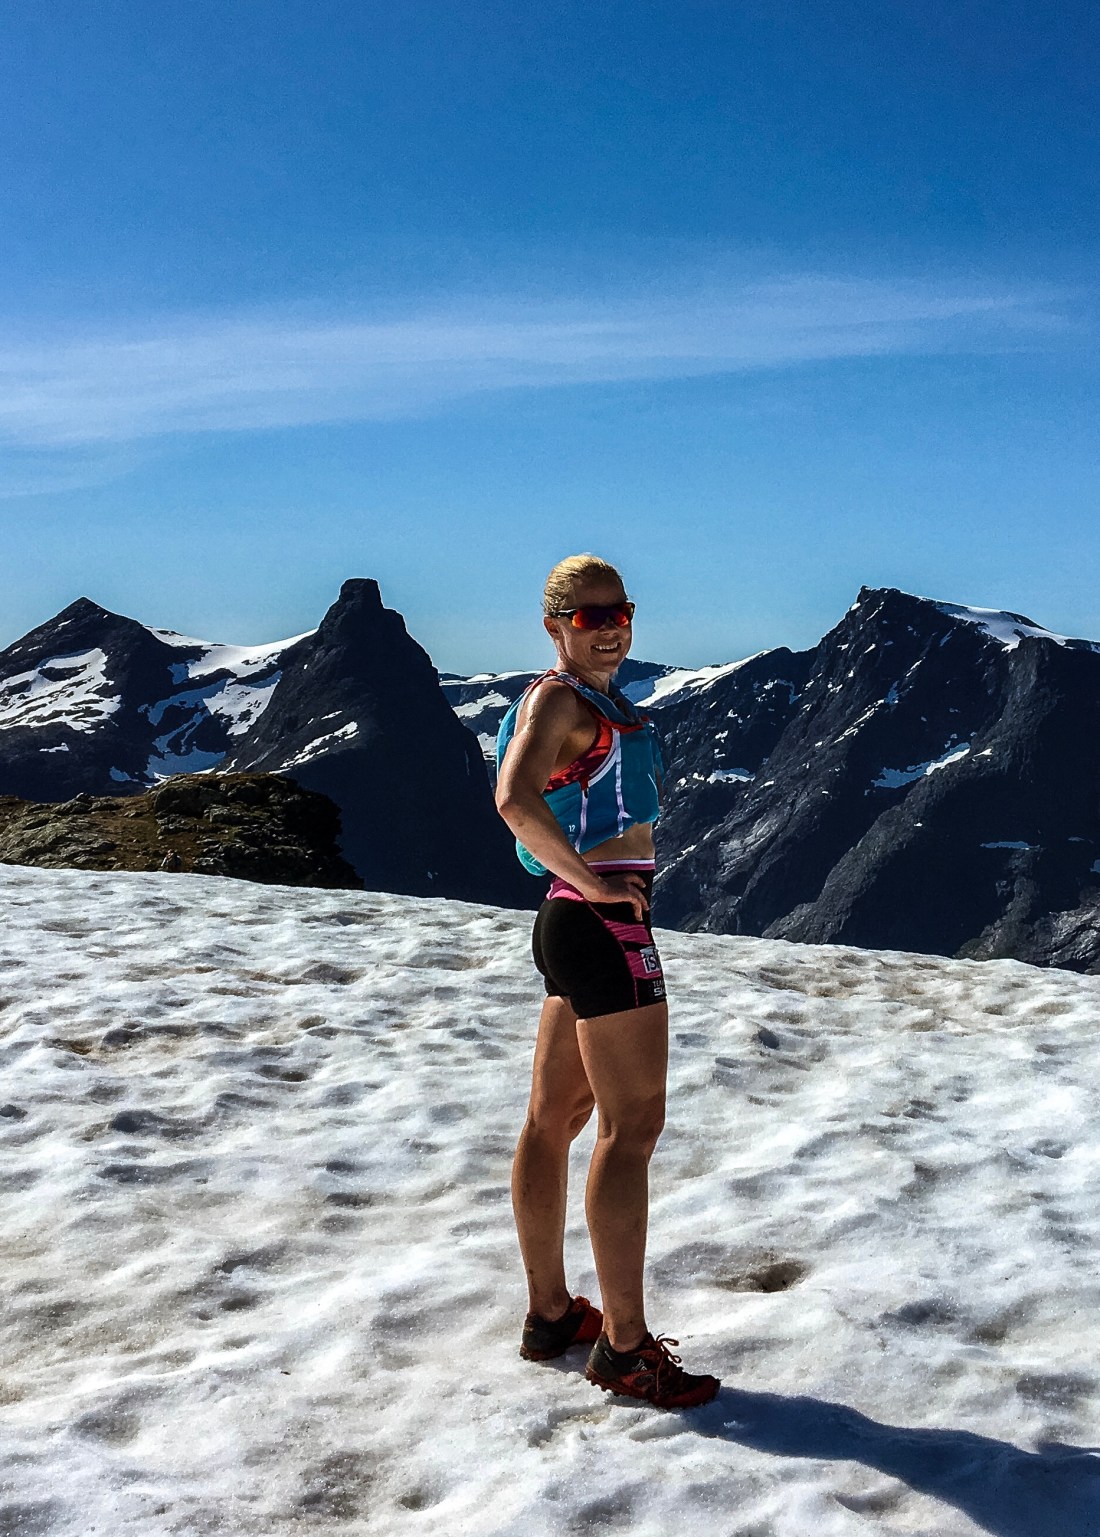
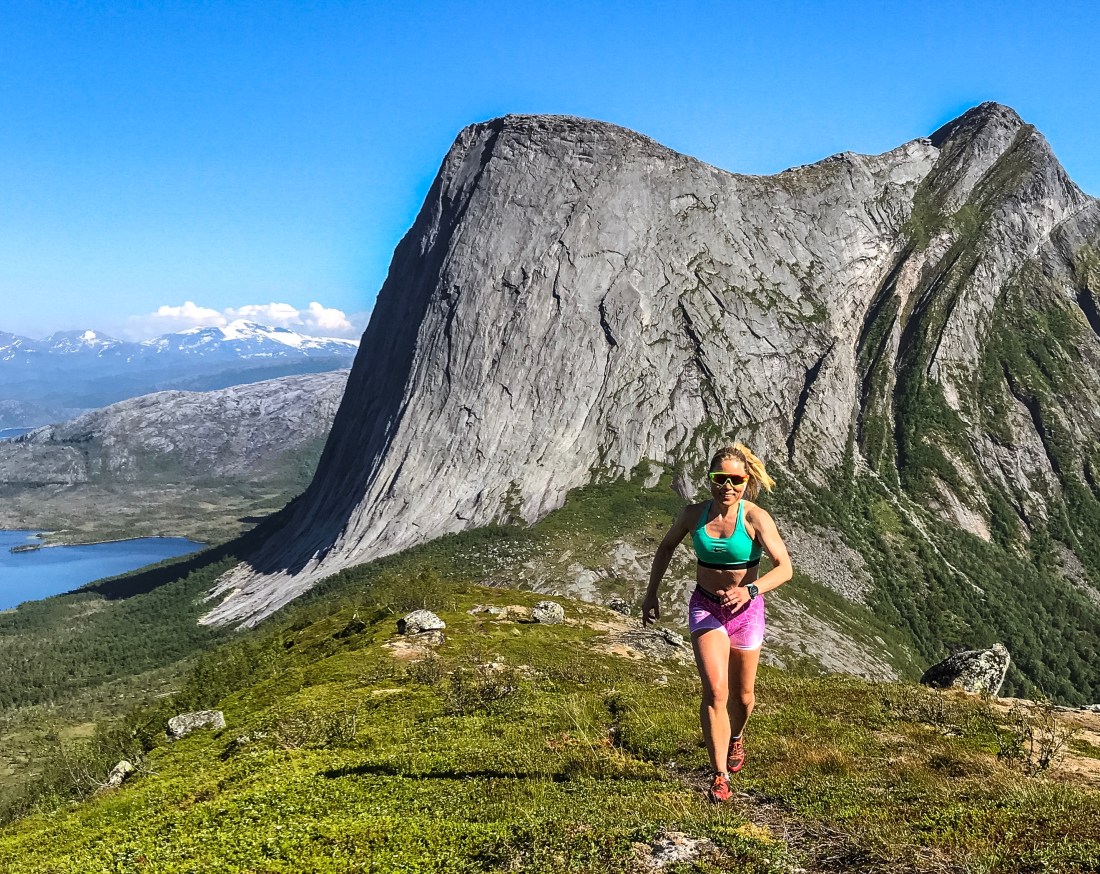
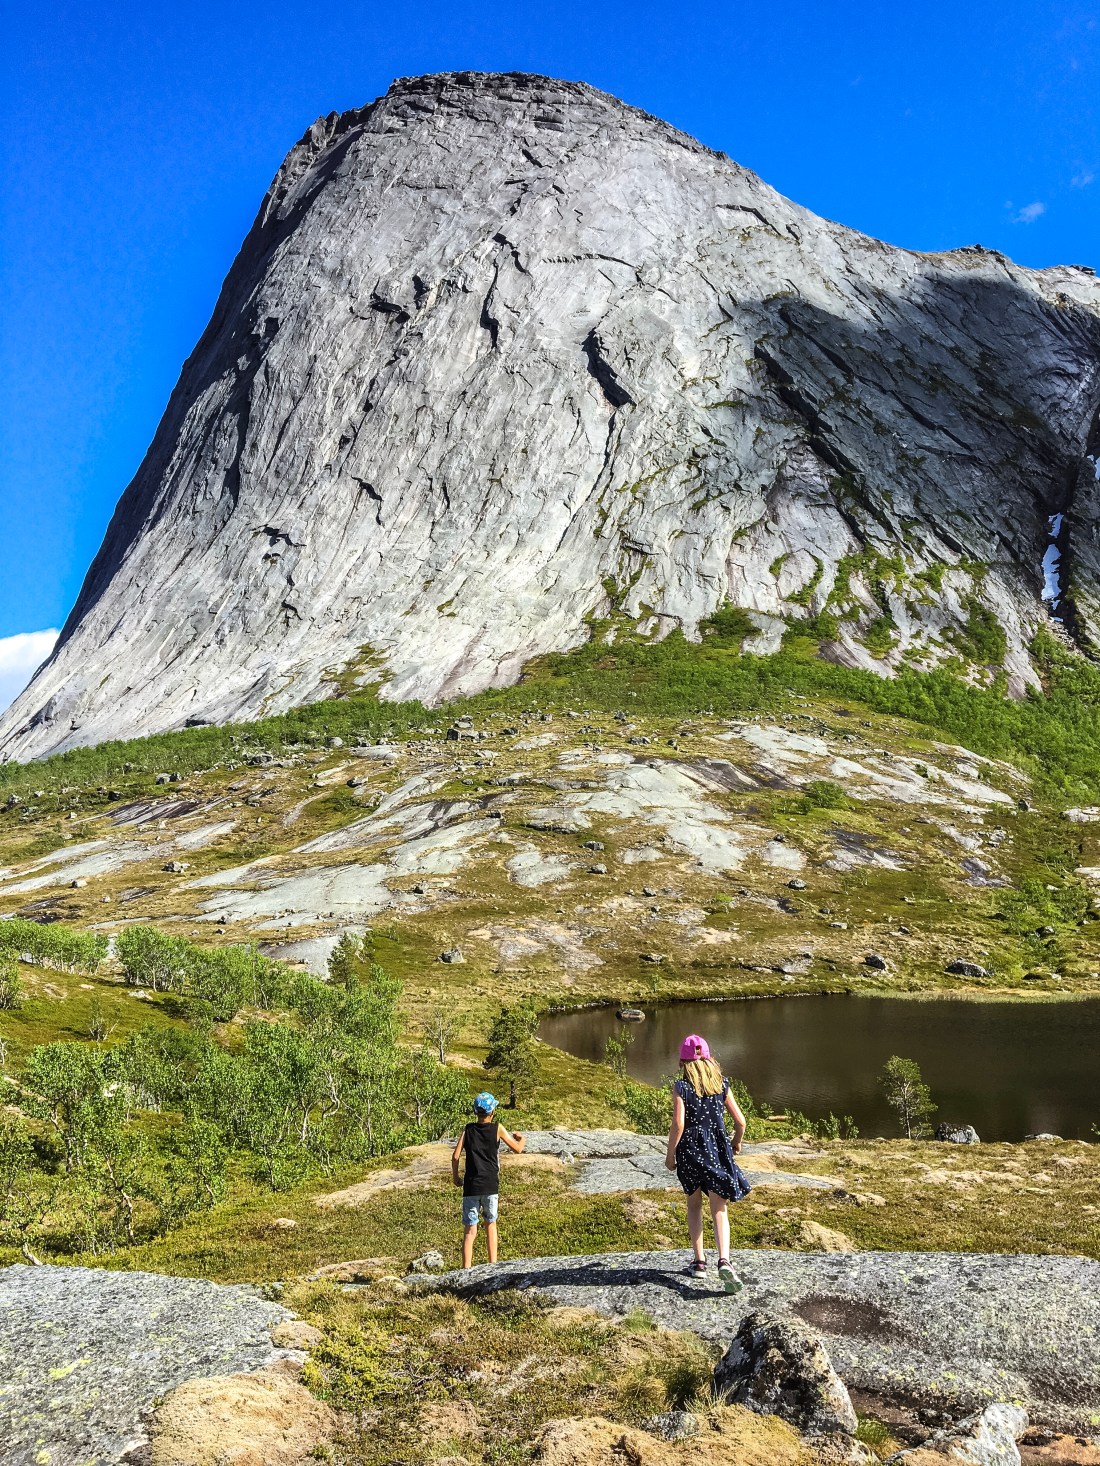
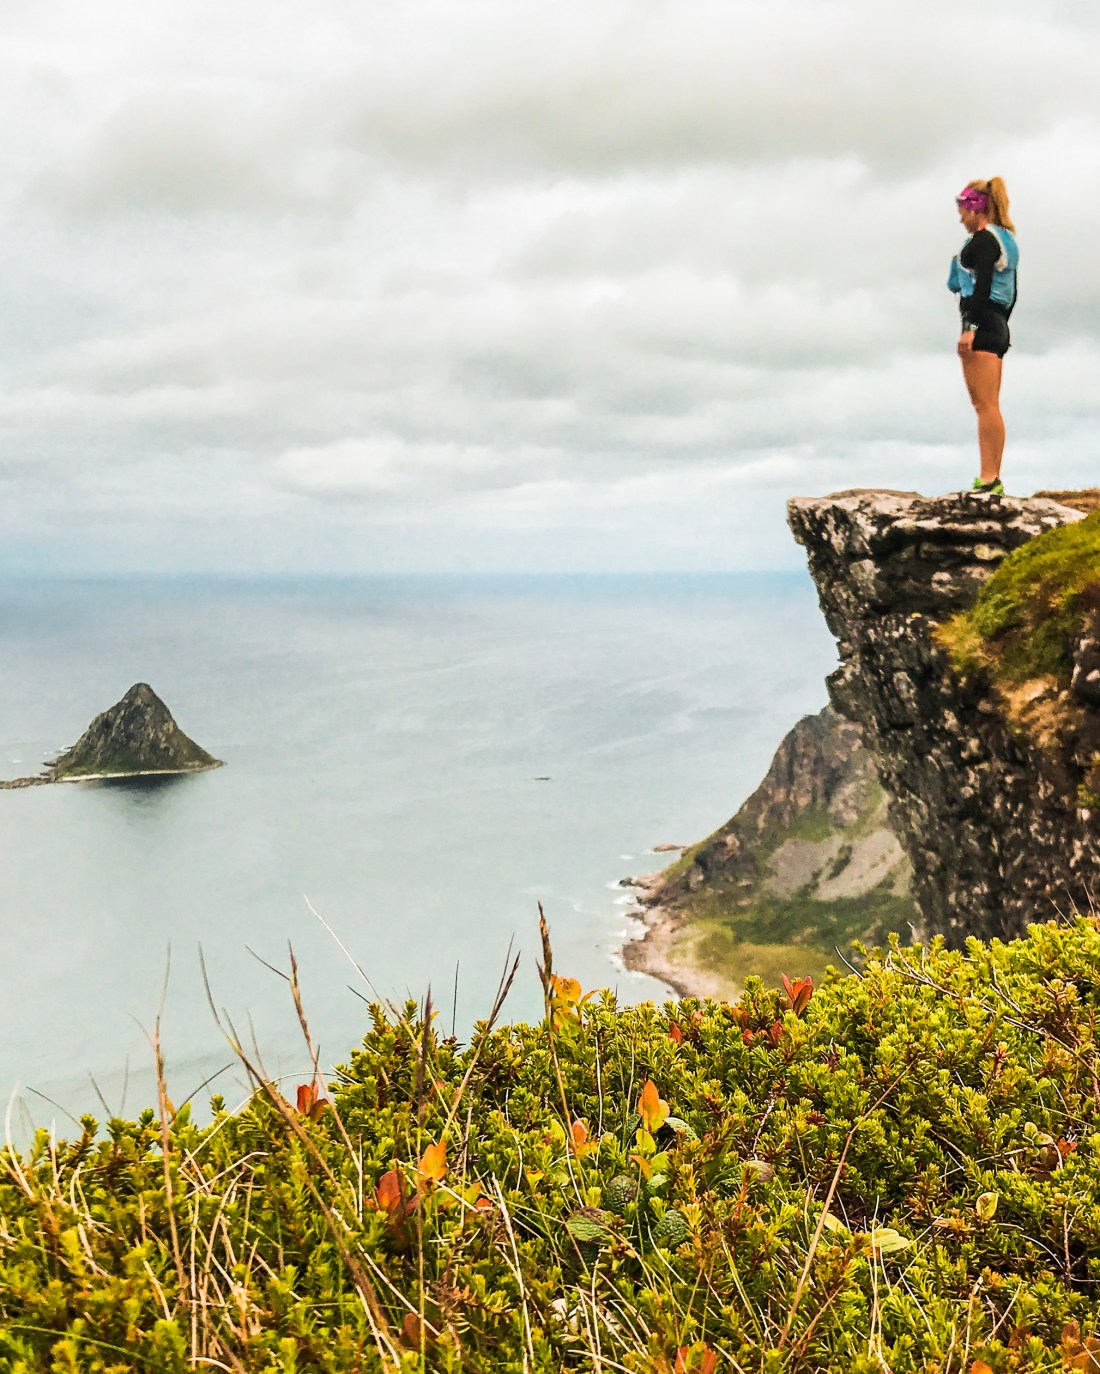
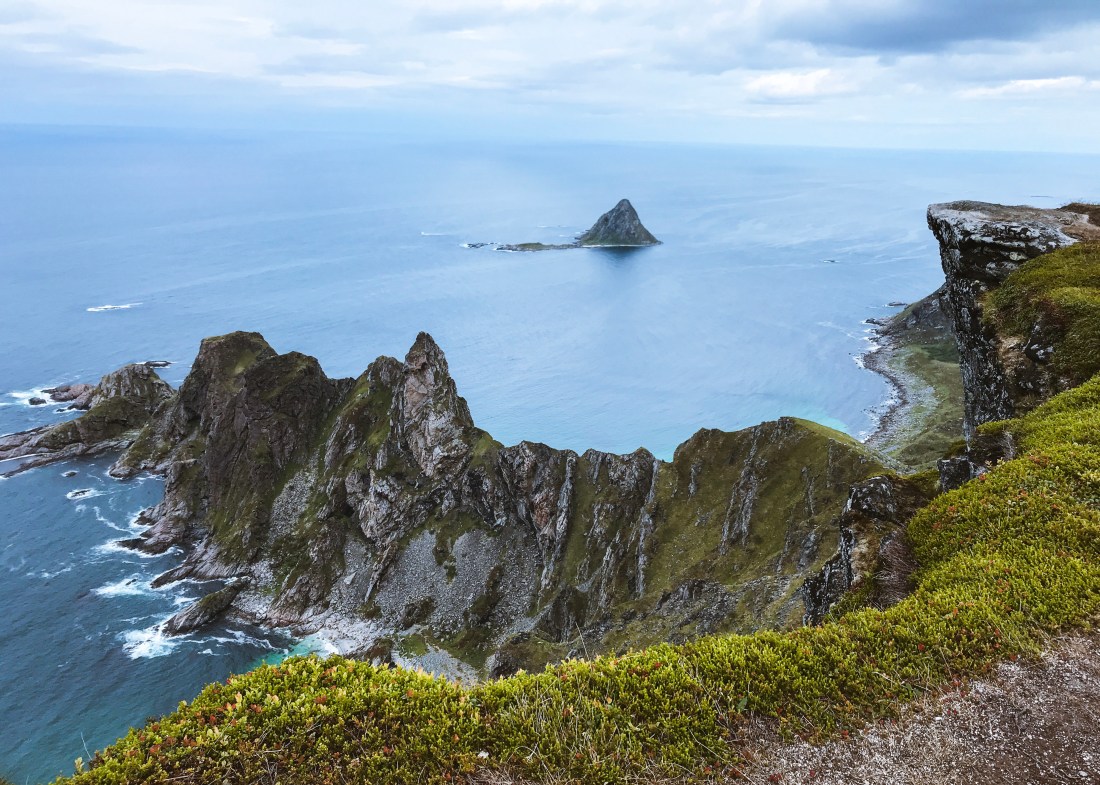
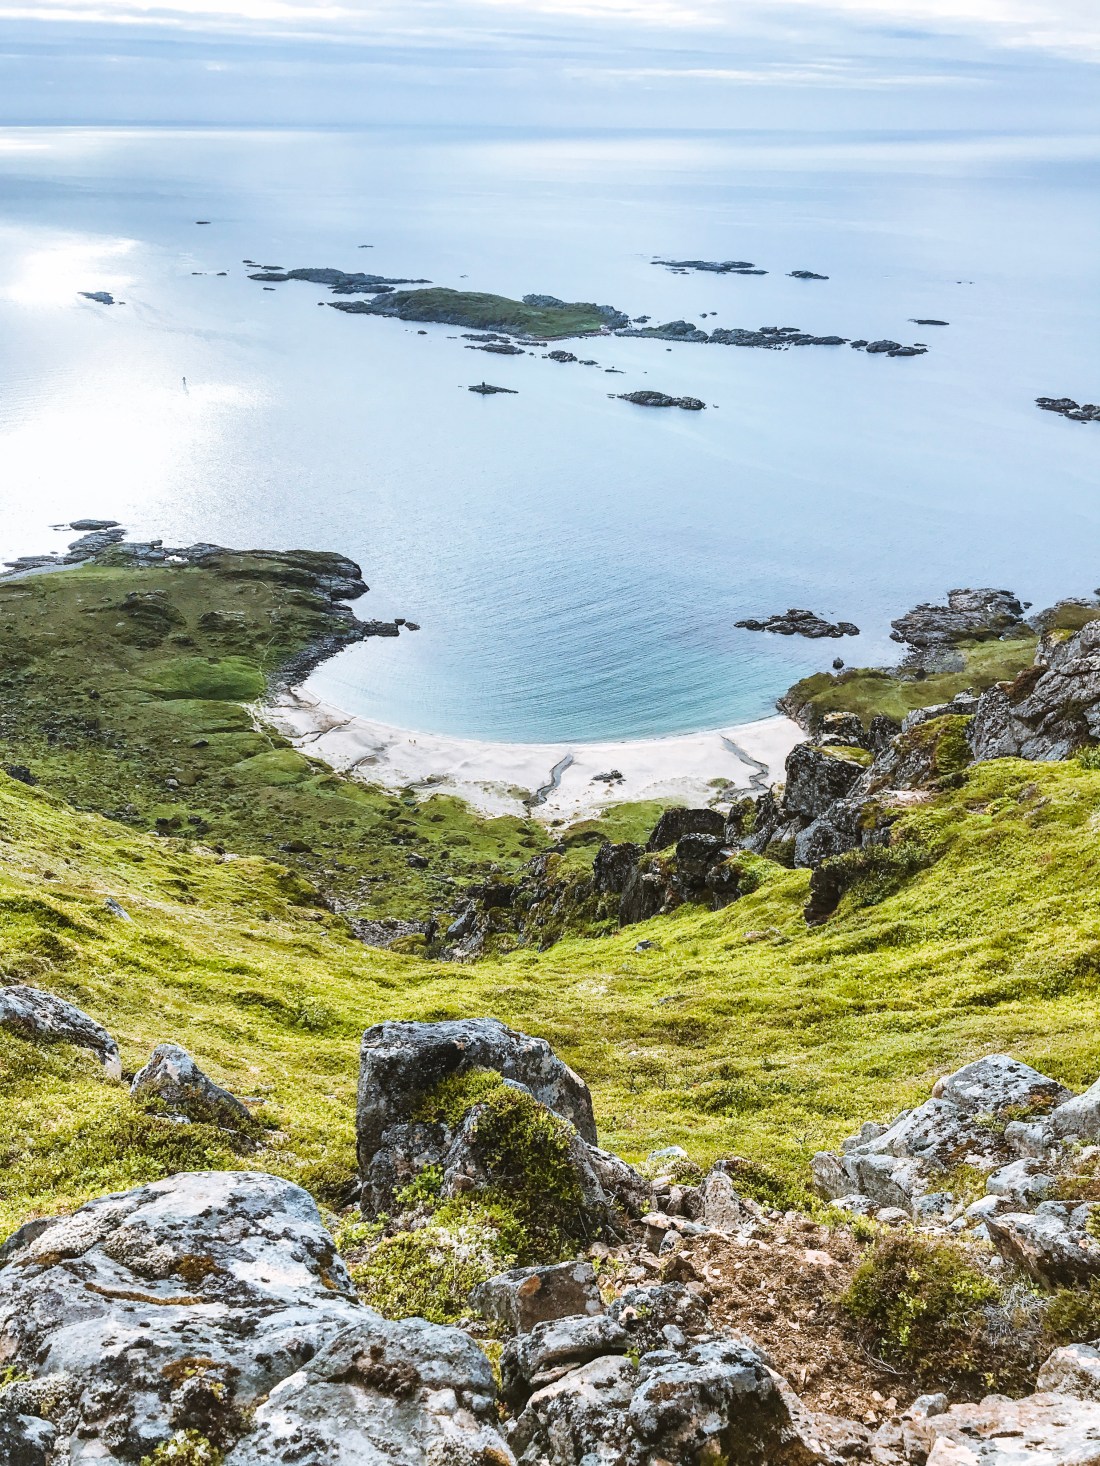
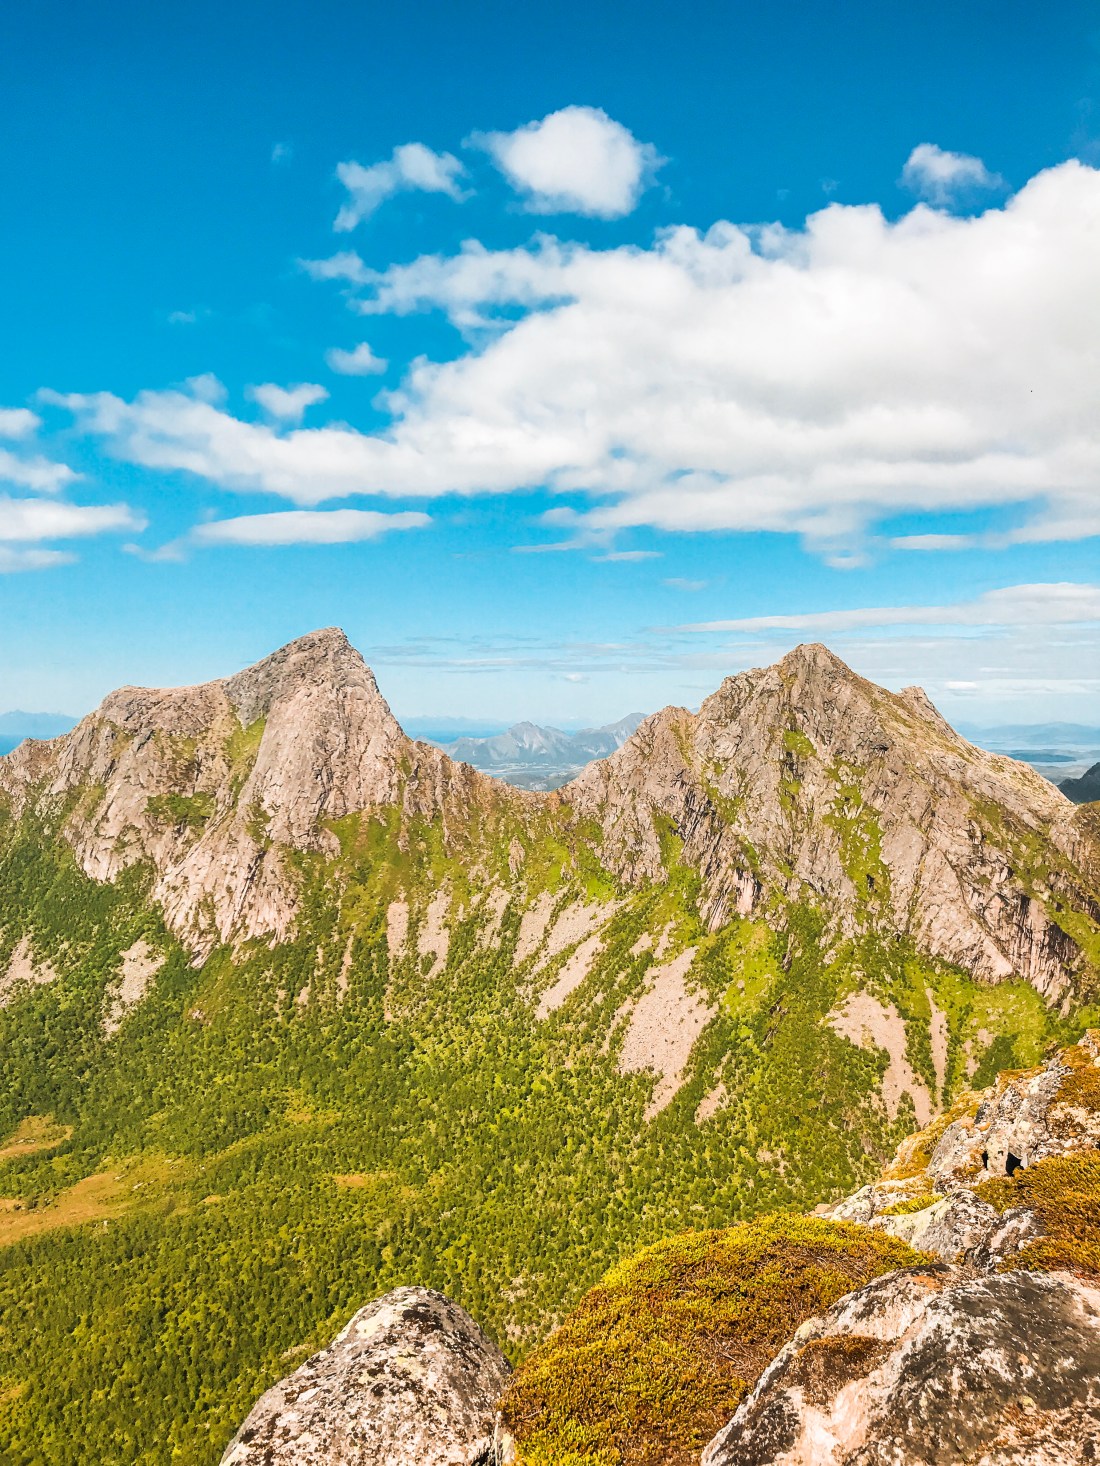
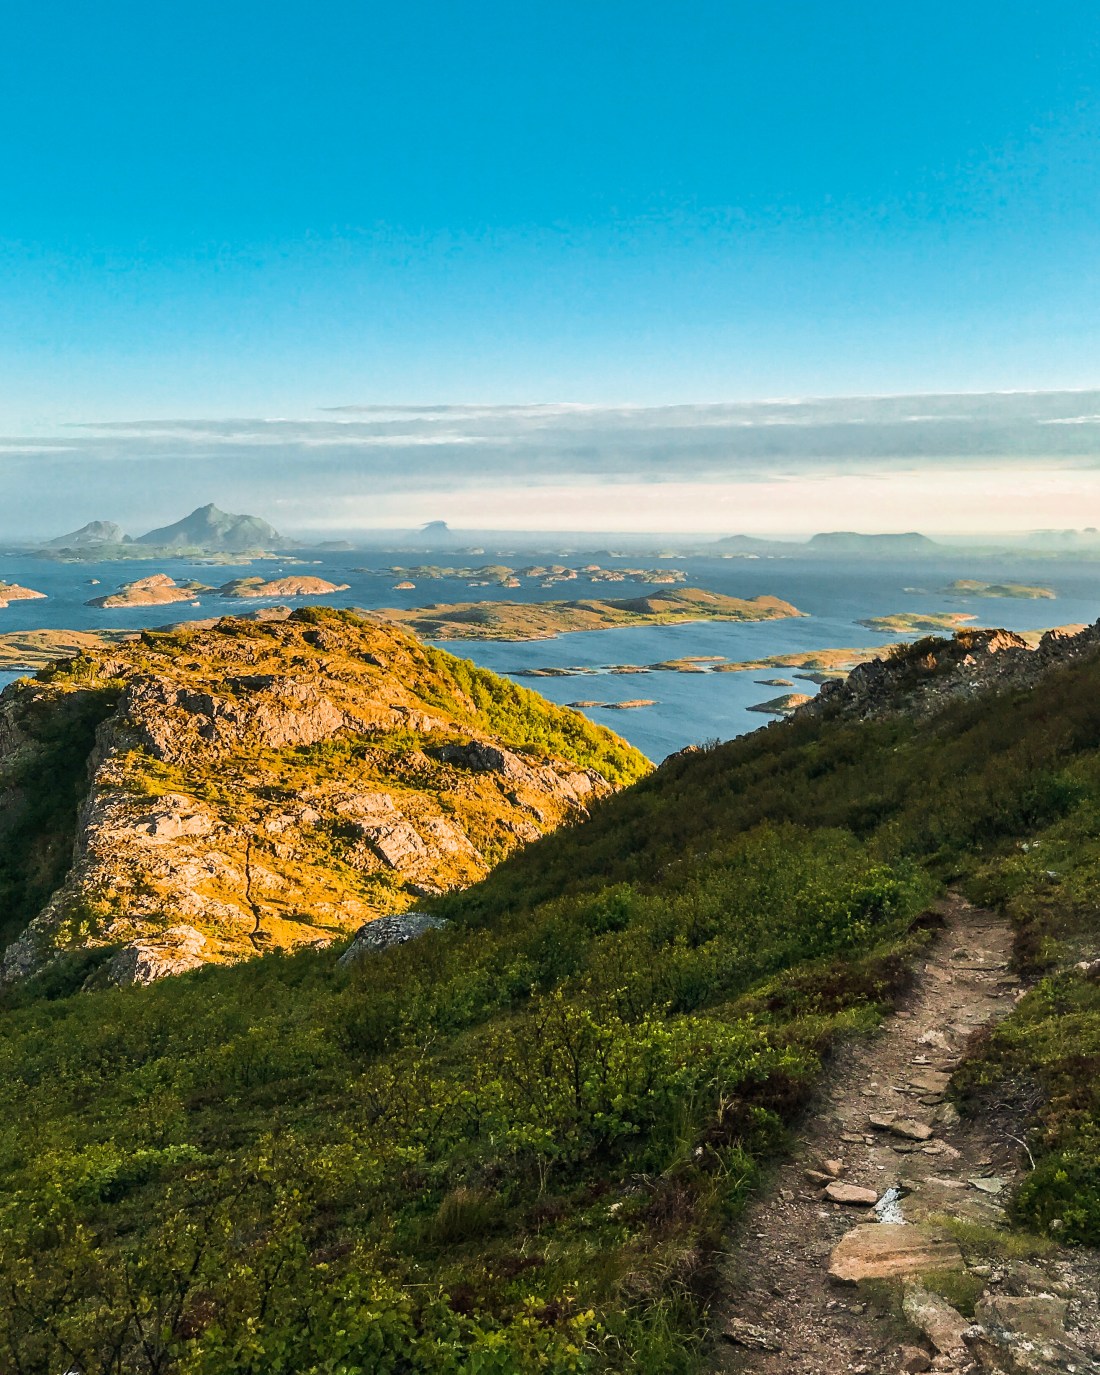
Ryten and Kvalvika beach
The final summit/beach combination to tick off in Lofoten is the insta-famous Ryten and my favorite beach, Kvalvika. We starten our run from Torsfjord, but you can also start from Bergland, Medvold or Marka. Ryten, with its 543 m.a.s. is more runable than Himmeltinden and Helvetestinden. Most of the initial two hundred meters of elevation gain, you loose before the ascent really starts just before you reach Kvalvika beach. Stay on the wooden paths provided and enjoy the amazing views as you climb toward the instagram spot at 500 m.a.s. Although this spot is the purpose of the hike for many, don’t miss the peak and the enormous plateau of Ryten. This is where I want to return with a tent next year!
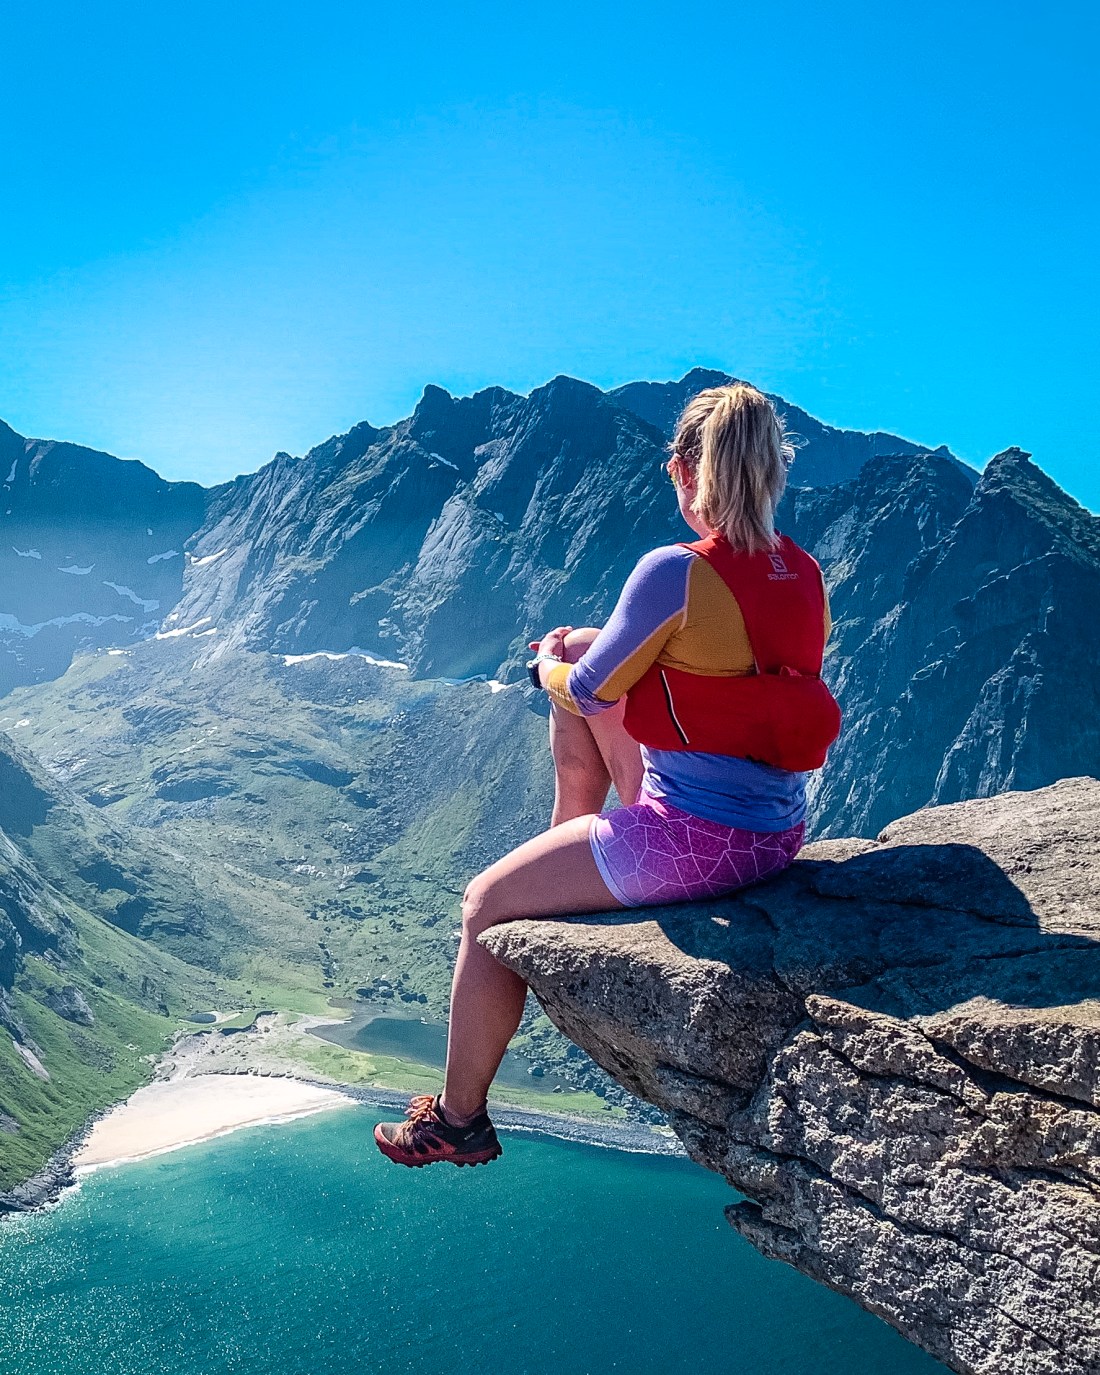
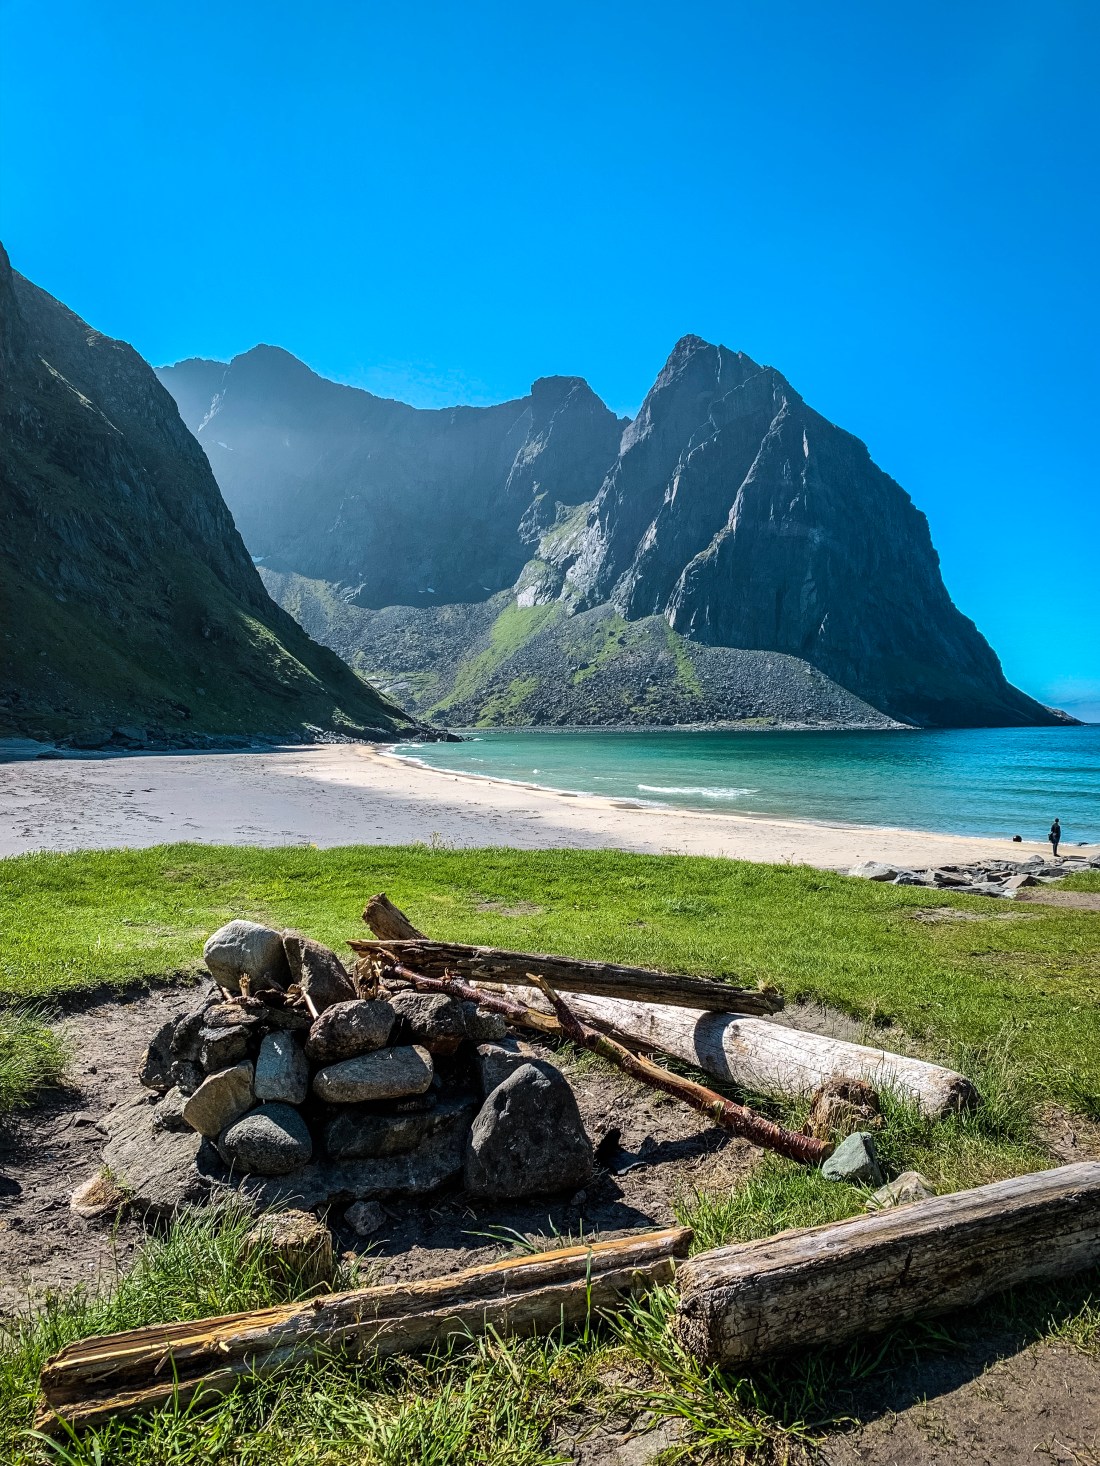
Again, if you have the chance, go to Ryten to enjoy sunset/midnight sun. In any event, bring a towel and take some time to chill at the peaceful Kvalvika beach after the run.
Strava for details: Ryten
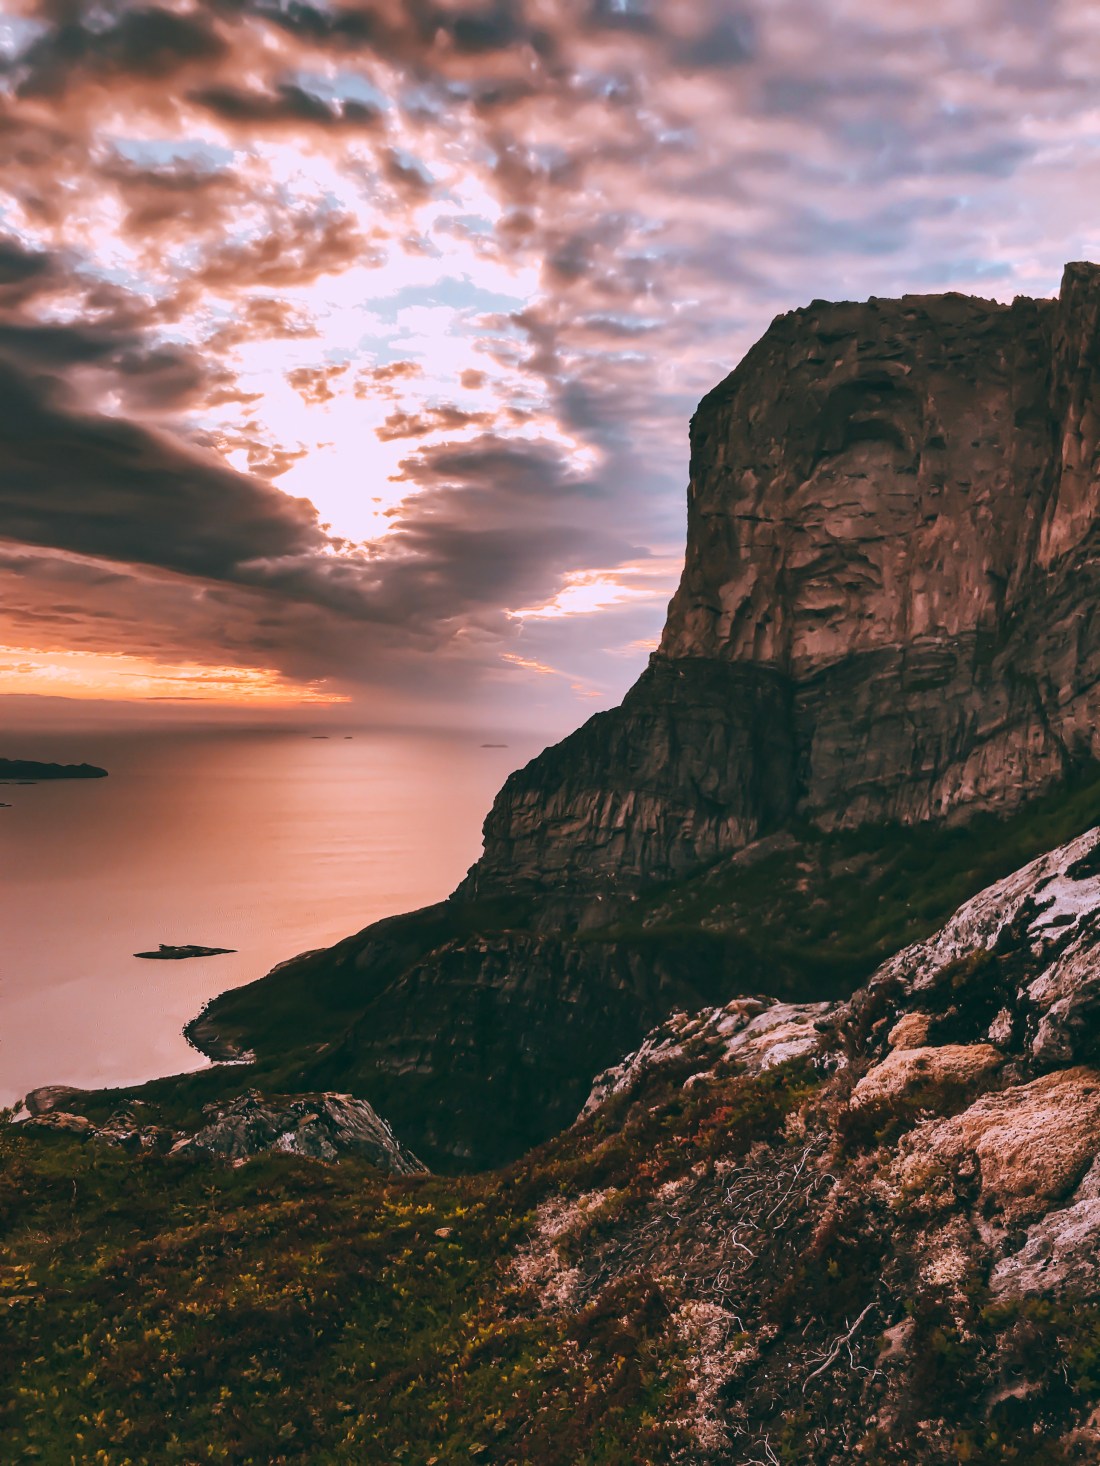
Bonus: Røren Midnight sun hike
Unless you choose any of the above hikes for your midnight sun experience, Røren is a shorter alternative, as well as a beautiful soft ground hike with surrounding hills you just want to explore running. This hike is also graced with beach views, this time it is Yttersand which provides the perfect backdrop.
Strava for details: Røren

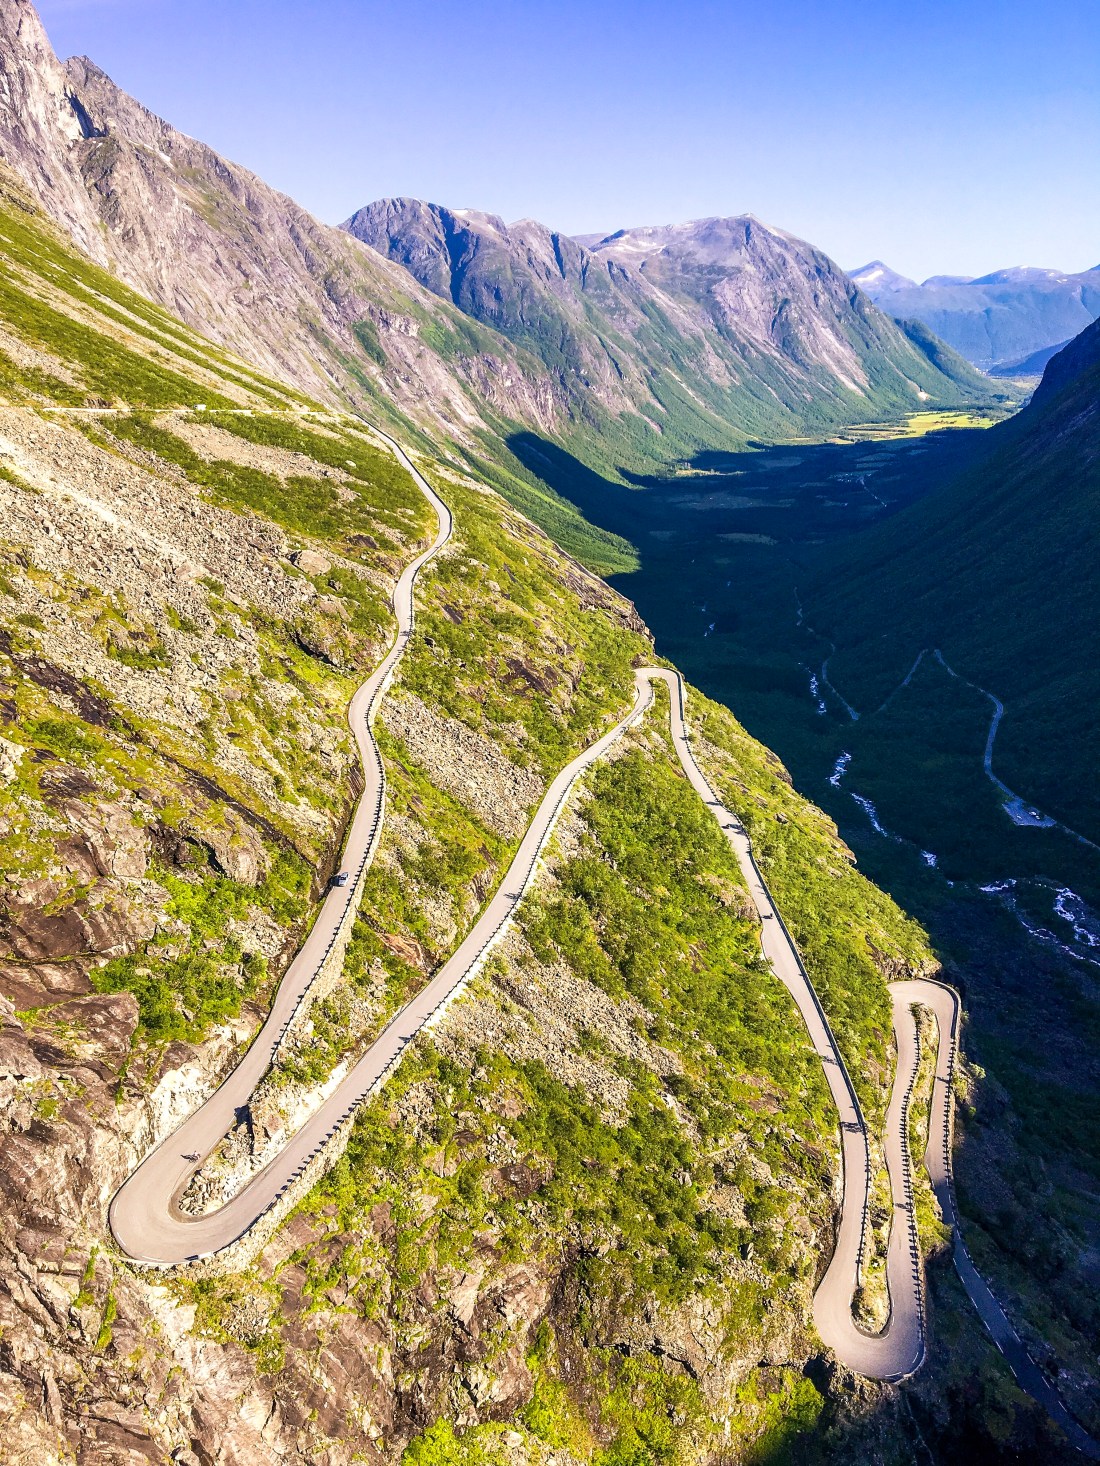
Getting to Lofoten
You need a car to explore Lofoten. If you drive your own from the south, I recommend taking the ferry from Bodø to Værøy or Moskenes, and return by taking the ferry from Svolvær to Skutvik (only in the summer). Continuing from Skutvik towards Trondheim or Oslo, you may include another favorite spot of mine, Manshausen, which makes for a perfect roundtrip, if you ask me. Another option would be to explore Tysfjord. If you have a lot of time available, I would suggest continuing from Lofoten via Vesterålen and Andøya to Senja.
If you arrive by plane, the most convenient airports are Leknes and Svolvær, however, flights here tend to be quite beautiful. Since you in any event need to rent a car, your best option is to fly into Bodø, take the ferry to Moskenes and rent a car there. Another great alternative is to fly to Evenes, from where it will take you about 2:30 to drive to Svolvær.
Where to stay
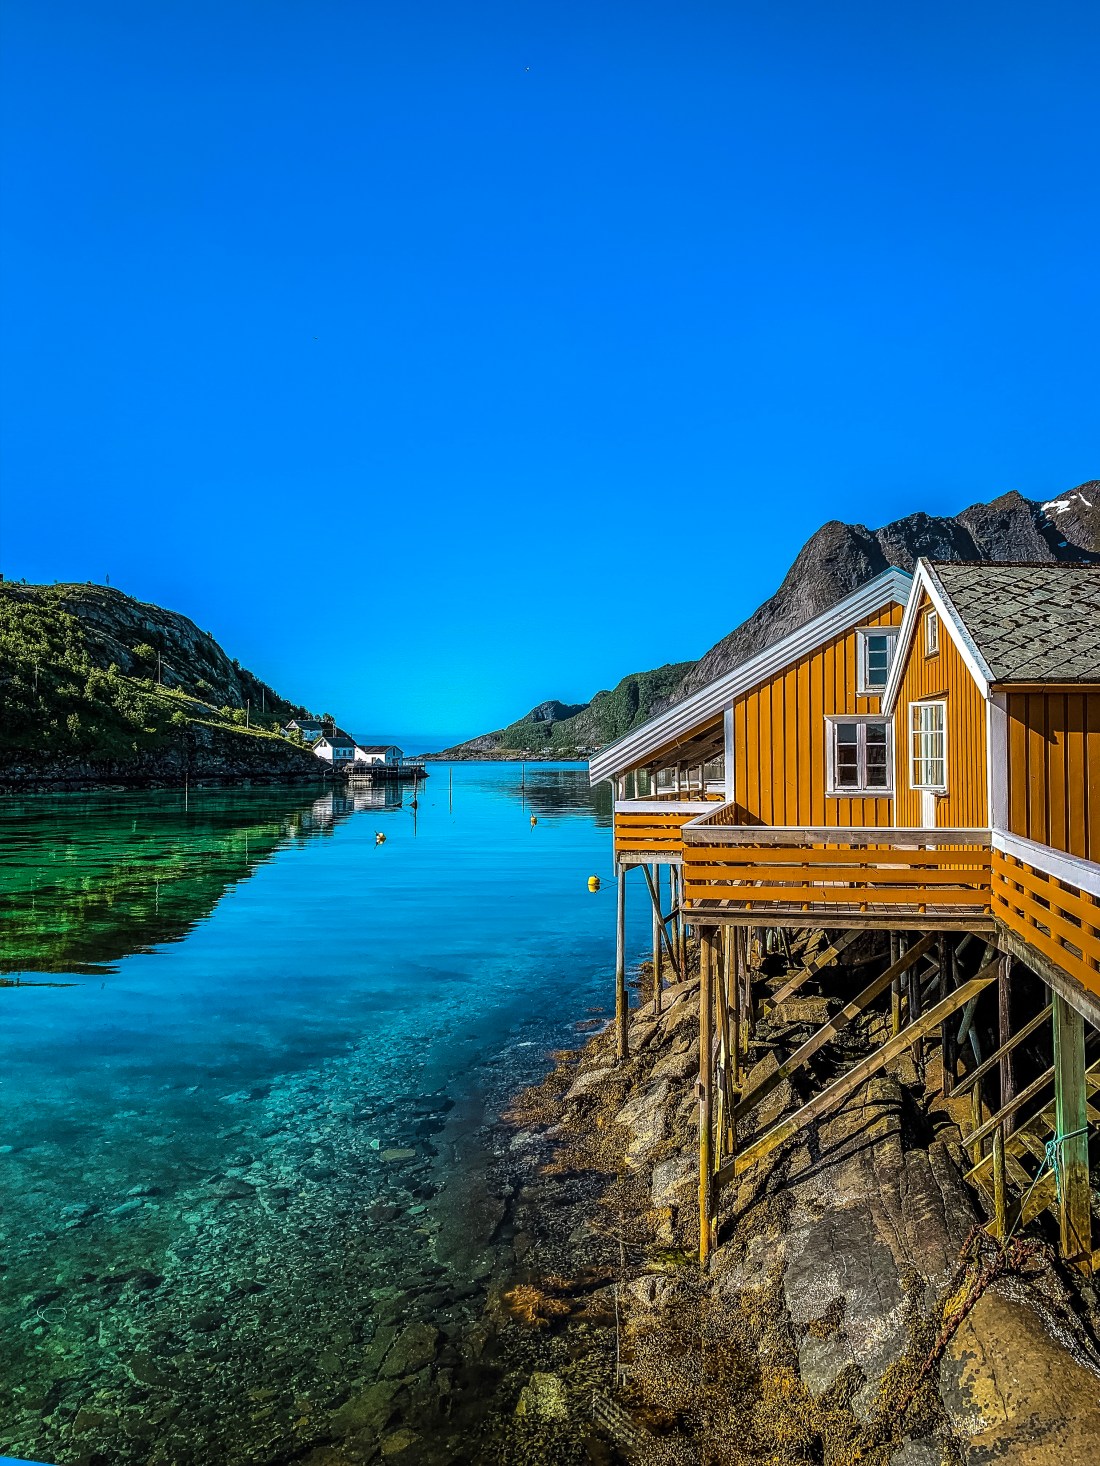
There are so may great accommodation alternatives in Lofoten. Although not being a camper, I would definitely love to go camping in Lofoten. We stayed at Sakrisøy Rorbuer, which we really enjoyed, in particular due to its quiet location near Reine, but not in Reine and for the deli/restaurant across the street. Sakrisøy was also a bit cheaper than other “rorbuer” we considered. I suggest you choose accommodation near your hiking targets in order to avoid much driving (roads are narrow and with heavy traffic during high season).
I recommend to go in June before the summer vacation starts, or in September. The fall is supposed to be the best time to go, even if there is no midnight sun. And of course, if you like mountain skiing, go in the winter as well!


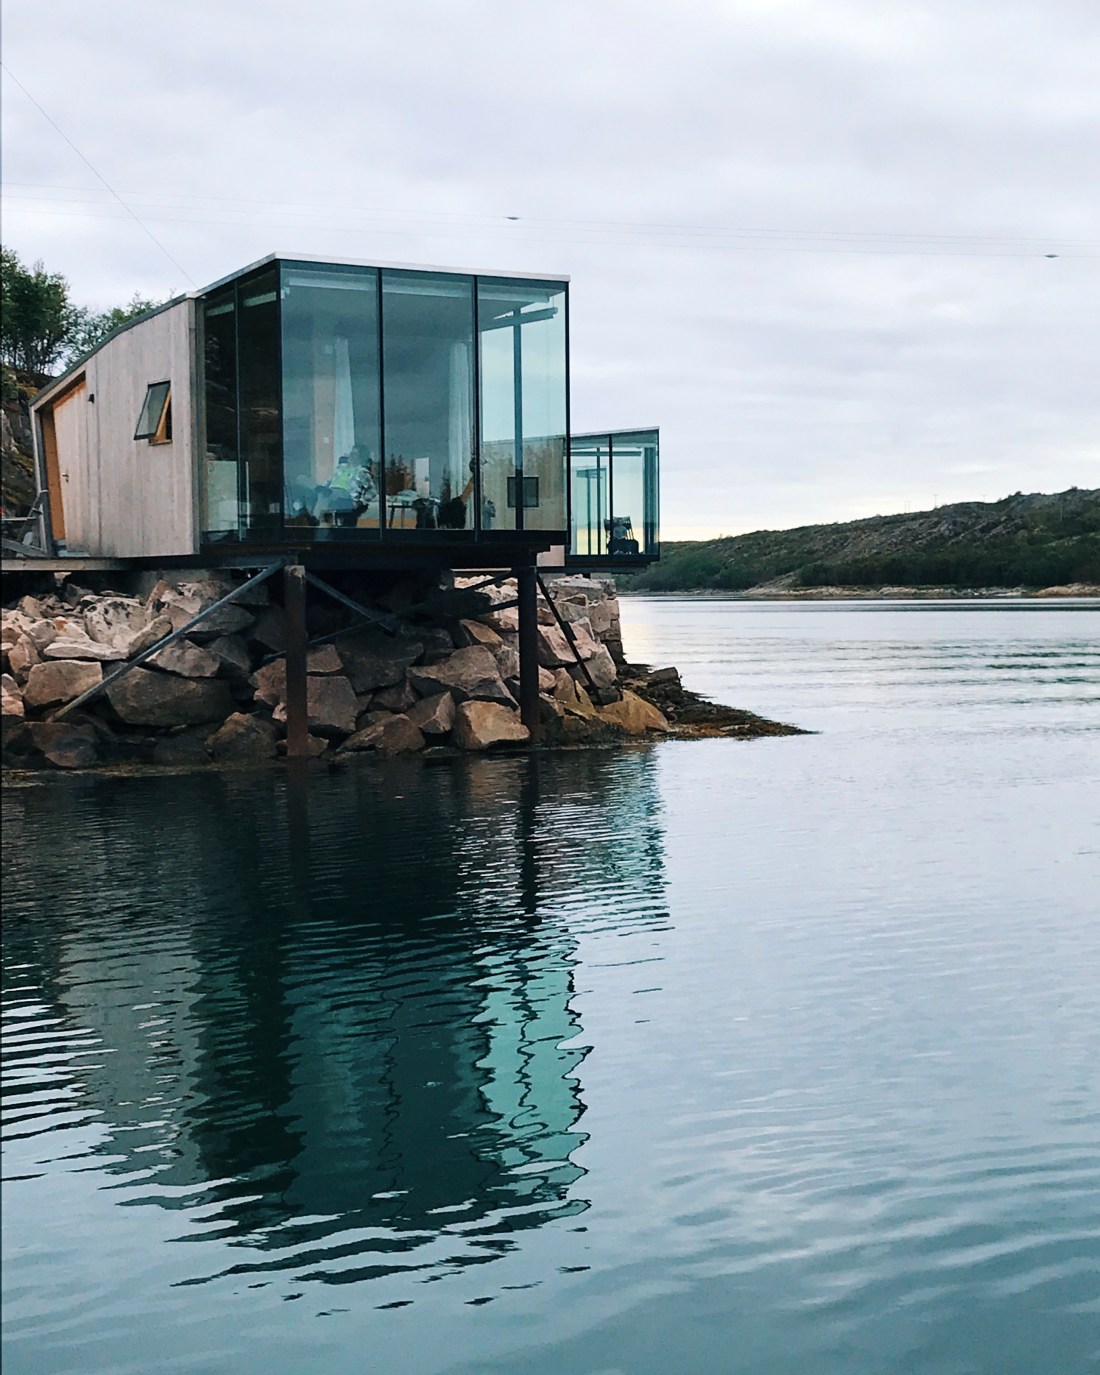 Next up on the Arctic Road Trip itinerary is Manshausen. You may already have seen pictures of the award-winning sea cabins on the island Manshausen on Instagram, blogs or in magazines. Manshausen is owned by the explorer Børge Ousland and is a unique destination if you want to experience nature, whether by simply sitting in your private sea cabin watching the ocean flow by or whether padling, hiking, running, diving, fishing or other activities are your thing. I applaud initiatives like Manshausen, which really takes traveling to a new level.


 The peak is at 440 meters above sea level and if you are in shape you will reach the peak in around 30 minutes. The first part of the trail is in the forest and is improved by the help of steps laid down by sherpas. The last part is quit exposed, but feels safe as long as the stone is dry. As you gain height quickly the view is simply amazing all the way up to the lion peak, and there are several opportunities for grammable pictures, even if the clouds get in the way of the midnight sun. If it is windy, you will hear a spectacular “noise” from the front wall of Rødøyløva.